Followers

Monday, February 13, 2012

The Wearin' o' the Green

Top o' the mornin' lovely ones!!  (or afternoon or evening or whenever you're catching this)  I'm the designated designer today over at the Card A Day Blog, and we're celebrating a week of St. Patrick's Day greetings.  So go get your green goodies and some shamrocks, and come join in our celebration.  It might just be your lucky card that wins our challenge this month!

Now for my card.  I've been wanting to use some of the great digi designs I've been accumulating, and I knew there had to be something appropriate for the theme this week.  After a bit of searching, I found the perfect designs; I hope you'll agree.  The design is fairly simple, but I think it comes across with great effect.

I didn't want to reduce the size of my central image too much, so I decided on a base size of 6" X 4 1/2".  The image would have a double frame, and then a greeting banner would be added.  Here are the first photos:


I printed the image (yes, it was already colored), and designed my own greeting.  I chose a font that closely resembled the sentiment digi I would be using on the inside.  I also chose a digi image of a bunch of shamrocks for the inside of the card.


Here's a closer shot.  I did the coloring on these myself.  I used Distress Inks for these images as well as the front frames.


Finally, here is the pic of the full front of my card.  I used foam tape to mount the frame and the greeting.


Now for the little details:
     Card Stock:  Recollections (for base and inner frame), Stampin' Up Very Vanilla (for all printed images)
     Design Paper:  K&Company
     Ink:  Tim Holtz Distress Ink by Ranger (Antique Linen and Bundled Sage)
     Digi Images:  Front image from Paper Crafting World, Inside sentiment by Meljen's Designs, Shamrock Bunch from Waltzingmouse Stamps
     Dies:  Spellbinders Labels Seventeen
     Markers:  Copic, Micron Pigma
     Misc:  Fiskars Paper Edgers - Victorian

Time to shake the green and get back to the red to wish you a very

Happy Valentine's Day!!!

With lots of hugs,
CHRISTINE

Tuesday, January 31, 2012

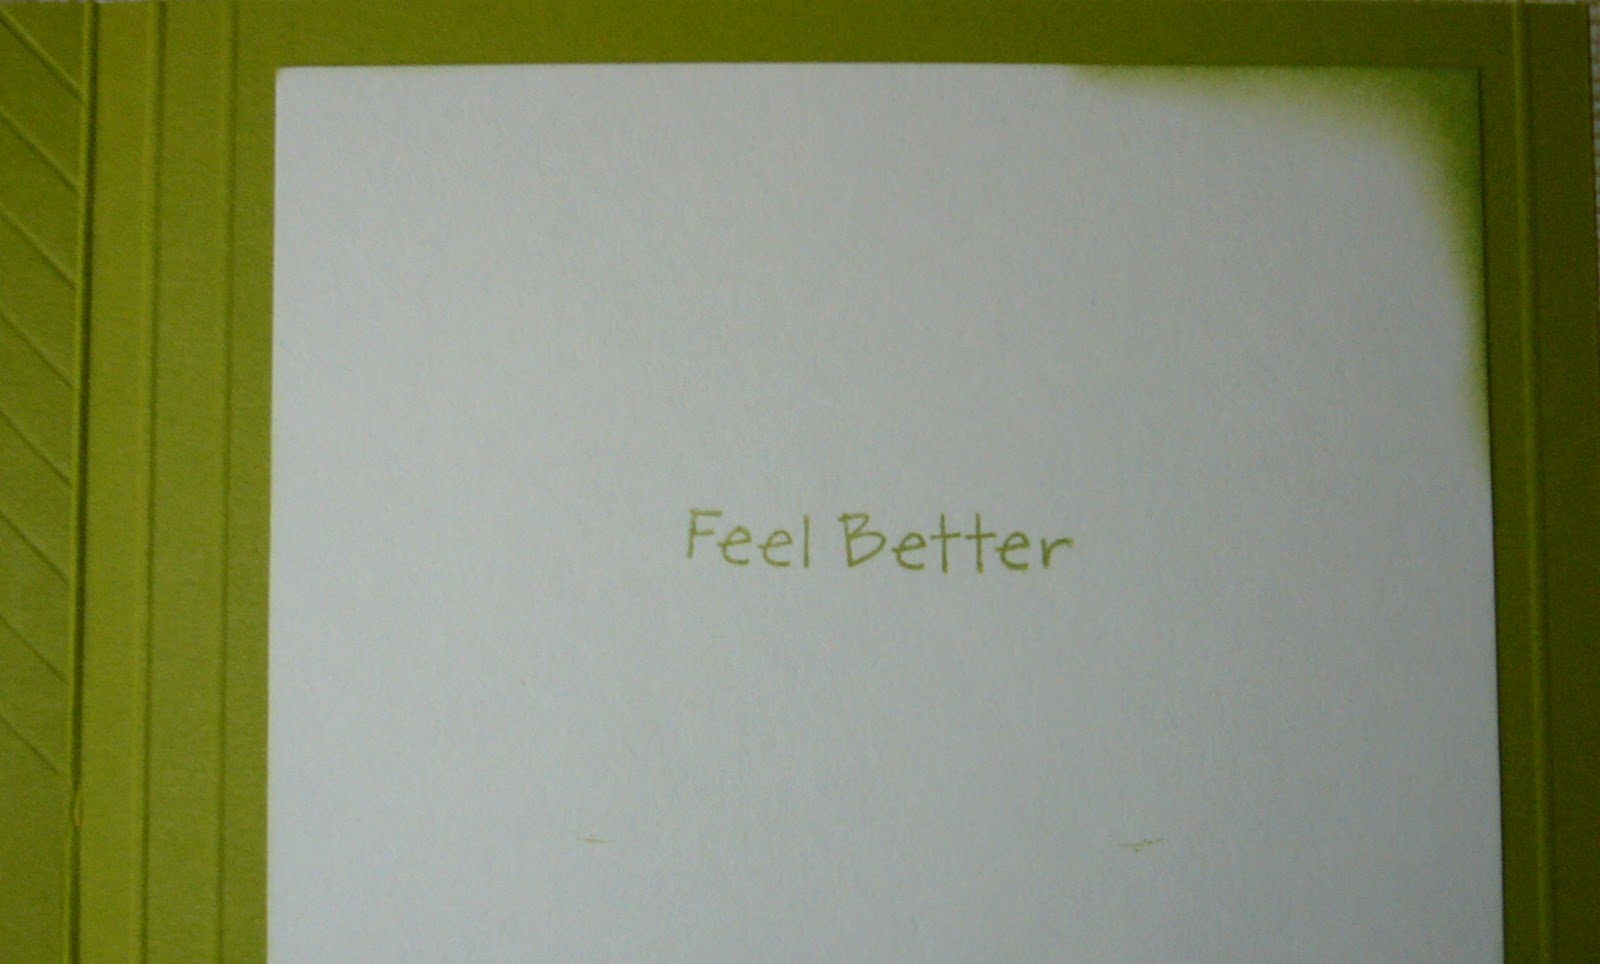
Feel Better

Hello, my friends!  Over at the Card A Day Blog we are still in 'Get Well' mode.  So I have another card for you in that theme, and I was still in the mood for paper folding, so I have another Iris Fold design to show you.

My card started with a scrap (yes, big surprise there, I know!) that was leftover from a die cut.  I saw the piece sticking out of my scrap envelope and thought it would be a great frame for an iris fold square.  I wanted to use some happy, sunshiny Spring colors, and took out one of my Iris Folding Papers booklets that had the right kind of papers.  I printed off the size square I needed, and went to work.


I did some inking around the edge of the piece as well as the edge of the paper, and then decided to find my card base.  Because of the size of the scrap, my card needed to be a 5 3/4" square.  I found a piece of Stampin' Up cardstock that was a perfect match.  I wanted the base to have a bit of texture, which I accomplished on my scoring board.  I affixed the central image and added a flourish at the top:


and a sentiment at the bottom.


In keeping with the basic simplicity of the front, I added a very simple sentiment to the inside with some inking at the corners along with a few score lines for texture


Here is your full front view of today's card:


If you haven't visited us at the Card A Day Blog, please stop by sometime.  We bring you a new card inspiration every day from one of our many talented designers, with new themes nearly every week.  If you like challenges, we have those as well, of course including prizes!!

Added to:  Pink Cricut 'What Are You Up To?'
Thanks so much for coming to see me today.  Hope you have a moment  to leave a comment!

Remember, always keep your creative genius happy and well-fed!

CHRISTINE

Monday, January 23, 2012

To Brighten Your Day.....

Right now there are so many people around us who are sneezing and sniffling and feeling just plain rotten.  Those seasonal colds and flus are in full force giving us good reason to reduce our stashes (and make room for new goodies) by creating lots of Get Well cards.  That's our theme this week at the Card A Day Blog. 

The card I have for you today was made primarily using Stampin' Up products.  It actually started life as an event project that I didn't have time to make at the event.  I made some changes to the original design to transform it into a nice get-well wish.  Here's the first pic:


This card is one of many variations on the step-fold.  Starting with a piece of  'More Mustard' card stock 8 1/2" X 5 1/2", scores are made 1" from the top and bottom of the card at 1", 2" and 5 1/2" from the edge, and between 1" and 4 1/4" at 4 1/4" from the edge.  The 1", 4 1/4" and 5 1/2" folds are mountain and the 2" is a valley fold.  Here is an angled view of the card:


The main element is cut from Bigz die set 'Beautiful Butterflies.' It's stamped in Memento 'Rich Cocoa' with a Memories Direct border stamp, inked with VersaMagic 'Sea Breeze' and adorned with pearls colored to match with Copic BG32.  The butterfly is foam mounted on a 'Very Vanilla' mat embossed with Textured Impressions 'Square Lattice' folder and backed by 'Chocolate Chip.'  To the sides are pieces of design paper (sorry, don't have the name) inked with the 'Sea Breeze' to give them a bit more depth.


The inside of the card features the same dp on a mat with the stamped sentiment and a sweet stamped butterfly.


Both sentiments are from Hero Arts 'CL342.'  The butterfly stamps are from Inkadinkado.  Here's one last pic of the full front:


If you've been one of the many victims of the seasonal bugs, I hope you're feeling much better very soon!  Thanks for coming by to visit.

Always keep your creative genius happy and well-fed!!

CHRISTINE


Tuesday, January 17, 2012

A proper Thank You is golden!

Hello, and thank you for joining me today!  At Card A Day Blog this week, we are featuring cards for all those special people who are so deserving of our thanks.  I've been wanting to make a card using tea bag folding, and, as luck would have it, I received a book on just that subject as a Christmas gift.  The book is TEA BAG FOLDING by Janet Wilson and Tiny van der Plas, and, in addition to basic instructions,  it has several beautiful projects as well as papers you can use to make them.

I started out by reading through the instructions for the different projects.  Then I cut some scrap paper so I could do a few practice folds.  I chose the design paper I wanted, cut out the pieces I needed, and proceeded to fold the necessary elements.  With the centerpiece prepared, I needed to determine what other supplies I would use to finish the card.

I had a sizable scrap of a pretty shiny gold paper, and decided to layer that with a white mat on a black card base.  I centered the main element, then cut the corners from one more square to add to the design.  I used the same gold paper for the sentiment which was heat embossed with detail gold powder.  The finishing touch became a little bit of bling.

Here's a nice close shot to show you the dimension of the folds:


Did you see the rhinestone peeking out from the center?


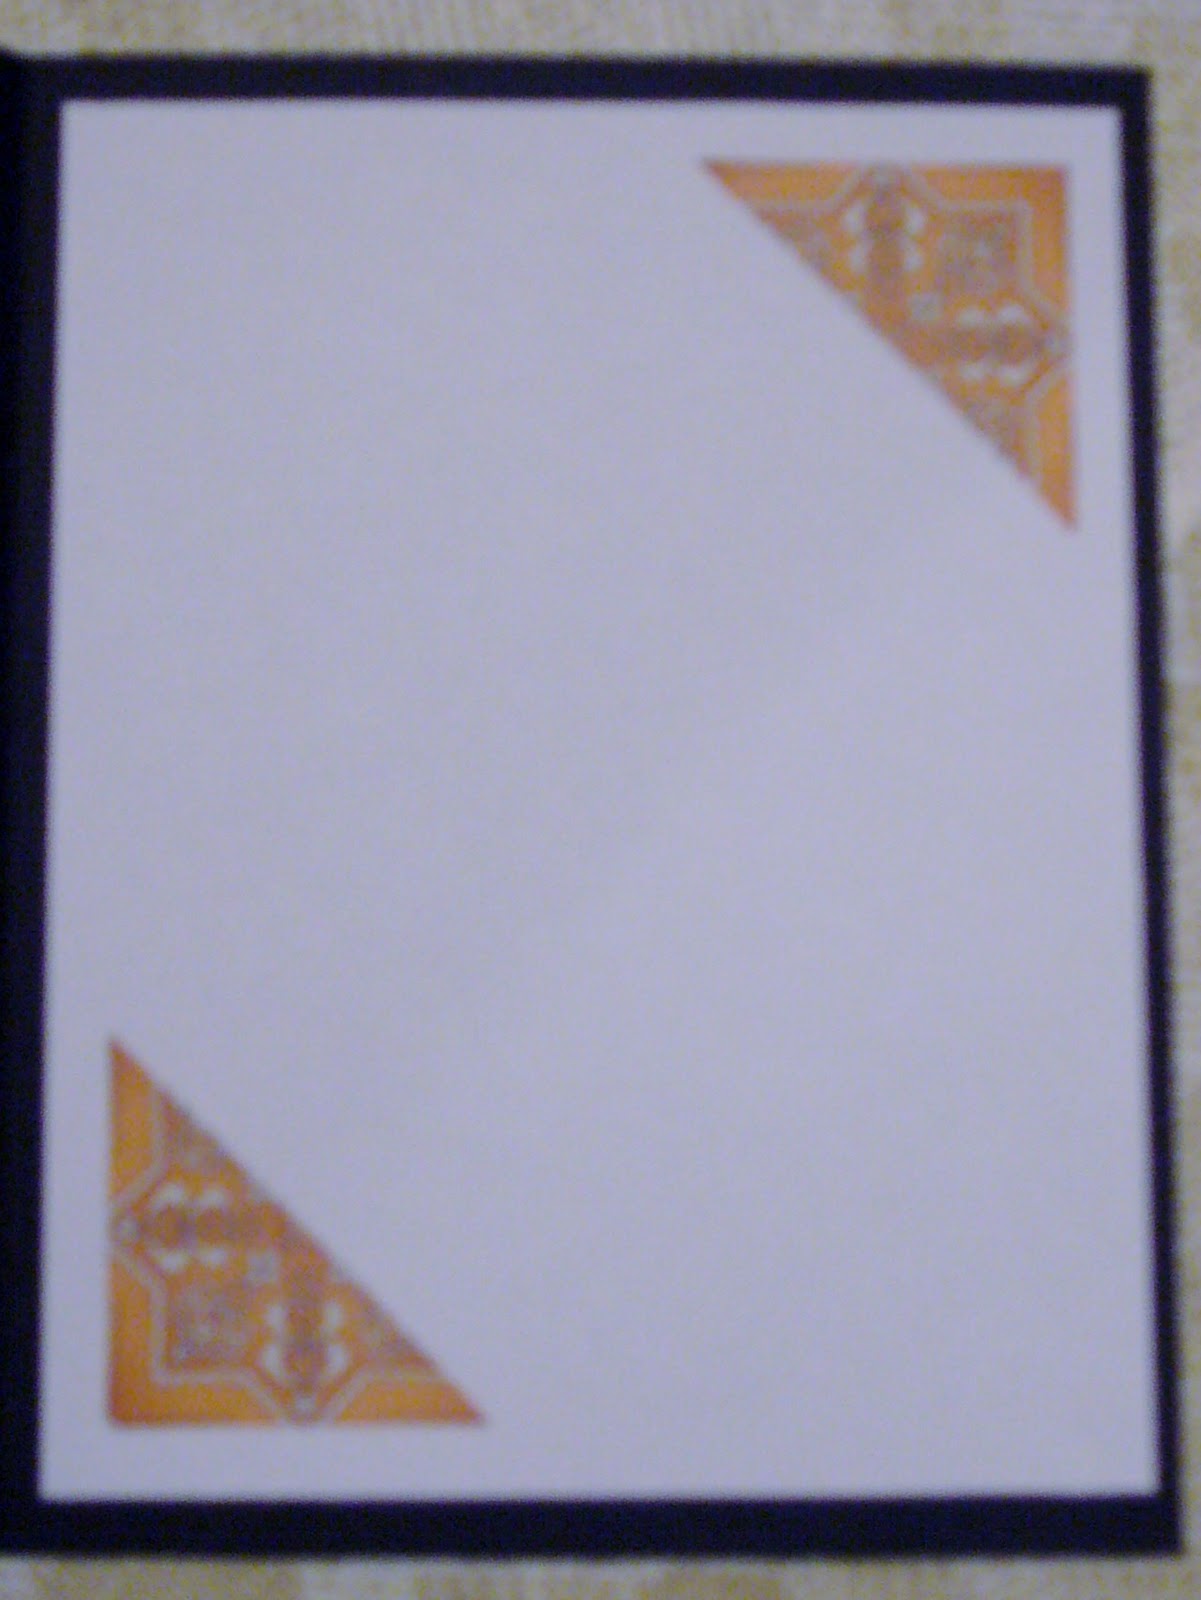
I really love the tone-on-tone of the sentiment.  And here is a photo of the inside.  I cut the remaining part of the extra square in half to bring the design to the inside.


Tea bag fold designs can lend such elegance to your projects. There are lots of resources online where you can find designs for folding as well as free papers. You do need to cut and fold carefully to be sure the pieces fit together well, but I highly recommend giving it a try.


Always keep your creative genius happy and well-fed!

CHRISTINE

Thursday, January 12, 2012

It's Puppy Love!

The current Crafter's Digital Art Center Progressive Challenge has such cute images for us to play with.  We are on cdacpc9, and it's for members only, but there is a way to join while it's in progress.  So go on over to the CDAC website and check it out.

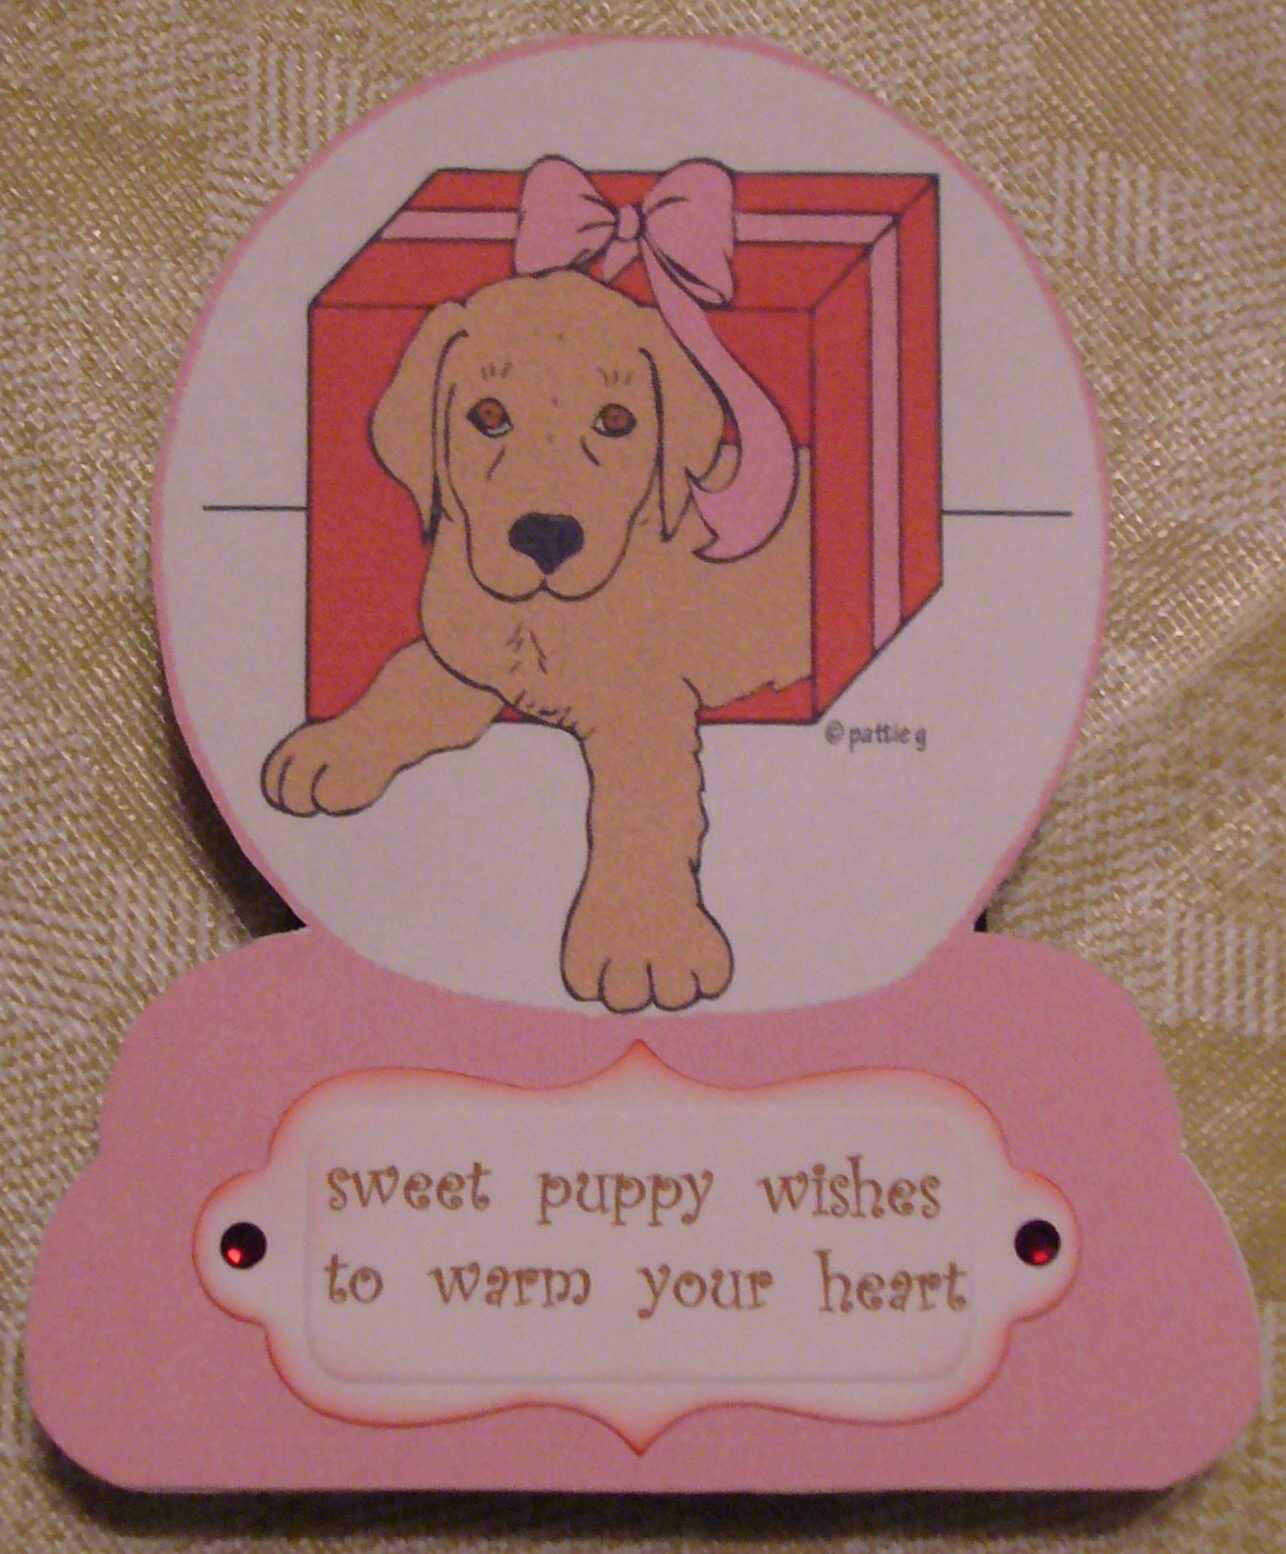
I couldn't resist Crafty Ann's snowglobe, and Pattie's Creations gave us an adorable puppy in a gift box.  I created one card for pc9, but I actually played around with the artwork until I figured out how to combine the two images.  I am so pleased that I was able to add this skill to my repertoire.  I'm sure I'll be using it regularly.  I was able to put the puppy image inside the snowglobe, color it in the software, and print it out so that I could cut it with a fold at the top. { I love shaped cards! }  I used two different Spellbinders shapes for the inside and outside sentiments which I created in Word.  A little inking and some rhinestones for a bit of sparkle, and it's done!

Here are the photos for you:


I hope you like my cute little puppy snowglobe.  Please leave a comment to tell me what you think, and thanks for stopping by!


And always keep your creative genius happy and well-fed!!

CHRISTINE

Monday, January 2, 2012

Ring in the New Year with LOVE

Hello everyone, and HAPPY NEW YEAR!!!  I hope all of you enjoyed a season of abundant joy and many blessings.  I know I did.  And now I'm ready to get back to the fun of creating.

I am so honored to have the first card of 2012 posted in the Card A Day Blog .  Our first theme of the year is Valentine's Day.  I had a few goals in mind when I started designing my card:  I wanted to use my Cricut; I wanted to create a shaped card; and I wanted my card to be sized for a #10 envelope instead of my so very typical standard A2 size (5 1/2 x 4 1/4).  With those goals in mind, and considering the subject, I determined that I would use the heart shape, but in multiples.  What I came up with is three stacked and layered hearts.  I'll show them to you one at a time from the top.


You can see in the photo that I started with a white, and inked, card base.  The layered heart was cut in red card, embossed on my Cuttlebug, and inked with white and red to show the texture.  The sentiment was cut from gold card, stamped and heat embossed with opaque white, inked just a bit and embellished with red jewels.  It was affixed with foam tape.


The middle heart was cut from a lovely silver glitter paper.  I decided to let the paper speak for itself, so it has no further embellishment other than a bit of red inking around the edges.  The glittery heart is affixed with foam tape to raise it just a bit from the top and bottom hearts.


My bottom heart was cut from the same pretty gold card stock as the top sentiment piece.  It's embellished with a stamped and heat embossed floral image enhanced with red jewels, as well as a smaller embossed heart cut from the same red card as the uppermost heart.  This small heart is also affixed with foam tape for extra dimension.  The white embossing of the floral image, as well as the sentiment, looked a little stark, so I softened it a bit with the red ink.

Because the card front has so many elements, I decided to leave the inside very plain except for a pretty sentiment which I stamped in red.


This stacked heart card base was created using a heart image from the Accent Essentials Cricut Cartridge on my Gypsy.  I took the simple heart image, duplicated it, stacked and then welded the three shapes.  I placed the folded card stock on the cutting mat so that the left side would not be cut.  I used a blade depth of 5 and repeated the cut twice to be sure both layers would be cut through.  For the layered hearts, I used the same heart image, but made it just a bit smaller than the size used for the base, and cut it from the three separate papers.  Here is the full front view, as well as an angled view to better show the dimension:


I do hope you've enjoyed your visit with me today.  I wish you many wonderfully creative times during the coming year, and hope that you and your family enjoy good health, happiness and lots of love.

Always keep your creative genius happy and well-fed!

CHRISTINE

Wednesday, December 14, 2011

Progressive Challenge

Wow, I'm really getting this one in late, but I hope 'better late than never' applies.  This is my entry for the Crafters Digital Art Center Progressive Challenge #8.  I just love these challenges.  As members, we're given a number of images to use as we wish.  In order to continue as a member, all you have to do is submit at least one completed project within the time given.  The image I have used comes from McMahon Five Designs.  I knew as soon as I saw this image how I wanted to use it.

I colored the image with pencil, inked the edges and punched a ribbon border.  The base (A2 size 5 1/2 x 4 1/4) is a lovely pearlized card stock, layered with navy.


I layered the inside of the card the same as the front and used a corner rounder on the white layers


Thanks for coming to visit; see you again soon.

Always keep your creative genius happy and well fed!

CHRISTINE

Monday, December 12, 2011

MY FAVORITE SANTA

Christmas is getting ever closer.  I hope all of you are closer to being finished with your preparations than I am.  I still have a looong way to go. ;~(   But this week on the Card A Day Blog we are preparing you for all those 'thank yous' you'll be needing once the holidays are over.  For my special thank you card I decided to go back to a novelty fold, but with a little surprise.

I definitely wanted to carry over the Christmas feeling with my card.  I started with a piece of two-sided designer card stock 8 1/2" square.  It was scored at 2 1/8" from each side, then rotated and scored at 4 1/4".  With the 4 1/4" score mark at the horizontal, I cut out the two upper 2 1/8" corners, leaving something that looks like a chunky upside-down T.  The top 4 1/4" square is folded down, and the two sides are folded in to create a gate-fold style card.  From there it's just a matter of the design elements. 

I wanted to keep it fairly basic since it was already a specialty card with the folds.  Here's the first photo.


I used a packaged tag, stamped the 'thank you' with Versamark and used black embossing powder.  I added a few die-cut pine branches and used foam tape to affix the tag to just the left side of the card front.

On the front surface of the folded down square, I used my own printed sentiment, cut it out with another die, inked it a bit and added two more pine branch die cuts.


When the inside piece is lifted, you'll see another packaged tag with a stamped Santa and the rest of the sentiment I printed and die cut.  The tag and the die cut have been inked.


The surprise I promised is that the Santa tag is a pop-up.  You'll have a better look in the next two photos.  I added another tag to be used for the signature and personal message.


Here is one last pic for you of the full front of the card:


As you can see, I really did keep the card clean and simple, letting my chosen card stock do most of the work for me.

So glad you came to visit today!!  Hope you'll have a sec to leave some love, too!

Here are the supplies used in this card:
          Paper:  K&Company 'Yultide" designer paper, Stampin' Up Very Vanilla, Tags from Hot Off the Press Luscious Christmas Labels pack
          Ink:  VersaMark, Tim Holtz by Ranger Antique Linen
          Stamps:  Papertrey Ink Communique Curves Sentiments set, Inkadinkado Christmas Characters set
          Dies:  Spellbinders Petite Scallop Circles and Lacy Ovals, Cheery Lynn Designs Pine Branch
          Extras:  Stampendous Detail Black Embossing Powder, Zig 2-Way Glue Pen, Inkssentials Opaque White Pen, Copic Markers


This is my final post for the Card A Day Blog for this year.  We'll be starting up again right after the holidays are over with lots more inspiration for your year-round cardmaking.  Be sure to stop by in the meanwhile; I'll be popping in on occasion as time allows.

Always keep your creative genius happy and well fed!

Christine
                 

Saturday, December 3, 2011

For Unto Us.....

Yes, a Child is born!  My post today is once again a card made for the Card A Day Blog.  Our inspiration theme this week is 'Christmas and Children' and I have chosen to make a card representing the very special Child whose birth we celebrate with the holiday season.  Since I was thinking about children, I wanted my creation to be a bit more lighthearted - not one of the rather formal cards I usually tend to make.  It all started with a little lamb; think Lamb of God, think animals at the stable, think cute for children.  Add Baby Jesus in the manger with a golden star shining overhead, and there you have it.


The sweet little lamb is cut from Cricut cartdridge 'Create A Critter.'  I wanted her to look festive so I added Christmas Red Stickles to her bows.


The manger scene, the sentiment and the 'Star in the East' were stamped from Unity Stamp itty bitty set 'A Child Is Born,' and heat embossed.  I hand cut the manger and used Spellbinders dies for the sentiment.  I added the patterned paper strip to ground the images - didn't want them to look like they were just floating.


For the inside of the card, I stamped the sentiment directly on the card, added another embossed star, and, to bring the outside colors to the inside, I used a strip of the same patterned paper, but in the opposite orientation.


And for the final reveal, here's the straight-on pic of the card front.


Hope you like my cute little card.  It's quite easy to make and fairly quick to reproduce.

The Details:
          Die Cuts:  Cricut cartridge 'Create A Critter,' Spellbinders Circles and Scallop Circles
          Paper:  A2 card base Waussau white card stock, K&Company 'Yultide,' Stampin' Up Very Vanilla
          Stamps:  Stampin' Up 'Beautiful Season,' Unity 'A Child Is Born'
          Inks:  Versamark, Versafine Onyx Black, Tim Holtz by Ranger 'Antique Linen' Distress Ink and Stampin' Up Lucky Limeade (both used for shading and edging)
          Embossing Powder:  Stampendous Detail Black and Detail Gold

Thanks for visiting today!  See you again soon!!!

Always keep your creative genius happy and well-fed!

CHRISTINE


Saturday, November 26, 2011

Shopping.....

We all love shopping, don't we?  Especially Christmas Shopping!!  Well, maybe sometimes not so much.  But I hope you'll enjoy the card I've made for this week's Christmas Shopping theme on the Card A Day Blog.   This card is also my entry for the CDAC Progressive Challenge Group.  We are on a new set of challenges (this is cdacpc7), and there's still time to get in on the fun.  So, if you like free, and you love challenges, check it out soon!

The digital image I used on my card comes from Sugar Creek Hollow.  Their webstore is undergoing some construction right now, but they also have a blog and offer their own challenges.

My card is pretty much a one-layer card.  Well, it's one layer mounted on a card base.  I've veered away slightly from my usual A2 card, and cut this one at 4 1/4" x 6" because I needed just a little extra room for all the stamps I was using.  Everything is stamped directly onto the white card except for the main sentiment and the paper-pieced central image which are mounted with foam tape.


I used a large background stamp and three different colors to take away the stark white of the card.  The extra sentiments were stamped directly on the card, and the gifts were stamped and heat embossed.  I colored the chic chick with Copics and embellished her with glitter pens.  Here are some close-ups so you can see the details.


I added a little color to the inside of the card using the same inks I used for the background on the card front, and stamped a fun greeting to go with the spirit of the card.


Here's the full front shot:


The Recipe:
          Stamps:  Impression Obsession 'Screen' background, JustRite 'Small Letter' set, Recollections 'Merry Merry' set, Pink by Design 'Shopaholic' and 'Designer Shoes' sets, Inkadinkado 'Holiday Inchie' bundle, and Stampin' Up 'Jolly Bingo Bits'
          Markers/Pens:  Copic Y0000, Y00, Y02, Y38 and Sakura Pink Star, Red Star and Green Star
          Inks:  Color Box Yellow Citrus, Lime Pastel and Ice Blue; Memories Direct Red and Ancient Page Pine
          Embossing Powders:  Stampendous Detail Gold and Detail Silver; Sweet Stamps Fine Detail Copper and Fine Detail Rose
          Papers:  Stampin' Up Garden Green and Wassau White cardstocks


Be safe on all your holiday shopping trips, and always keep your creative genius happy and well-fed!

CHRISTINE

Saturday, November 19, 2011

We Three Kings.....

It's another Card A Day Blog posting day for me. If you've never been there, or just haven't checked it out lately, CADB has been offering lots of Christmas cards, and will continue through the middle of December in hopes of offering some inspiration for your own holiday cards.  Your visit here, today, brings you to your last stop on this week's Christmas Around the World Tour.  I wanted to bring you a bit of one of the cultures of my grandparents, so I have chosen to represent one of the customs of Mexico and Spain - the celebration of Epiphany.  You'll find some info on this holiday at the end of this post.  But first, let me show you my card.


I knew I wanted to keep this card simple so all the focus would be on the stamped image which is, as you see, the three kings following the star to the stable.  I stamped the image in Versamark, and used some dark blue embossing powder to be sure it would stand out as a nice sharp silhouette.  Next, I used a clear glitter pen to highlight the main star and some of the smaller stars.  Then, I stamped and embossed the sentiment with silver embossing powder.

I wanted to use some ribbon on this card, and chose one with a kind of holographic glitter.  It's somewhat sheer, and allows the color of the card base to show through.  I decided to use a very dark blue cardstock for the base to give the effect of a clear, dark night.

In figuring the placement on the card I had two considerations.  First, I wanted the ribbon to give the effect of extending the light of the star, and so placed it in alignment with the star's rays.  Also, I wanted the ribbon to make the card look like a wrapped gift, thus representing the gift of God to us, his only Son, Jesus, who is the Light of the World.

Here is the full front view of the card:


I wasn't sure they were really needed, but I added some little jewel stickers to two opposing corners.

As you can see in the next photo, I wrapped the ribbons around the front of the card base so that the ends are tucked under the front image, rather than having to add a layer to the inside.  I did the inside sentiment and image on my computer, and colored the image with glitter pens and markers.  The Pinata is another very important part of holiday celebrations in Mexico, which is why I decided to use that for my inside image.


And here is a slightly closer look:


Here is a final view of the card.  (I hadn't finished the inside at the time of the first photos, so you can't see it peeking out in this angled picture.)


Now that you have seen all the details of my card, here is a brief description of Epiphany that comes from Why Christmas? , which is a site where you can read about lots of different Christmas customs from around the world.  The following excerpt comes from the page on Spain, with information  contributed by María Níñez.
"There is another festival that is celebrated in Spain and Mexico that is about the Christmas Story. It is called Epiphany or Kings' Day and is celebrated on 6th January. This is the twelfth night after Christmas. In Spanish, Epiphany is called 'Fiesta de Los tres Reyes Mages': in English this means 'The festival of the three Magic Kings'. Epiphany celebrates when the Kings or Wise men brought gifts to the baby Jesus.
Children have some presents on Christmas Day, but most are opened at Epiphany. Some children believe that the Kings bring presents to them at Epiphany. They write letters to the Kings on Boxing Day, December 26th, asking for toys and presents. And on Epiphany Eve (January 5th) they leave shoes on windowsills or balconies or under the Christmas Tree to be filled with presents. Gifts are often left by children for the Kings, a class of Cognac for each King, a satsuma and some walnuts. Sometimes a bucket of water is left for the camels that bring the Kings! If the children have been bad, the Kings might leave pieces of coal made out of sugar in the presents!
Some big towns and cities have Epiphany Parades with each King having a big float that is shaped like a camel. Sometimes there are also real camels in the parade. The Three Kings in the the Spanish Epiphany are:
  • Gaspar, who has brown hair and a brown beard (or no beard!) and wears a green cloak and a gold crown with green jewels on it. He is the King of Sheba. Gaspar represents the Frankincense brought to Jesus. Frankincense is sometimes used in worship in Churches and showed that people worship Jesus.
  • Melchior, who has long white hair and a white beard and wears a gold cloak. He is the King of Arabia. Melchior represents the Gold brought to Jesus. Gold is associated with Kings and Christians believe that Jesus is the King of Kings.
  • Balthazar, who has black skin and a black beard (or no beard!) and wears a purple cloak. He is the King of Tarse and Egypt. Balthazar represents the gift of Myrrh that was brought to Jesus. Myrrh is a perfume that is put on dead bodies to make them smell nice and showed that Jesus would suffer and die."

Supplies used:
Not included in photo:
          3 additional glitter pens, 2 Bic Mark-It pens, and a partridge in a pear tree.        (Sorry, I simply could not resist that last bit.  LOL)
          Papers:  A2 card base in 'In the Navy' from Gina K Designs, design papers from Busy Scrapper's Solution Christmas Papers by Hot of the Press


I had a great time making today's card, and writing this post.  I hope you've had fun,too, on your visit here!  Sending hugs --I'll see you again soon!!


Always keep your creative genius happy and well-fed!     (Just thought it was time for a little change.)

CHRISTINE