Followers

Showing posts with label Tonic. Show all posts

Wednesday, February 19, 2014

May your joys be bright.....

Hi!   I'm back with you today to show you a very elegant card with a surprise inside.  Our current theme at the Card A Day Blog is WEDDINGS, and for some reason I was inspired to use soft blues for my colorway.  This card has a very special fold for the inside, which you'll see as we go along.

I started this particular project with a paper hunt.  This actually didn't take as long as I thought it might since I already knew the color and the theme, and I knew I wanted to use very subtle prints in coordinating patterned papers if I had them.  I found exactly what I needed in the very first paper pack.  I applied one of the papers to the card front.


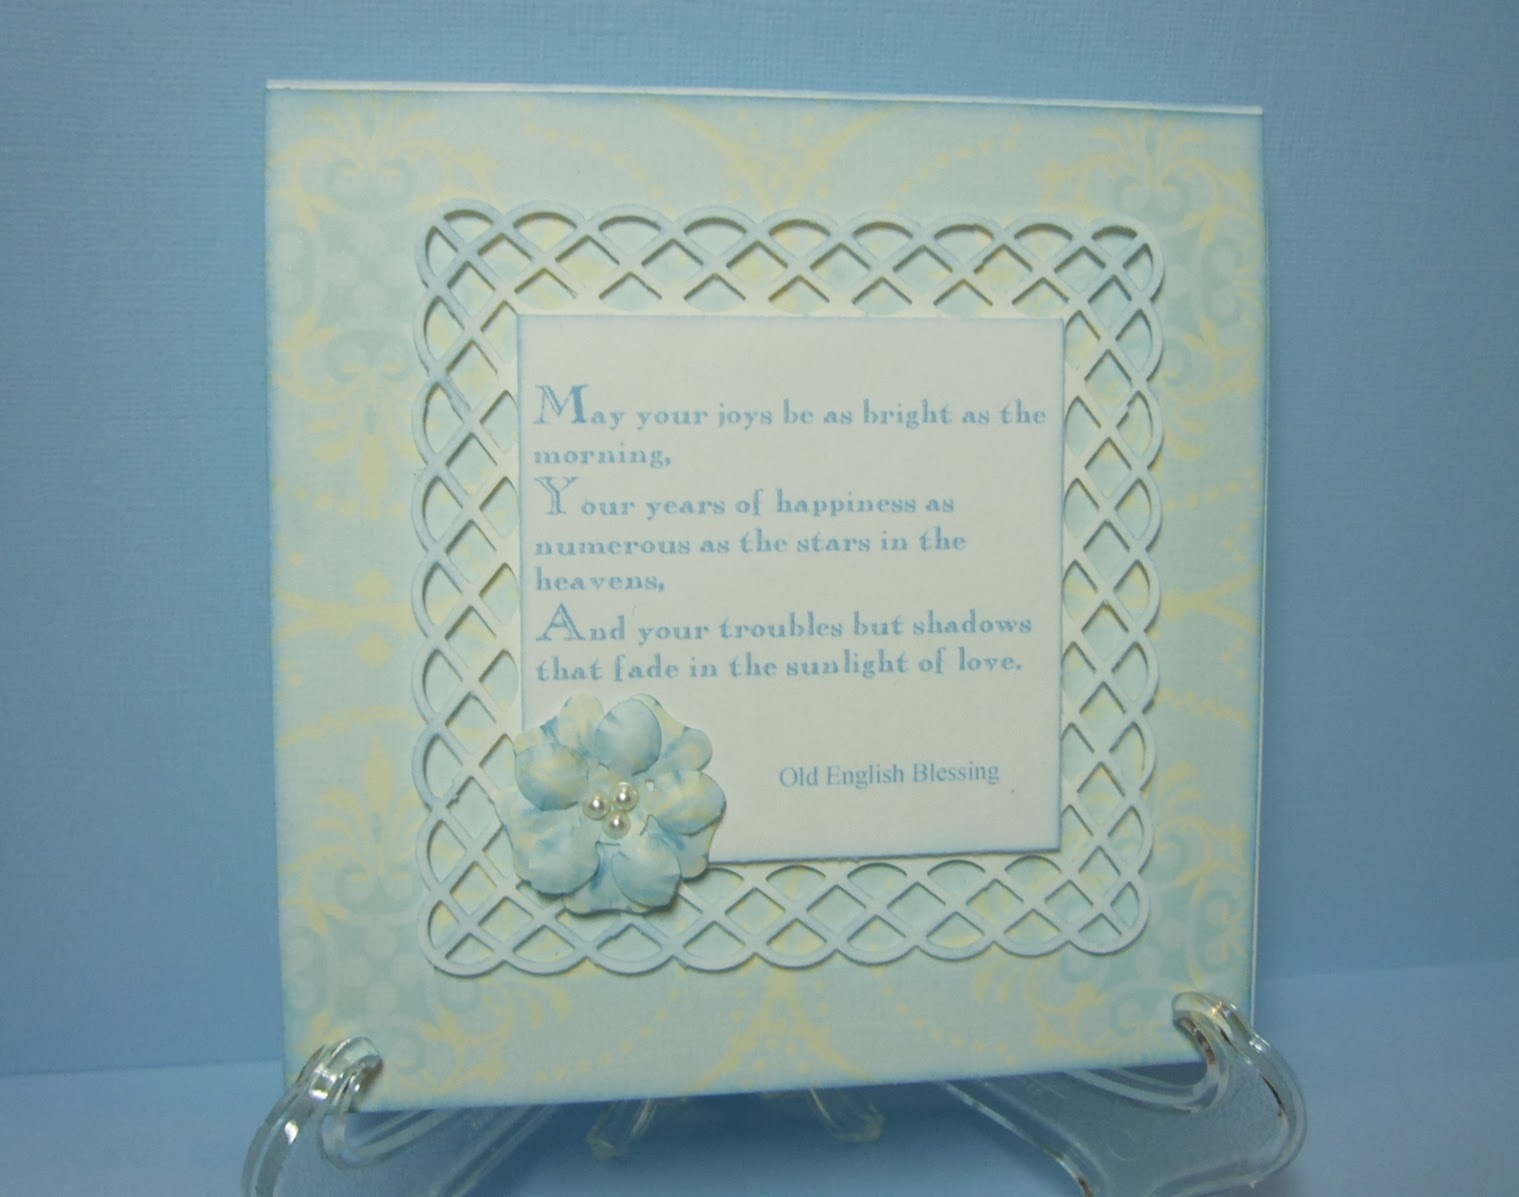
Once I had the papers I decided to see if I had any pretty images or punched bits that I might put to good use.  I found a perfectly sized piece with a nice punched lattice edge.  My lovely daughter helped me by finding the perfect sentiment which I printed in a matching blue ink.  I then punched out two flower pieces from the same paper as the card front.  I shaped the pieces, inked on a little extra color and added tiny pearls for the flower center.  I also inked the lattice and the edge of the sentiment piece, and layered them with foam tape.


Here is an angled shot so you can see the dimension:


Then I went to work on the inside of the card.  I cut an 8" square from the second patterned paper, did a bit of fancy folding, and ended up with a lovely insert.  I added a punched floral border to the top, using pearls for the flower centers.  Here is the card before it is fully opened.  As you can see, it is a variation on an accordion fold.


And this is what it looks like when opened up all the way.  The paper is light enough to write on directly without using an insert and covering up the pretty paper.


I don't remember how I came across this particular fold, but here is a link to the directions I used.  It's easy to do and packs quite a punch for the recipient.  Perhaps you'll try it sometime!


This may be one of my favorite cards.  It was so simple and quick to make and does look very elegant.  I made this card a 4 1/4" square so that it will fit into a standard A2 sized envelope, but a custom envelope can be made as well if desired.  If you have any questions, please do not hesitate to ask in the comments section.

Thanks so much for visiting!  Here are the main supplies used:

     Design Paper:  K and Company
     Punches:  Tonic Studio (flower) and Martha Stewart (lattice edge and lacey floral border)
     Ink:  Stampin 'Up "Bashful Blue"
     Adhesives:  Scotch ATG and Quick Drying Tacky Glue and Tombow Mono Dots
     Pearls:  Recollections and Ruby Rock-It

'Til next time.....

Big HUGS!!
CHRISTINE

Sunday, October 7, 2012

Chickadee and Holly

Greetings!  I hope everyone had a fun time browsing lots of cardmaking blogs yesterday to celebrate World Cardmaking Day.  There is so much talent out there, isn't there!?!  I have a card for you today to open a week of Christmas and Animals at the Card A Day Blog.  From my title you probably guessed the central images on my card.  Here's your first look:


I used a set from Stampin' Up called 'Beautiful Season.'  I wanted to keep the card fairly simple because it is one of a set of cards I designed for some Girl Scouts to reproduce in a series of workshops.  So the image of the Chickadee in the Holly Branch was stamped with no added coloring, but just a little inking around the edges for a slightly aged look.

In the next photo you can see the sentiment and a close-up of the banner piece which was embossed using a Cuttlebug folder in a design that echoes the holly of the central image.


The banner, as well as the card base and the design papers were inked a bit just like the main image piece.  The inside of the card was left very clean, with only the sentiment stamped.


I love this sentiment.  I think it can be used for many styles of Christmas and other holiday season cards.

In the last photo you can see the full front, with a good look at the design papers I used.  I think it's a good-looking card, but still easy enough to make for inexperienced young card-makers.


Just for the sake of clarification, the red is simply background; it's not part of the card.  (In case you were wondering.)  This card fits a standard A2 sized envelope.

Hope you like today's little card.  Here are (most of) the details:
          Papers:  Stampin' Up, K and Company
          Inks:  Memento 'Rich Cocoa', Tim Holtz Distress 'Antique Linen'
          Stamps:  Stampin' Up set 'Beautiful Season'
          Corner Punch:  Tonic
          Embossing Folder:  Cuttlebug 'Holly Ribbon'

Thanks for visiting!!  See you again soon.

Big Hugs,
CHRISTINE

Wednesday, December 14, 2011

Progressive Challenge

Wow, I'm really getting this one in late, but I hope 'better late than never' applies.  This is my entry for the Crafters Digital Art Center Progressive Challenge #8.  I just love these challenges.  As members, we're given a number of images to use as we wish.  In order to continue as a member, all you have to do is submit at least one completed project within the time given.  The image I have used comes from McMahon Five Designs.  I knew as soon as I saw this image how I wanted to use it.

I colored the image with pencil, inked the edges and punched a ribbon border.  The base (A2 size 5 1/2 x 4 1/4) is a lovely pearlized card stock, layered with navy.


I layered the inside of the card the same as the front and used a corner rounder on the white layers


Thanks for coming to visit; see you again soon.

Always keep your creative genius happy and well fed!

CHRISTINE

Friday, October 14, 2011

A Beary Cute Halloween

I just love being part of the CRAFTERS DIGITAL ARTS CENTER where so many digital artists come together to share their designs and ideas.  My card today is for the CDAC Progressive Challenge #4.  The theme for this challenge is Halloween or Mystical, and the digi art I chose to use comes from Sew Many Cards Digital Stamps.  I couldn't resist such a cute design.  Here it is after coloring:

I used Copics and Bic Mark-Its for the coloring---lots of them as you can see here:


The card base is white Wausau Vellum in standard A2 size.  I used black Recollections card stock for the mat, and ran it through my Cuttlebug in a Sizzix for Stampin' Up Spider Web Textured Impressions folder.  I gave the spider web a hint of color and glitter with studio g silver chalk ink.

I used the out-of-the-box technique (you'll find lots of tutorials if you do a quick search) to cut and frame the image, and used foam tape to mount it on a piece of Papertrey Ink Bitty Dot Basics paper with the corners cut using a Tonic corner punch.  The image and the card base were lightly inked with Martha Stewart by EK Success Curry ink.

For the finishing touches I used a dimensional sticker for the greeting (K&Company) and added a funny little spider (EK Success Jolee's Boutique).


On the inside I added another dimensional sticker mounted on the same dotted paper:


Well, I hope you enjoyed this cute little Halloween creation.  I loved working with adorable little Bailey Bear and his jack o'lantern candy bowl.


Have a wonderful day, and always keep your creative genius flowing!!

CHRISTINE