It is SO still the season for catching all those nasty bugs that keep floating around. I hope you've been able to avoid being in that situation. On that note we, at the Card A Day Blog, have some Get Well inspirations to share. I received some really cute supplies from my dear sister for Christmas, and decided to use some of them for today's card.
My card was a fairly quick one to make once I decided just what I wanted to do. First I'll show you the main supplies I used.
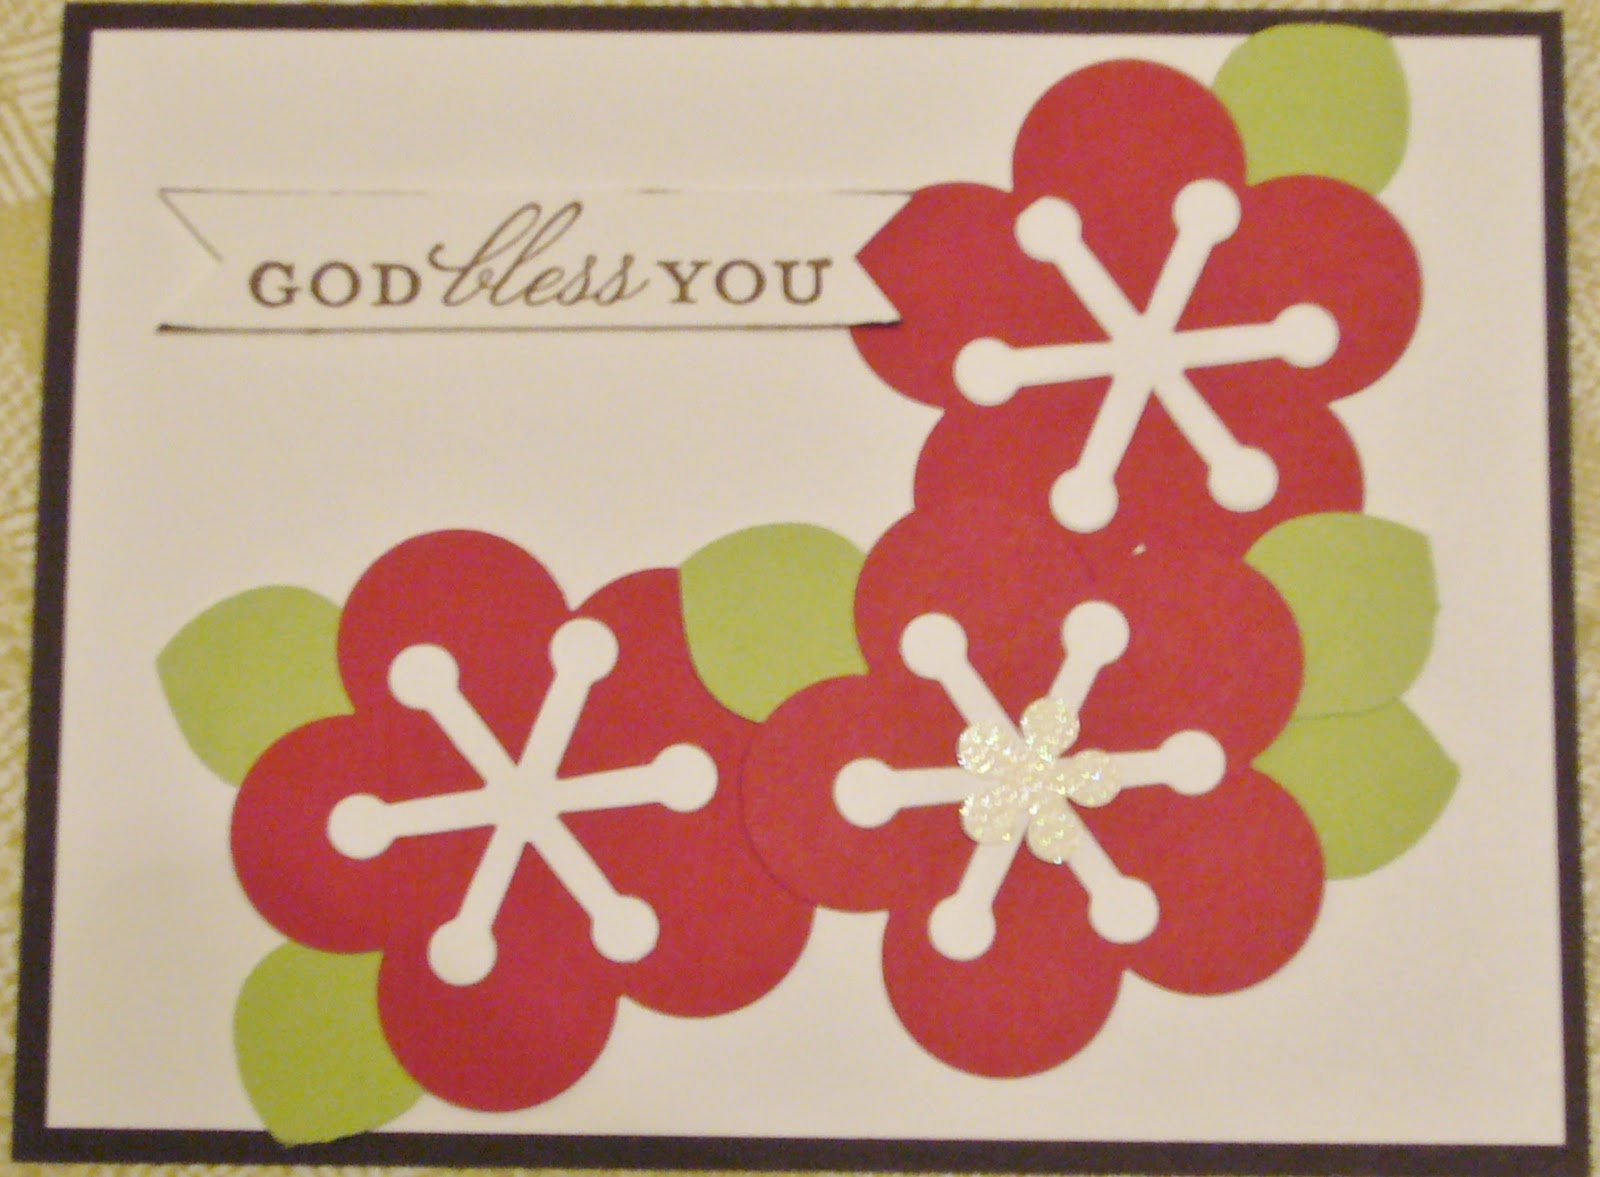
The two stamp and die sets were part of my Christmas gift. Now, here's my card:
When I was getting out my supplies I thought I would stamp the 'bug' outline and color it, but there were a few dp scraps sitting next to my new sets and one just caught my eye. So I lined up the outline stamp where I wanted it on the scrap, and used the die to cut it out.
In the same stack of scraps I found a piece of handmade paper that was perfect for cutting out the clouds. The handmade paper gave the clouds some nice texture.
I'm not sure you can see the texture in the photos, but it shows up nicely in person.
Next, I cut a scrap of blue for some sky, and I tore a piece of kraft card to use for the ground. I used two brown-toned inks to color the edges a bit without making the ground too busy-looking.
After stamping the sentiment, I laid the 'sky' down with my ATG, and used foam tape to affix the ground pieces and the car. I used a double layer of the foam tape to lift the lower ground piece above the car.
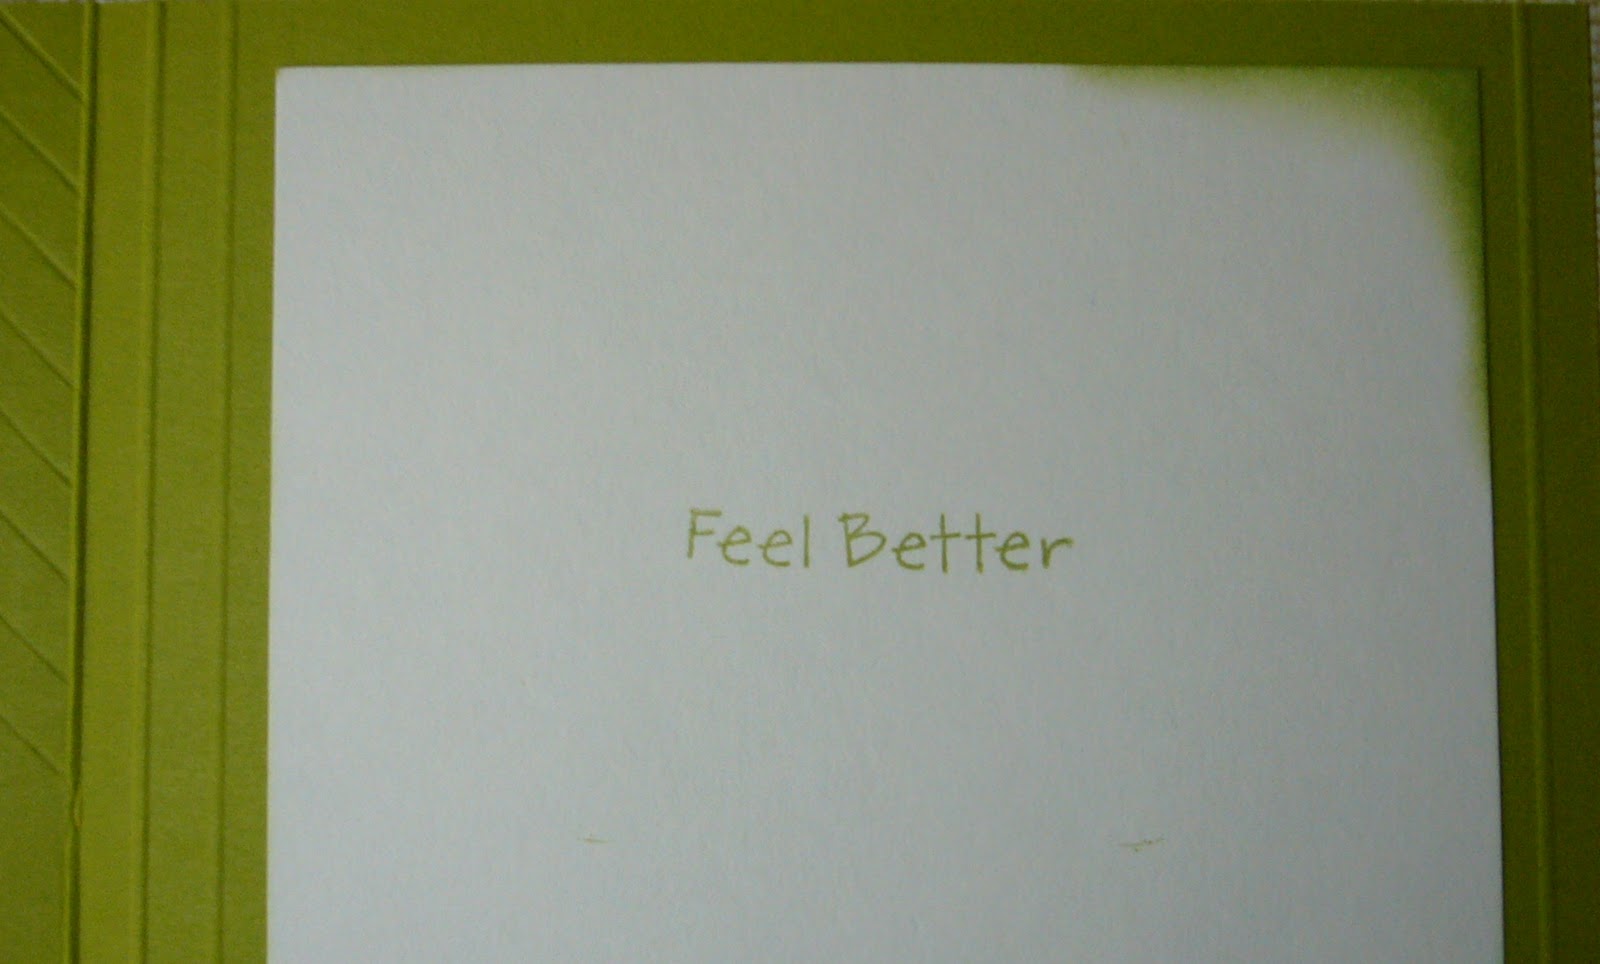
My card base, which is sized at 4 1/4" x 5 1/2" to fit a standard A2 envelope, is a dark navy blue, so I added a white insert for the message and signature.
The pictures don't really show it off very well, but this card is very cute in person and will certainly help brighten the day for someone who isn't feeling quite up to par.
Details:
Stamp/Die Sets: taylored expressions "Wheely Great" set and hampton art "Welcome Home" set by doodlebug design inc. and Sizzix.
Inks: VersaMagic "Ocean Depth" Chalk Ink and Memento "Desert Sand" and "Rich Cocoa."
Cardstock: Gina K Designs "In the Navy" and Neenah "Kraft."
Thanks, as always, for your visit. Please know that I truly appreciate the time you take to spend with me. 'Til next time.....
Big HUGS!!!!!
CHRISTINE
This blog was created for the display and exchange of craft ideas and information, especially on cardmaking, but also including such lovely activities as scrapbooking, knitting, crocheting and sewing.
Followers
Showing posts with label Get Well. Show all posts
Wednesday, January 22, 2014
Friday, January 25, 2013
A-choo!!
Wow! It seems like forever since I've been here with you, my friends. What with the holidays, and the fact that I've been dealing with a rather bad bronchial infection, I just haven't been very active with much of anything. I must say, though, that it's good to be back. I am today's designer on the Card A Day Blog and what an appropriate theme for me, "Get Well." I'm still recovering so I won't be taking up too much of your time, but I do have a card for you that is very easy to replicate, and can be made with any kind of flower punch or even flower stamps. All of the supplies are from Stampin' Up; even the card came from a Stampin' Up stamping party.
This picture shows the full front of the card. It is an A2 (4 1/4 x 5 1/2) base in Early Espresso (I think, but it might be Chocolate Chip) card stock. It is layered with Whisper White cut at 4 x 5 1/4.
The flowers are punched from Riding Hood Red using the Fancy Flower punch, the leaves are in Pear Pizzaz and punched with the Blossom Petals Builder, and the flower centers are also in Whisper White. Here is a closer shot of the flowers. I used a smaller flower punch on white glitter paper to add a tiny bit of glam to the center of one flower.
Finally, I chose a stamp from the 'Crosses of Hope' set for my sentiment. I stamped it with Soft Suede ink and cut it into a banner shape. I also inked the edges just a tiny bit so it would stand out from the background since both are the same white card. The sentiment is affixed with foam dots for dimension.
That's all folks! I hope you've enjoyed your visit; told you it wouldn't be long. I'll see you again soon.
Big HUGS,
Christine
Tuesday, January 31, 2012
Feel Better
Hello, my friends! Over at the Card A Day Blog we are still in 'Get Well' mode. So I have another card for you in that theme, and I was still in the mood for paper folding, so I have another Iris Fold design to show you.
My card started with a scrap (yes, big surprise there, I know!) that was leftover from a die cut. I saw the piece sticking out of my scrap envelope and thought it would be a great frame for an iris fold square. I wanted to use some happy, sunshiny Spring colors, and took out one of my Iris Folding Papers booklets that had the right kind of papers. I printed off the size square I needed, and went to work.
I did some inking around the edge of the piece as well as the edge of the paper, and then decided to find my card base. Because of the size of the scrap, my card needed to be a 5 3/4" square. I found a piece of Stampin' Up cardstock that was a perfect match. I wanted the base to have a bit of texture, which I accomplished on my scoring board. I affixed the central image and added a flourish at the top:
and a sentiment at the bottom.
In keeping with the basic simplicity of the front, I added a very simple sentiment to the inside with some inking at the corners along with a few score lines for texture
Here is your full front view of today's card:
If you haven't visited us at the Card A Day Blog, please stop by sometime. We bring you a new card inspiration every day from one of our many talented designers, with new themes nearly every week. If you like challenges, we have those as well, of course including prizes!!
Added to: Pink Cricut 'What Are You Up To?'
Thanks so much for coming to see me today. Hope you have a moment to leave a comment!
Remember, always keep your creative genius happy and well-fed!
CHRISTINE
Monday, January 23, 2012
To Brighten Your Day.....
Right now there are so many people around us who are sneezing and sniffling and feeling just plain rotten. Those seasonal colds and flus are in full force giving us good reason to reduce our stashes (and make room for new goodies) by creating lots of Get Well cards. That's our theme this week at the Card A Day Blog.
The card I have for you today was made primarily using Stampin' Up products. It actually started life as an event project that I didn't have time to make at the event. I made some changes to the original design to transform it into a nice get-well wish. Here's the first pic:
This card is one of many variations on the step-fold. Starting with a piece of 'More Mustard' card stock 8 1/2" X 5 1/2", scores are made 1" from the top and bottom of the card at 1", 2" and 5 1/2" from the edge, and between 1" and 4 1/4" at 4 1/4" from the edge. The 1", 4 1/4" and 5 1/2" folds are mountain and the 2" is a valley fold. Here is an angled view of the card:
The main element is cut from Bigz die set 'Beautiful Butterflies.' It's stamped in Memento 'Rich Cocoa' with a Memories Direct border stamp, inked with VersaMagic 'Sea Breeze' and adorned with pearls colored to match with Copic BG32. The butterfly is foam mounted on a 'Very Vanilla' mat embossed with Textured Impressions 'Square Lattice' folder and backed by 'Chocolate Chip.' To the sides are pieces of design paper (sorry, don't have the name) inked with the 'Sea Breeze' to give them a bit more depth.
The inside of the card features the same dp on a mat with the stamped sentiment and a sweet stamped butterfly.
Both sentiments are from Hero Arts 'CL342.' The butterfly stamps are from Inkadinkado. Here's one last pic of the full front:
If you've been one of the many victims of the seasonal bugs, I hope you're feeling much better very soon! Thanks for coming by to visit.
Always keep your creative genius happy and well-fed!!
CHRISTINE
Subscribe to:
Posts (Atom)
