Followers

Showing posts with label Hero Arts. Show all posts

Wednesday, May 14, 2014

Happy Anniversary

Hi!  My card for today was a special request from my church choir to be given to our pastor who is soon to celebrate his 40th anniversary in the priesthood.  I think it is a very classy masculine card, whose focal point can be changed to suit many occasions.  This card also fits in with our Card A Day Blog theme of 'Use a Sketch.'

I went a little out of my comfort zone with this one by using a 5" x 5" card base rather than my more typical A2 size.  After choosing a sketch, I decided the square shape would be the better choice.  Here is my chosen sketch from Card Positioning Systems:


I wanted a religious image for my card, so I chose a Spellbinders Cross die and cut my focal image from a scrap of a really pretty textured slightly silvery paper.  The paper has a very subtle embossed design.  The same paper was used for the cross strips in the layering.


As soon as I chose the sketch I knew what my embellishments would be, 'Designer Brads' from the Paper Studio.

The card base, as well as two of the smaller layers, was cut from Stampin' Up 'Very Vanilla" stock, and the black layering pieces came from Recollections.


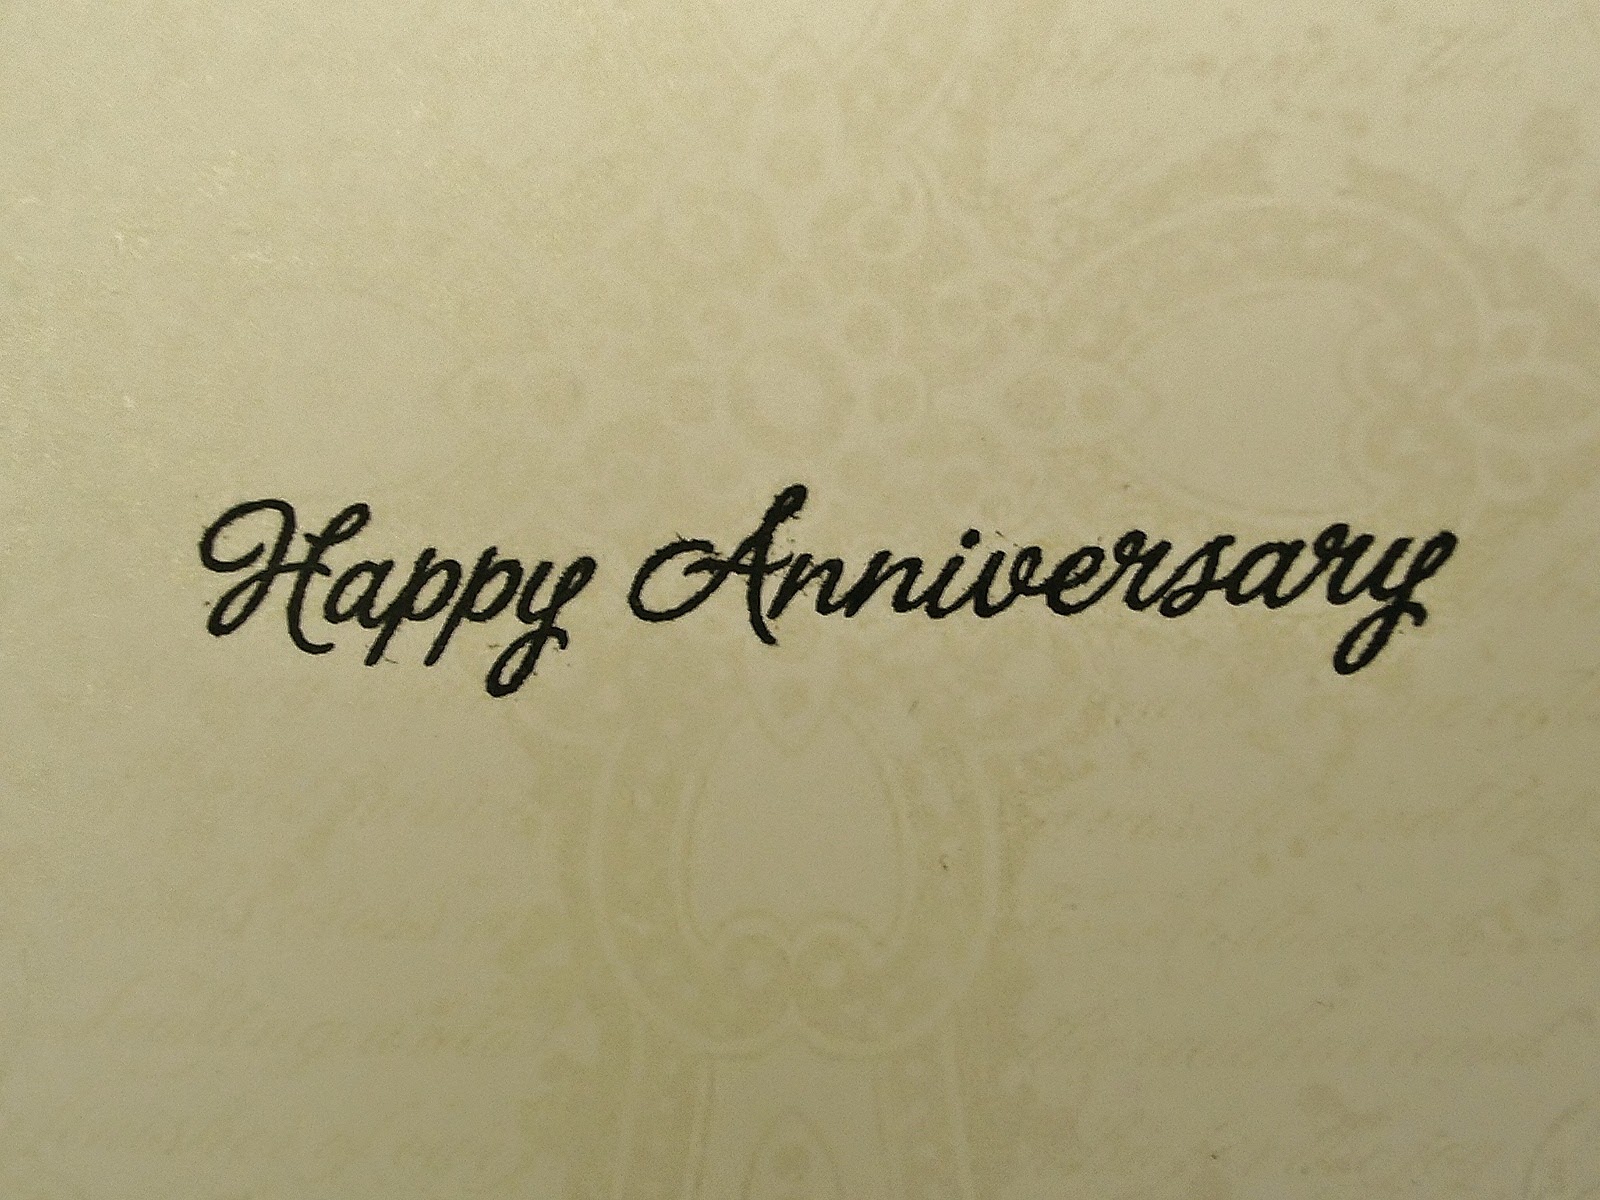
I needed to keep the inside very simple to accommodate lots of well-wishes and signatures.  I decided to use a large stamp, 'Baroque Cross' from Stampendous inked with VersaMark Dazzle Watermark pad in 'Frost.'  It's another very subtle effect, leaving a light shimmery image on top of which I stamped the 'Happy Anniversary' from Hero Arts.


Just for fun I added  'Uniquely Handmade' (from Stampabilities) to the back using Tim Holtz Distress Ink in 'Antique Linen.'


All I have left to do is make an envelope.  Now you know why I usually create the A2-sized cards - I don't need to make the envelopes!  (tee-hee)


That's it for today, my lovely friends.  Thanks for visiting!

'Til next time.....
BIG Hugs!!!
CHRISTINE

Wednesday, March 19, 2014

Bold Floral Congratulations

Hello all you friendly people out there!  I hope everyone is enjoying a wonderful day.  Where I live we have been seeing lots of sunshine and steadily rising temperatures - just beautiful.  My card today, for the Card A Day Blog theme of "Congratulations," has some very bold flowers in bright colors.  I just couldn't help carrying over the happy mood from our celebration of Spring last week, especially since tomorrow is actually the first day of Spring.


My flowers were made with some paper flowers that just needed to be punched out and rolled.  The package comes with three different sizes, but I was able to use only the smallest size on my card.  The larger flowers would be lovely for a home dec project or for making up a pretty package.


Next I went through my green scraps to find some pieces to die cut leaves for the flowers.  There were two dies in the same set that were perfect for the sizes of my scraps.  How lucky!  I love it when I can make good use of those scraps I couldn't bear to part with.


I didn't want my card to be too fussy, but I wasn't happy with the plain white background I had, so I decided to use an embossing folder to add some subtle design and texture.  I rounded opposing corners on both the card base and the background which I mounted to the base with foam tape.


Once I had the leaves and flowers in place, all I needed was the sentiment.  I stamped it in brown ink on paper matching the card base, and cut it into a tag shape.  I affixed it to the card with foam tape.


This was a pretty quick card to pull together, and I am quite pleased with it.  However, it will need to have a box, or at least a boxy envelope for presentation as the flowers are very dimensional.


The little details:
     Flowers:  Imaginisce "Roly Rosies"
     Dies:  Sizzix Sizzliits "Flowers, Branches & Leaves" set
     Embossing Folder:  Darice "Henna"
     Stamp:  Hero Arts
     Ink:  Memento "Rich Cocoa"
     Paper:  Recollections and scraps

As always thank you so very much for your visit.  'Til next time.....

Big HUGS!!!
CHRISTINE

Wednesday, May 8, 2013

An Expression of Sympathy

No need to be alarmed by my title.  I just have a card for you.  So happy to have you join me today.  My card is for the 'Sympathy' theme week over at the Card A Day Blog and then it's going into my card box for later use.  It was somewhat of a quickie to make as I had decided to use pieces from a small pile of scraps I hadn't yet filed away.  So, without delay, here is my card:


Okay, let's see if I can remember any of the details.....Most of the cuts and papers were left over from a decorative box I made which you can see here .  Even the 5 1/2x4 1/4 card base came from those leftovers.  The doily was a half piece that I had saved from something - don't remember what it was.  The large flower piece was an extra cut that I had made for a wedding card, and the small flower is a plastic button with the shank cut off that was left from some 'recycled bottle' bracelets I was helping some Girl Scouts make.


The sentiment strip is a small scrap of handmade paper, purchased not made by me.  And the sentiment, itself, was stamped with Versamark and heat embossed using  Sweet Stamps 'Fine Detail Copper' embossing powder.  The stamp is from Hero Arts set C1342.  Sorry, but I don't have a name.
 
The side frame pieces were affixed using Tombow Mono, but the other pieces were layered using foam tape or Scotch Quick Drying Tacky Glue.
 
Well, I said it was a quickie, didn't I?!  Nope, I haven't even finished the inside; saving that for when the card will be used.
 
I hope you've had a sweet, though short, visit today.  Come back and see me again soon!!
 
Big THANKS and even bigger HUGS,
CHRISTINE

Saturday, April 20, 2013

Celebrate MOTHER Every Day

It feels like such a long time since I was last with you, but I've been a bit under the weather for most of the past two weeks.  I'm feeling better, not great, but definitely better, and I have a card to show you which was made for the Card A Day Blog theme, Mother's Day.  I like to think of every day as Mother's Day.  Where would any of us be without our moms, after all?  My mom has been gone a long time, but not a day goes by that I don't think about her.

The image stamp that I used for my card is one that I've had for quite awhile.  It's a silhouette stamp, and I was never sure how I wanted to use it, but while I was looking through my stamps for an idea for my card, this stamp practically jumped out at me.  I knew I wanted flowers, and I knew I wanted a child or children, and I wanted something playful.  Well, here it is:


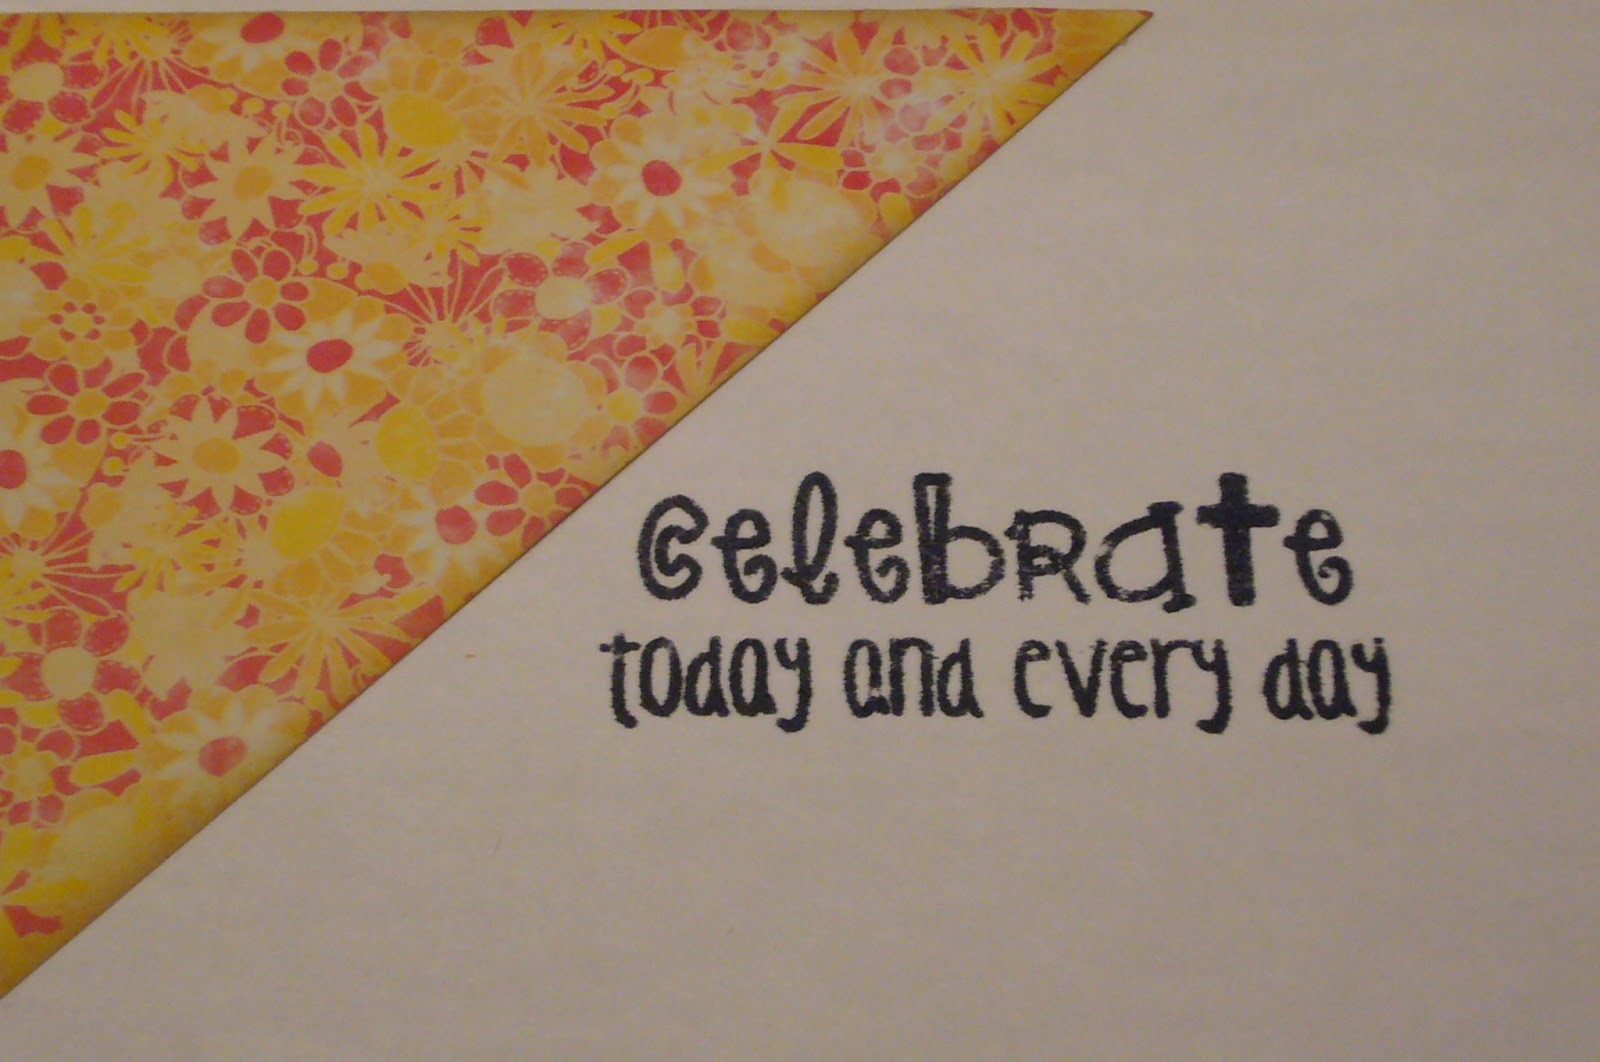
I decided that, rather than use the silhouette in the regular black on white that we are so accustomed to seeing, I would stamp my silhouette in reverse, that is, white on black.  It's a little unexpected, and I thought it would be a bit more fun.  I layered it with foam tape on a piece of yellow card leaving a narrow border.  On a white card base, 4 1/4x5 1/2, I applied three pieces of a bright floral dp.  I used a wide strip in the center, and triangles on the sides.  I then affixed the matted image with more foam tape for extra dimension.  My last addition to the front was a simple tag stamped with the word, mother.


I decided to bring a little color to the inside of my card by adding another triangle of the dp in one corner before stamping the sentiment.


And there you have it, a really quick and easy card that you can put together for your mother or adapt the design for any other occasion.

Thanks for coming to visit!!  Here are your deets:

          Papers:  Recollections black and yellow, Georgia Pacific white, Generations Stackers Primary Color Collection
          Stamps:  Hero Arts 'Dancing With Flowers', Pink By Design (no title, but it might be 'hello, life'), My Pink Stamper 'family & friends'
          Inks:  ColorBox 'Frost White', Memento 'Tuxedo Black', Tim Holtz Distress 'Antique Linen' (used for a bit of inking on the dp)

I am also entering this card in the Creative Digital Arts Center Anything Goes progressive challenge.  Lots of fun happening at CDAC, so come on by and check us out!!

Big HUGS,
CHRISTINE

Wednesday, August 8, 2012

Thinking of You

Greetings to all!  I hope you're having a wonderful day.  I've just returned from a lovely long weekend with my dear sister in Chicago, and the card I have for you today was made entirely from her materials  I did bring a few things of my own on the trip, but ended up not using them.

This card is for the Card A Day Blog, where our theme for the week is 'Embossing.'  I had brought several embossing folders and a few stamps to use for my card, but my sis pulled out some nice vellum.  So, I decided to do some hand embossing with a little paper piercing on the vellum since I haven't used those techniques in quite some time.  After doing a little test piece, I determined that my card would have a clean and simple look to showcase the hand embossing.


I used metal stencils from my sister's stash; one for the corner and one for the three center florals.  The left and top edges were also embossed and pierced using a stencil from Ecstasy Crafts.

The card base is a nice smooth white, cut to 4 1/4"x 5 1/2".  The mat is a glossy yellow cut just a bit smaller as I wanted only a tiny bit of the white edge showing.  And the vellum is affixed with white brads in three corners.  For a little variation I rounded just the lower right corner of all three layers.


Staying with the CAS idea, I stamped the greeting directly on the vellum and used white embossing powder to match the hand embossing.

This card definitely is versatile enough to use for many occasions.  I hope you'll click on the photos to get the best views.


This is really quite an easy card to make if you like to hand emboss.  That part does take some time, and, if you've never done it before, maybe a little practice.

The small print:
          Paper:  Best Occasions from Walmart Glossy Yellow,  Card base Neenah 'Solar White'
          Stamp:  Hero Arts 'Sweer Threads Labels'
          Stencils:  Ecstasy Crafts #PS123, (sorry, but I don't have names for the corner or floral)
          Ink:  Versamark
          Embossing Powder:  Stampendous 'Detail White'
Hope you'll come back to visit often, and remember to always keep your creative genius happy and well-fed!!

CHRISTINE

Tuesday, January 31, 2012

Feel Better

Hello, my friends!  Over at the Card A Day Blog we are still in 'Get Well' mode.  So I have another card for you in that theme, and I was still in the mood for paper folding, so I have another Iris Fold design to show you.

My card started with a scrap (yes, big surprise there, I know!) that was leftover from a die cut.  I saw the piece sticking out of my scrap envelope and thought it would be a great frame for an iris fold square.  I wanted to use some happy, sunshiny Spring colors, and took out one of my Iris Folding Papers booklets that had the right kind of papers.  I printed off the size square I needed, and went to work.


I did some inking around the edge of the piece as well as the edge of the paper, and then decided to find my card base.  Because of the size of the scrap, my card needed to be a 5 3/4" square.  I found a piece of Stampin' Up cardstock that was a perfect match.  I wanted the base to have a bit of texture, which I accomplished on my scoring board.  I affixed the central image and added a flourish at the top:


and a sentiment at the bottom.


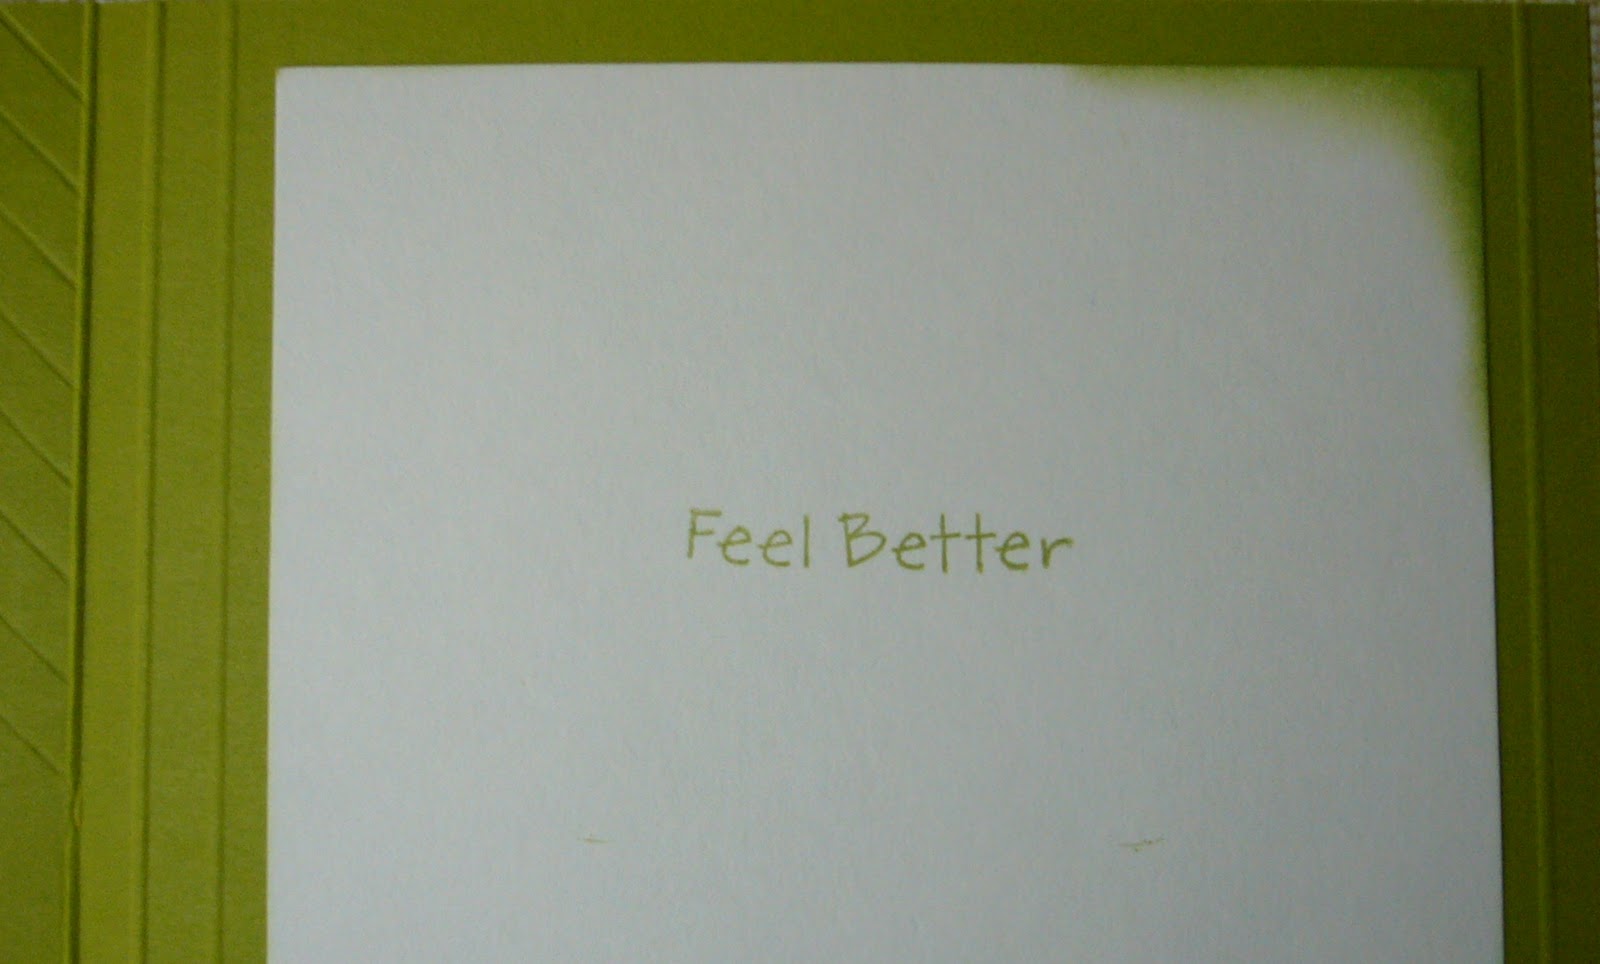
In keeping with the basic simplicity of the front, I added a very simple sentiment to the inside with some inking at the corners along with a few score lines for texture


Here is your full front view of today's card:


If you haven't visited us at the Card A Day Blog, please stop by sometime.  We bring you a new card inspiration every day from one of our many talented designers, with new themes nearly every week.  If you like challenges, we have those as well, of course including prizes!!

Added to:  Pink Cricut 'What Are You Up To?'
Thanks so much for coming to see me today.  Hope you have a moment  to leave a comment!

Remember, always keep your creative genius happy and well-fed!

CHRISTINE

Tuesday, June 21, 2011

AND THE WINNER IS.......

No, I'm not making it that easy.  I told you my winner in the Creative EdVentures First Ever Blog Hop will be announced tomorrow.  (tee hee)  But, since you were nice enough to stop by, I do have a card to show you.

A long-time friend of my husband lost his dad last week.  The family knew it was coming, but, of course, it's always a difficult time, and so sad that it came just before Father's Day.

I wanted to use a soft color scheme for this card.  I'm happy with the pretty blue.  This photo shows the signature page on the inside:

Here is a full view of the inside of the card:


I was very pleased with the soft simplicity of the card front.  I used generic papers, and stamped the white cardstock to make my own background design paper.

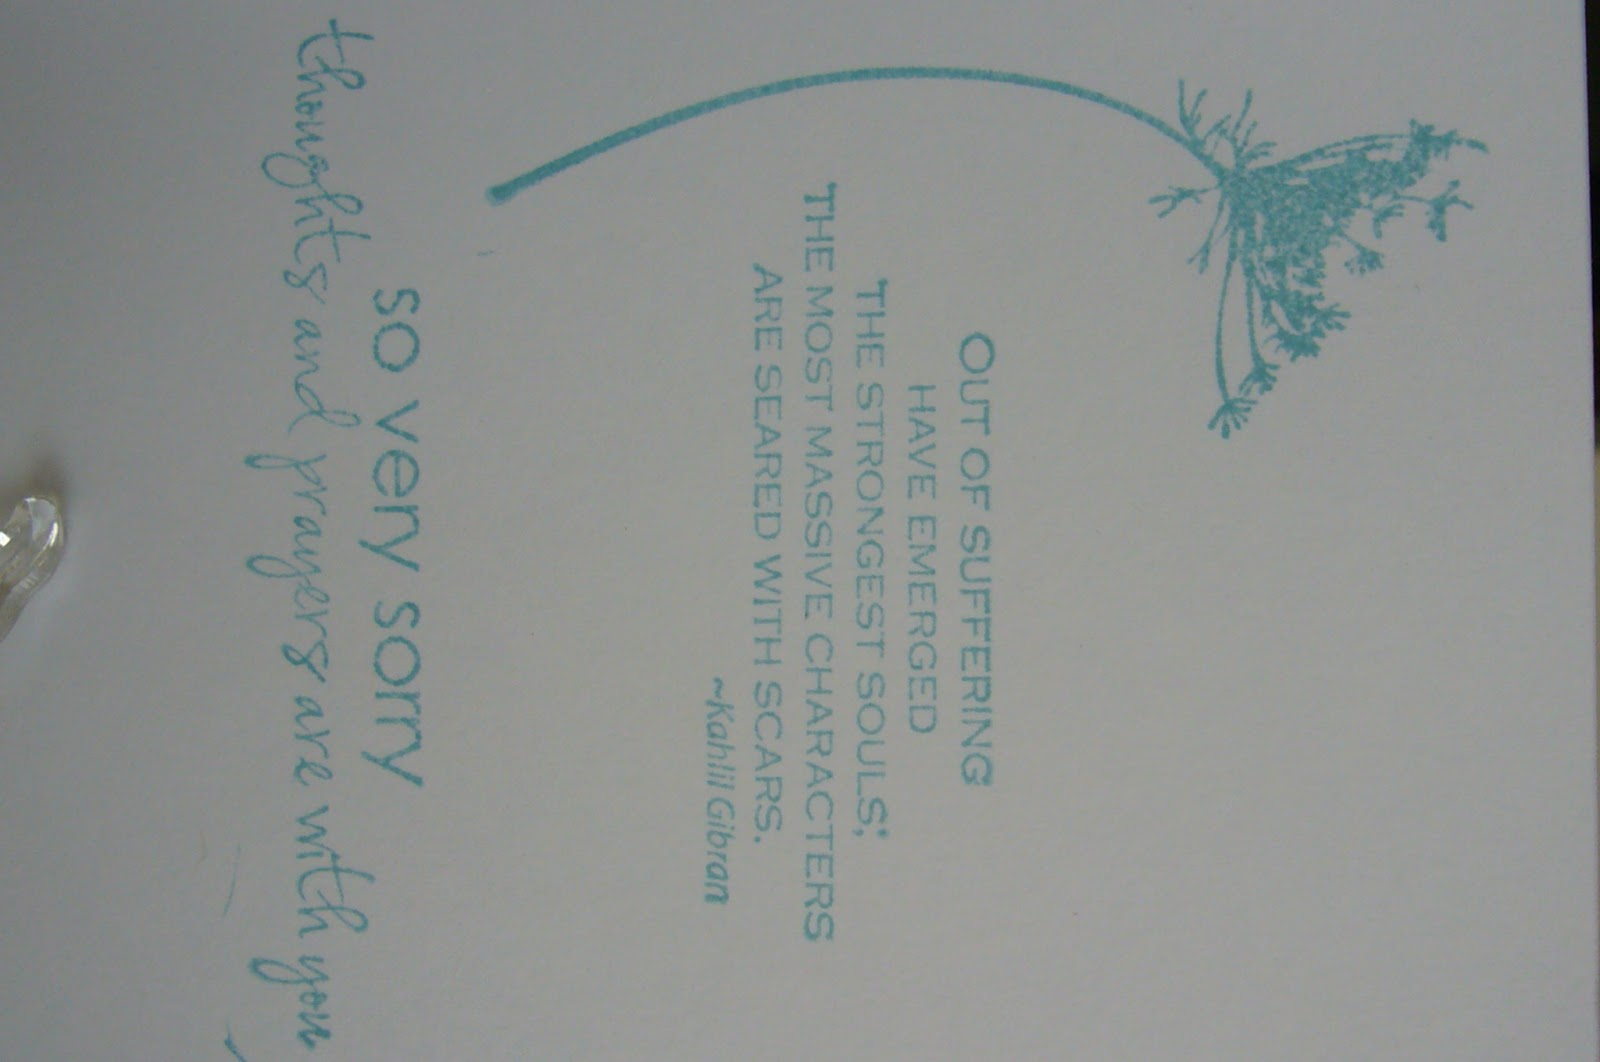
I thought it might be hard to read the sentiment, so here's a closer view.

I mentioned the paper.  Here are the other ingredients:
Spellbinders dies: Plain and Scalloped Ovals, Fancy Tags and Lacy Squares
Stampin' Up! Baja Breeze ink

Thanks for visiting today, and don't forget to come back tomorrow to see if you're a winner!!!

Keep your creative genius flowing.....
Christine