Followers

Showing posts with label Valentine. Show all posts

Wednesday, January 15, 2014

Who Loves You

Happy Wednesday, everyone!!  It's a beautifully bright sunny day where I am.  I hope your day is just as lovely.  And speaking of things 'love'ly, I have another Card A Day Blog Valentine inspiration for you.  Just as in my previous Valentine post, this card is definitely not your traditional "Cupid's Holiday" offering.  I do hope you like it, and it inspires you to go out of the usual Valentine zone and try something different for your loved one this year.  I think my card is ideal for one of the male valentines in your life.

This card came about because I was being so indecisive about which card design I wanted to use; I had three different ideas in mind.  So, I decided to pull out some of my bits and pieces of items left over from previous card-making sessions.  We're not talking about just scraps of paper, but you'll see.  I ended up with a totally different design from what I had expected.

In one of my envelopes of previously made, but unused, ephemera I found a large die cut label perfect for a background.  I also found several punched hearts, including a sweet sparkly one.  Another package search revealed a leafy branch and a cuter than cute die cut owl.  With those few pieces, all I needed were a sentiment and a card base.  Well, I found the card base in a stack of cut card stock, and I decided to create my own sentiment.

Okay, okay, enough blather.  Here's my card:
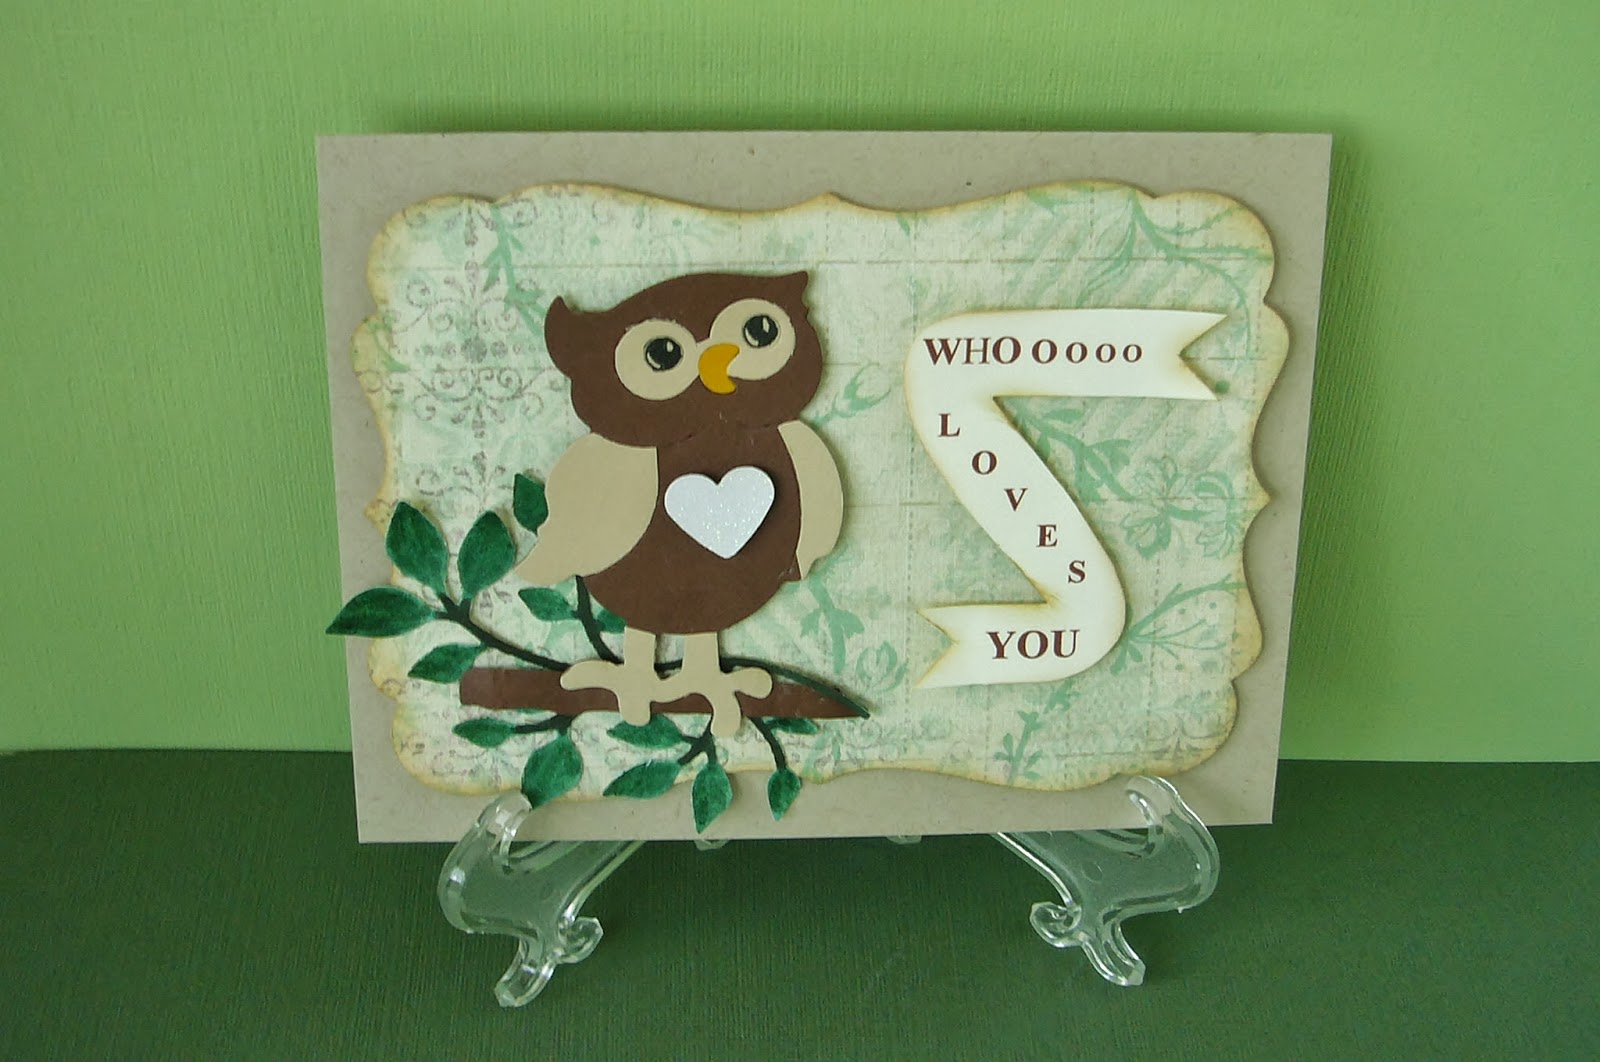
 
I first inked the background label to give the edges more definition so it wouldn't just fade into the kraft card base.  It seemed an ideal backing for an owl on a tree branch.  I mounted the background using foam tape.
 

I next took the leafy branch, which had originally been cut from white paper and colored with markers, and gave the leaves some dimension using a stylus and mouse pad.  I attached the branch with Scotch Quick-Drying Tacky Glue.
 
I then used the foam tape to affix the owl perched on his larger branch so it would look like the smaller branch was growing out of the larger one.
 
Next, I started working on my sentiment.
 

I decided what my owl would say, typed it into a word-processing document and printed it with brown ink onto Stampin' Up 'Very Vanilla' cardstock.  It had taken me awhile to decide on the shape, but I thought it would be cute as a ribbon flying in a breeze.  I tried it out first by writing it on scrap paper and hand cutting to determine whether I would like it and what the sizing should be.  After applying a bit of ink on the edges, I used the foam tape to apply the sentiment piece.
 
All I had left to do was apply the sparkly heart to the owl's chest.  Once the inside of the card is finished, it will, of course, say, "Your Valentine, That's Who."
 
 
I just adore this sweet little card.  I think my hubby will like it, too.  It was such fun putting this card together!  I hope you had fun reading about it.
 
Thanks so much for visiting.  'Til next time.....
 
Big HUGS!
CHRISTINE

Friday, January 10, 2014

ALWAYS.....

.....in my heart.  That is how I feel about you, my dear readers.  Welcome back!  This is my first post for 2014 as well as my first post of the year for the Card A Day Blog.  And we're kicking off the CADB year with Valentine's Day.  My inspiration today actually comes from a guest designer, who wishes to remain nameless, but I think most of you can guess who I'm talking about from previous guest appearances.  This isn't your typical splashy red Valentine, but if you look closely you will find a tiny red heart peaking out.

This card is very cute, but it's also easy to make, especially if you like to color, as the featured image was colored with copics.


This little girl and her sentiment are from the My Favorite Things "Pure Innocence" collection.  If you're not familiar with this line you should definitely take a look; they are so adorable.  Two scraps of design paper were used; one for the sentiment and one to create a colorful off set border.


A white mat was embossed, and a piece of twine wrapped and tied on before mounting to the white A2 sized card base.


I really love this sweet card, and thank my 'guest designer' for her contribution.

Thanks so very much for your visit today.  I hope to see you again soon -- and often!!

'Til next time.....

Big HUGS!!
CHRISTINE


Thursday, January 12, 2012

It's Puppy Love!

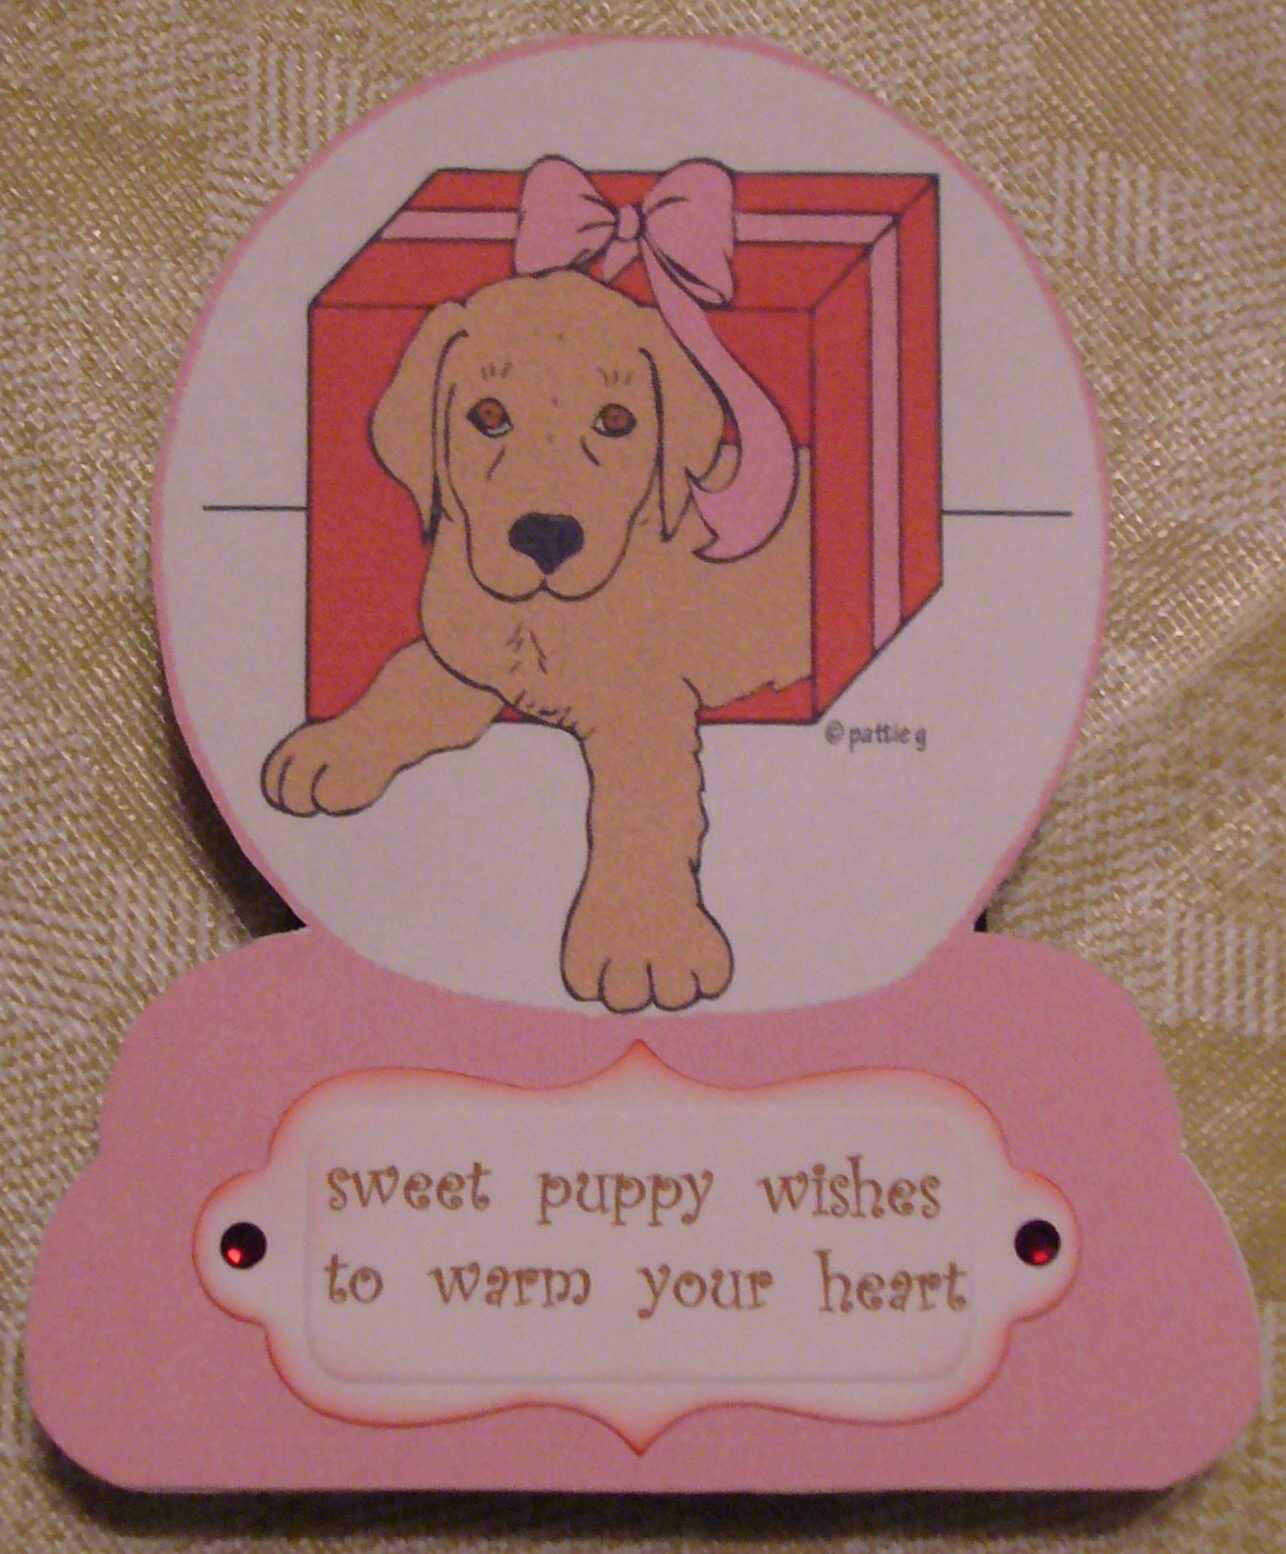
The current Crafter's Digital Art Center Progressive Challenge has such cute images for us to play with.  We are on cdacpc9, and it's for members only, but there is a way to join while it's in progress.  So go on over to the CDAC website and check it out.

I couldn't resist Crafty Ann's snowglobe, and Pattie's Creations gave us an adorable puppy in a gift box.  I created one card for pc9, but I actually played around with the artwork until I figured out how to combine the two images.  I am so pleased that I was able to add this skill to my repertoire.  I'm sure I'll be using it regularly.  I was able to put the puppy image inside the snowglobe, color it in the software, and print it out so that I could cut it with a fold at the top. { I love shaped cards! }  I used two different Spellbinders shapes for the inside and outside sentiments which I created in Word.  A little inking and some rhinestones for a bit of sparkle, and it's done!

Here are the photos for you:


I hope you like my cute little puppy snowglobe.  Please leave a comment to tell me what you think, and thanks for stopping by!


And always keep your creative genius happy and well-fed!!

CHRISTINE

Monday, January 2, 2012

Ring in the New Year with LOVE

Hello everyone, and HAPPY NEW YEAR!!!  I hope all of you enjoyed a season of abundant joy and many blessings.  I know I did.  And now I'm ready to get back to the fun of creating.

I am so honored to have the first card of 2012 posted in the Card A Day Blog .  Our first theme of the year is Valentine's Day.  I had a few goals in mind when I started designing my card:  I wanted to use my Cricut; I wanted to create a shaped card; and I wanted my card to be sized for a #10 envelope instead of my so very typical standard A2 size (5 1/2 x 4 1/4).  With those goals in mind, and considering the subject, I determined that I would use the heart shape, but in multiples.  What I came up with is three stacked and layered hearts.  I'll show them to you one at a time from the top.


You can see in the photo that I started with a white, and inked, card base.  The layered heart was cut in red card, embossed on my Cuttlebug, and inked with white and red to show the texture.  The sentiment was cut from gold card, stamped and heat embossed with opaque white, inked just a bit and embellished with red jewels.  It was affixed with foam tape.


The middle heart was cut from a lovely silver glitter paper.  I decided to let the paper speak for itself, so it has no further embellishment other than a bit of red inking around the edges.  The glittery heart is affixed with foam tape to raise it just a bit from the top and bottom hearts.


My bottom heart was cut from the same pretty gold card stock as the top sentiment piece.  It's embellished with a stamped and heat embossed floral image enhanced with red jewels, as well as a smaller embossed heart cut from the same red card as the uppermost heart.  This small heart is also affixed with foam tape for extra dimension.  The white embossing of the floral image, as well as the sentiment, looked a little stark, so I softened it a bit with the red ink.

Because the card front has so many elements, I decided to leave the inside very plain except for a pretty sentiment which I stamped in red.


This stacked heart card base was created using a heart image from the Accent Essentials Cricut Cartridge on my Gypsy.  I took the simple heart image, duplicated it, stacked and then welded the three shapes.  I placed the folded card stock on the cutting mat so that the left side would not be cut.  I used a blade depth of 5 and repeated the cut twice to be sure both layers would be cut through.  For the layered hearts, I used the same heart image, but made it just a bit smaller than the size used for the base, and cut it from the three separate papers.  Here is the full front view, as well as an angled view to better show the dimension:


I do hope you've enjoyed your visit with me today.  I wish you many wonderfully creative times during the coming year, and hope that you and your family enjoy good health, happiness and lots of love.

Always keep your creative genius happy and well-fed!

CHRISTINE