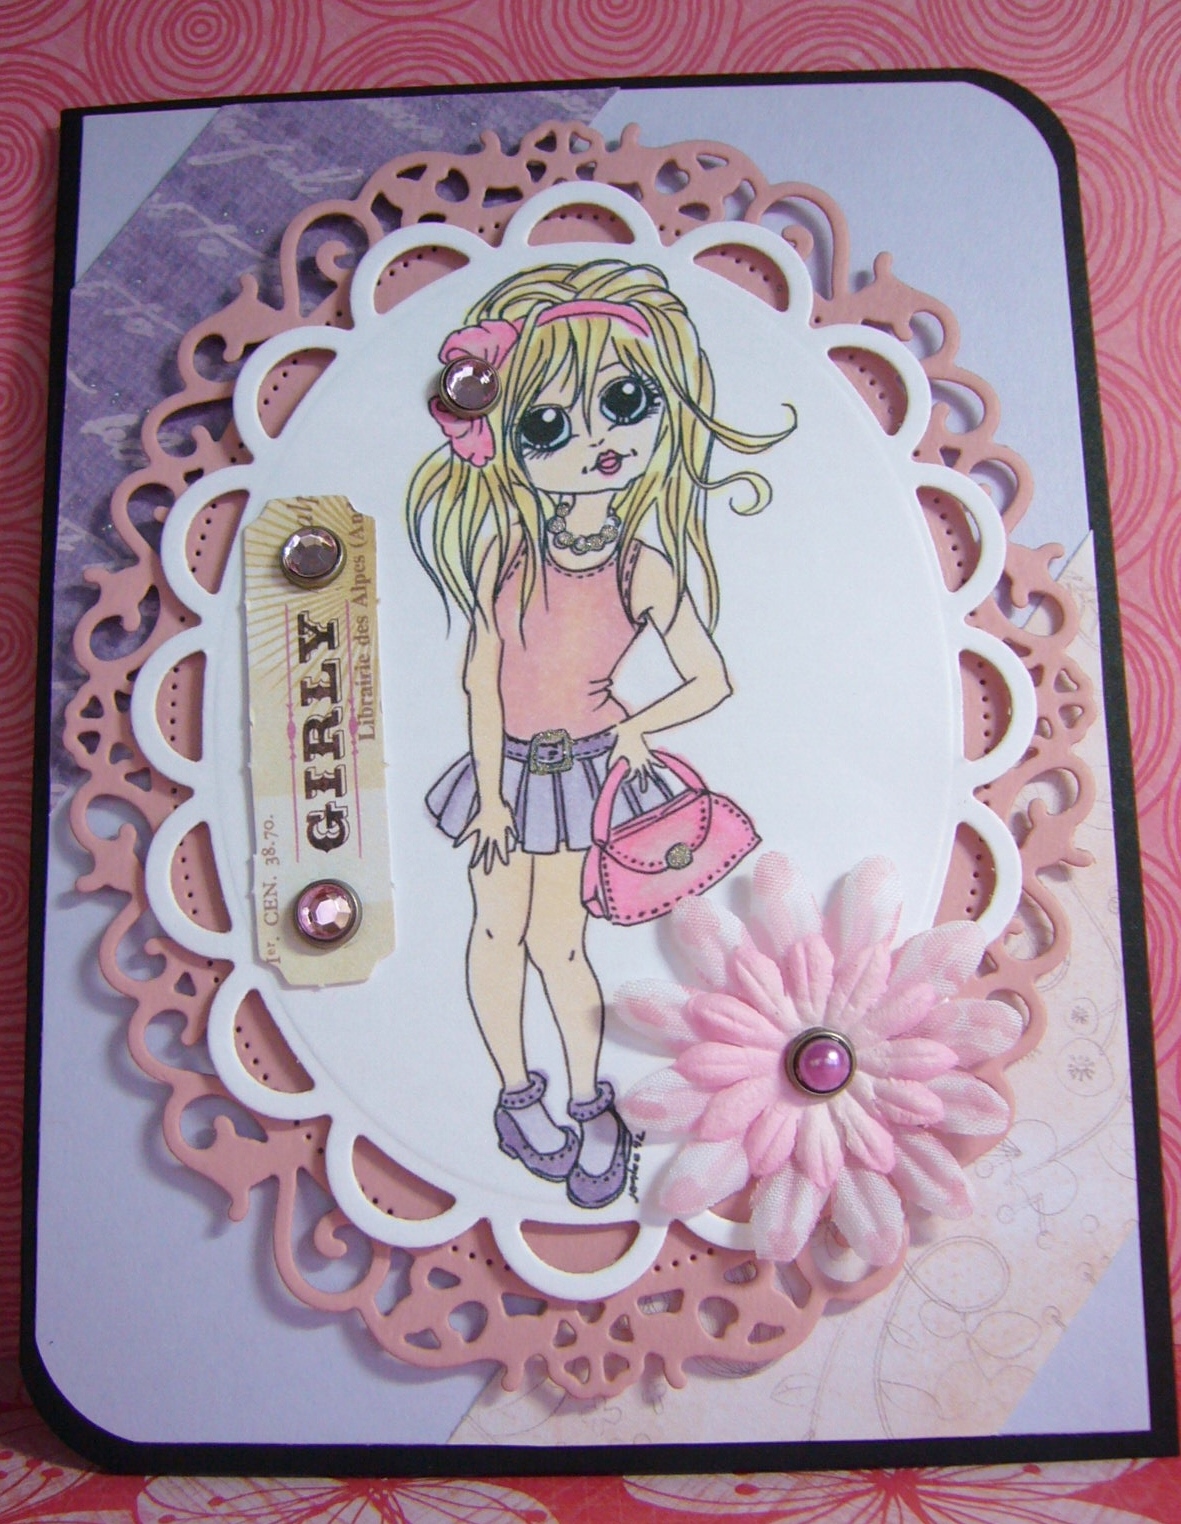
Welcome!! I'm so happy you came to visit today. I am designer of the day on the Card A Day Blog where our theme of the week is "TEEN." My card was such fun to make, but a challenge as well because I was not only making a card for an age group I'm not that familiar with any more, but I was also making this card for one of our challenges at the Crafter's Digital Art Club, Easy As 1-2-3. In addition to a digital image, the challenge required the use of one sentiment, two design papers and three embellishments. Here is your first look:
I first chose the two dps to give me a color basis. These two pieces, as well as the cut ovals, were from my scraps. I must confess, however, that my card base and the mat were both cut new. I just didn't have the right colors in the scrap stack.
Once I had the papers chosen I selected the embellishments. Then I went about finding the right colors from my collection of Copics to color my image. I just love this image. She is called "Uptown Cutie" and she comes from Jen Leeflang at DigiStamps4Joy.
I colored the image, and then used a die to cut it out. I also die cut a fancy frame for her. I added a bit of glam to her outfit with a glitter pen, and used sparkly brads for some extra glitz.
The brads were used to attach my little sentiment tag as well as sparkle up my cutie's bow. The last addition was the flower which I attached using a pearly brad as the center.
I used foam tape to affix the two oval layers so that my card would have lots of dimension, but still remain flat enough to fit easily into an envelope.
Here are some of the details:
Papers: Recollections (black and lilac)
Flower: Petaloo and The Paper Studio
Brads and Sentiment Tag: My Mind's Eye "Lost & Found" collection
Glitter Pen: Sakura Gelly Roll "Clear Star"
Copics: V20, V25, RV11, RV13, R00, BG01, Y00, E000, E31
Dies: Spellbinders Nestabilities Lacey Ovals and Floral Ovals
See you again soon!!!
Big HUGS,
CHRISTINE
This blog was created for the display and exchange of craft ideas and information, especially on cardmaking, but also including such lovely activities as scrapbooking, knitting, crocheting and sewing.
Followers
Showing posts with label Gelly Roll. Show all posts
Friday, June 28, 2013
Monday, April 29, 2013
FOR YOU...
Hello lovely followers and guests! I have another Card A Day Blog offering for you today. I made a card for my sister's birthday. Yes, it's okay, her birthday was last week! (Carole, if the post office lost your card, here it is!!!) I used an adorable stamp set from Crafter's Companion called Angelica. She's a cute little birthday angel.
I started with a lavender card base. The image was stamped onto white card and colored with Copics and glitter pens. I used my ATG to affix the image to the card base. Then I took another piece of lavender, ran it through my Cuttlebug, and cut out the center with a craft knife making a frame for the image, which I affixed with foam tape. I inked the frame to bring out the embossed design.
I used the same embossing folder for the inside layer, but I affixed it with the de-bossed side facing up. I stamped the birthday greeting and was finished. This card fits a standard A2 envelope.
Unfortunately, the glittering doesn't show up much, if at all, in the photos, but I used it on the wings, the ribbons and the butterflies.
Here are the other details:
Paper: Recollections (lavender), Georgia-Pacific (white)
Ink: Stampin' Up Wisteria Wonder
Embossing Folder: Darice Ornate Frame
Glitter Pens: Sakura Gelly Roll, Clear Star and Purple Star
I am also entering this card in the Crafter's Digital Art Center Anything Goes challenge. These challenges are running for three months, ending June 30th, so there's still plenty of time to enter. Anyone can join. Hope to see you there!!
Thanks so much for stopping by today!
Big HUGS,
CHRISTINE
I started with a lavender card base. The image was stamped onto white card and colored with Copics and glitter pens. I used my ATG to affix the image to the card base. Then I took another piece of lavender, ran it through my Cuttlebug, and cut out the center with a craft knife making a frame for the image, which I affixed with foam tape. I inked the frame to bring out the embossed design.
I used the same embossing folder for the inside layer, but I affixed it with the de-bossed side facing up. I stamped the birthday greeting and was finished. This card fits a standard A2 envelope.
Unfortunately, the glittering doesn't show up much, if at all, in the photos, but I used it on the wings, the ribbons and the butterflies.
Here are the other details:
Paper: Recollections (lavender), Georgia-Pacific (white)
Ink: Stampin' Up Wisteria Wonder
Embossing Folder: Darice Ornate Frame
Glitter Pens: Sakura Gelly Roll, Clear Star and Purple Star
I am also entering this card in the Crafter's Digital Art Center Anything Goes challenge. These challenges are running for three months, ending June 30th, so there's still plenty of time to enter. Anyone can join. Hope to see you there!!
Thanks so much for stopping by today!
Big HUGS,
CHRISTINE
Sunday, November 4, 2012
A Bit of Christmas Joy
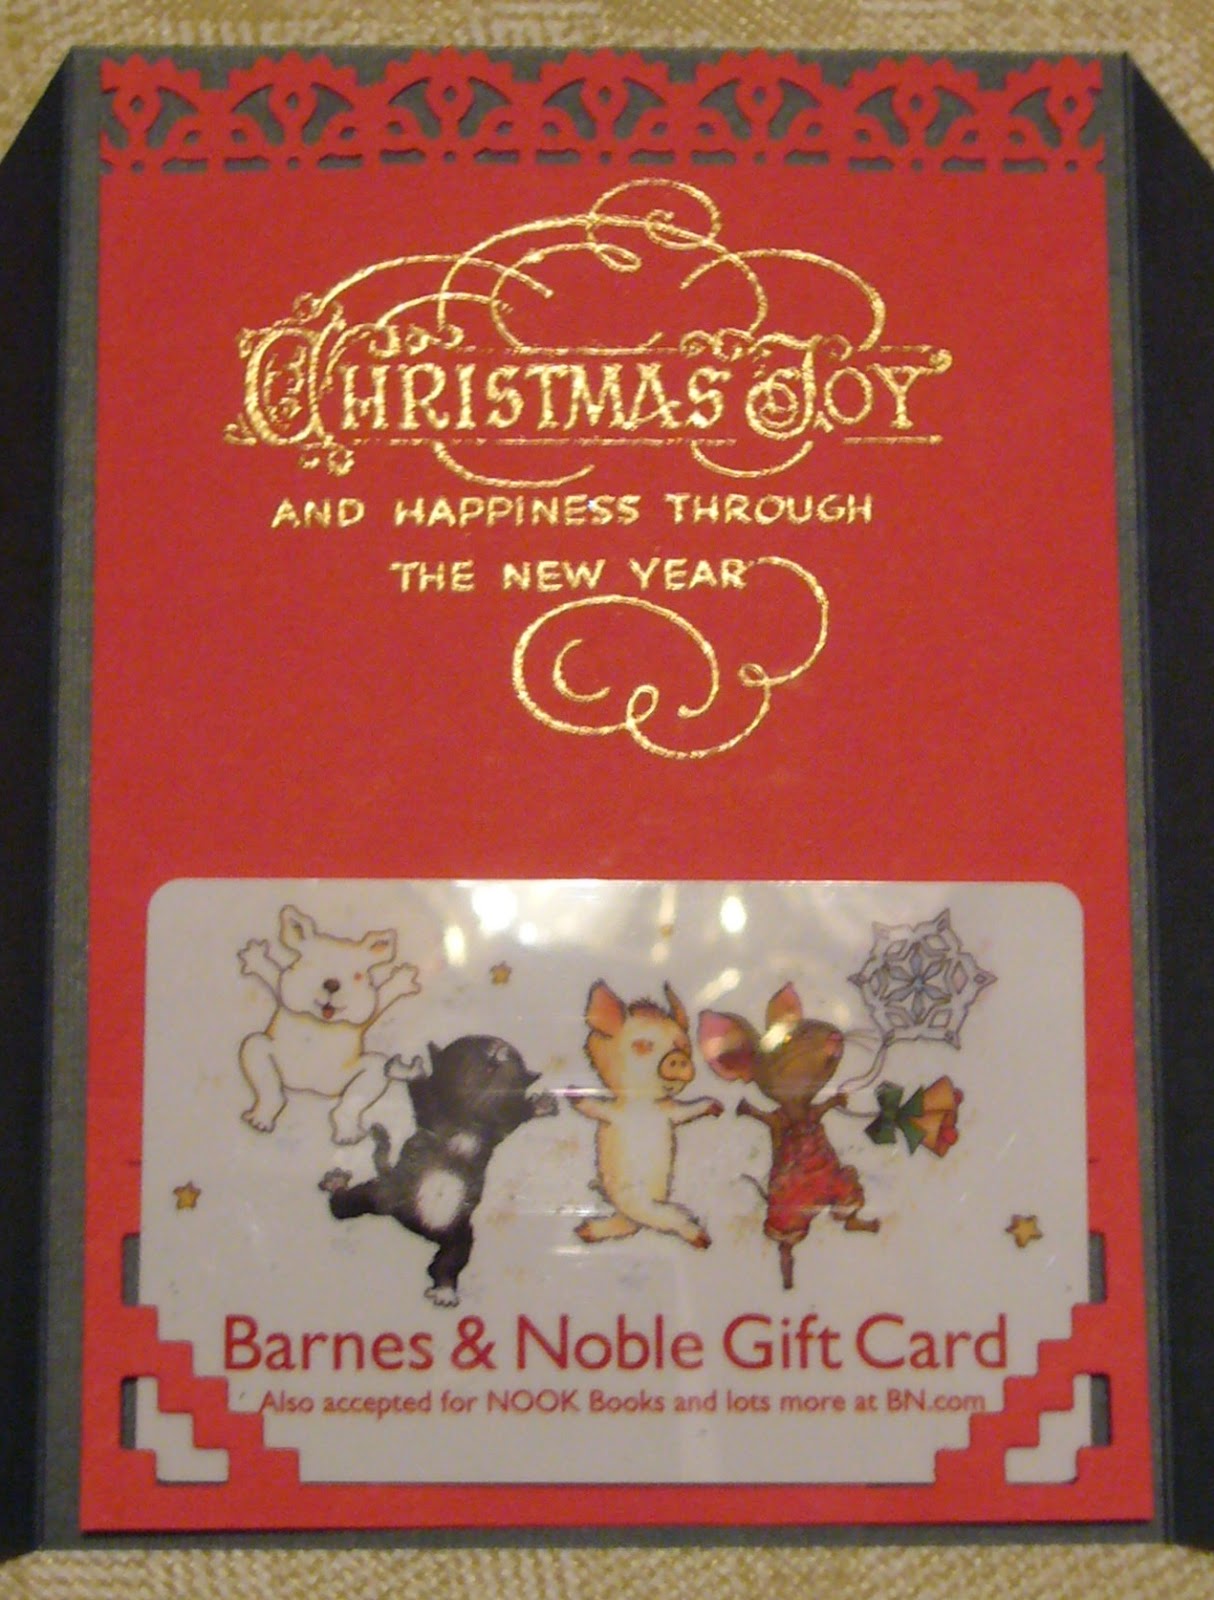
Yes, I know, it's only the beginning of November, but Christmas will be here before we know it. I have the Card A Day Blog spot today, and I am beginning the new theme of 'Christmas Gift Card.' I think my card has a very traditional look to it with the red and green colors and the holly design paper, and I gave it just a little touch of sparkle to spice it up, as well as a coordinating envelope.
The base is 12" x 5 1/2" and, when folded, creates a card that fits a standard A2 envelope. It's best to used a two-sided paper for the base to give a more finished look once it's put together. The base is folded in thirds with the two side sections being cut to form triangles that cross over. Here's a first look for you:
I hope you've enjoyed your visit with me today. You might be able to use this card idea for some of your upcoming holiday gift-giving.
I'm still trying to get photos together of the Girl Scout projects I mentioned in an earlier post. I'll do that soon so you can see what we've been up to recently.
Wishing you a beautiful day,
CHRISTINE
The base is 12" x 5 1/2" and, when folded, creates a card that fits a standard A2 envelope. It's best to used a two-sided paper for the base to give a more finished look once it's put together. The base is folded in thirds with the two side sections being cut to form triangles that cross over. Here's a first look for you:
As you can see, I started with a dark green base (DCWV Textured Naturals), and added triangles of the holly design paper (Recollections Jolly Jamboree). The insert, as well as the snowflake embellishment, are also from Recollections paper (Bright Christmas pack). I used a glitter pen to outline the snowflake and draw the faux stitching around the dp.
I used coordinating Martha Stewart punches for the insert trim and the snowflake. Then I used a die to cut notches at the bottom of the insert. You can see that here:
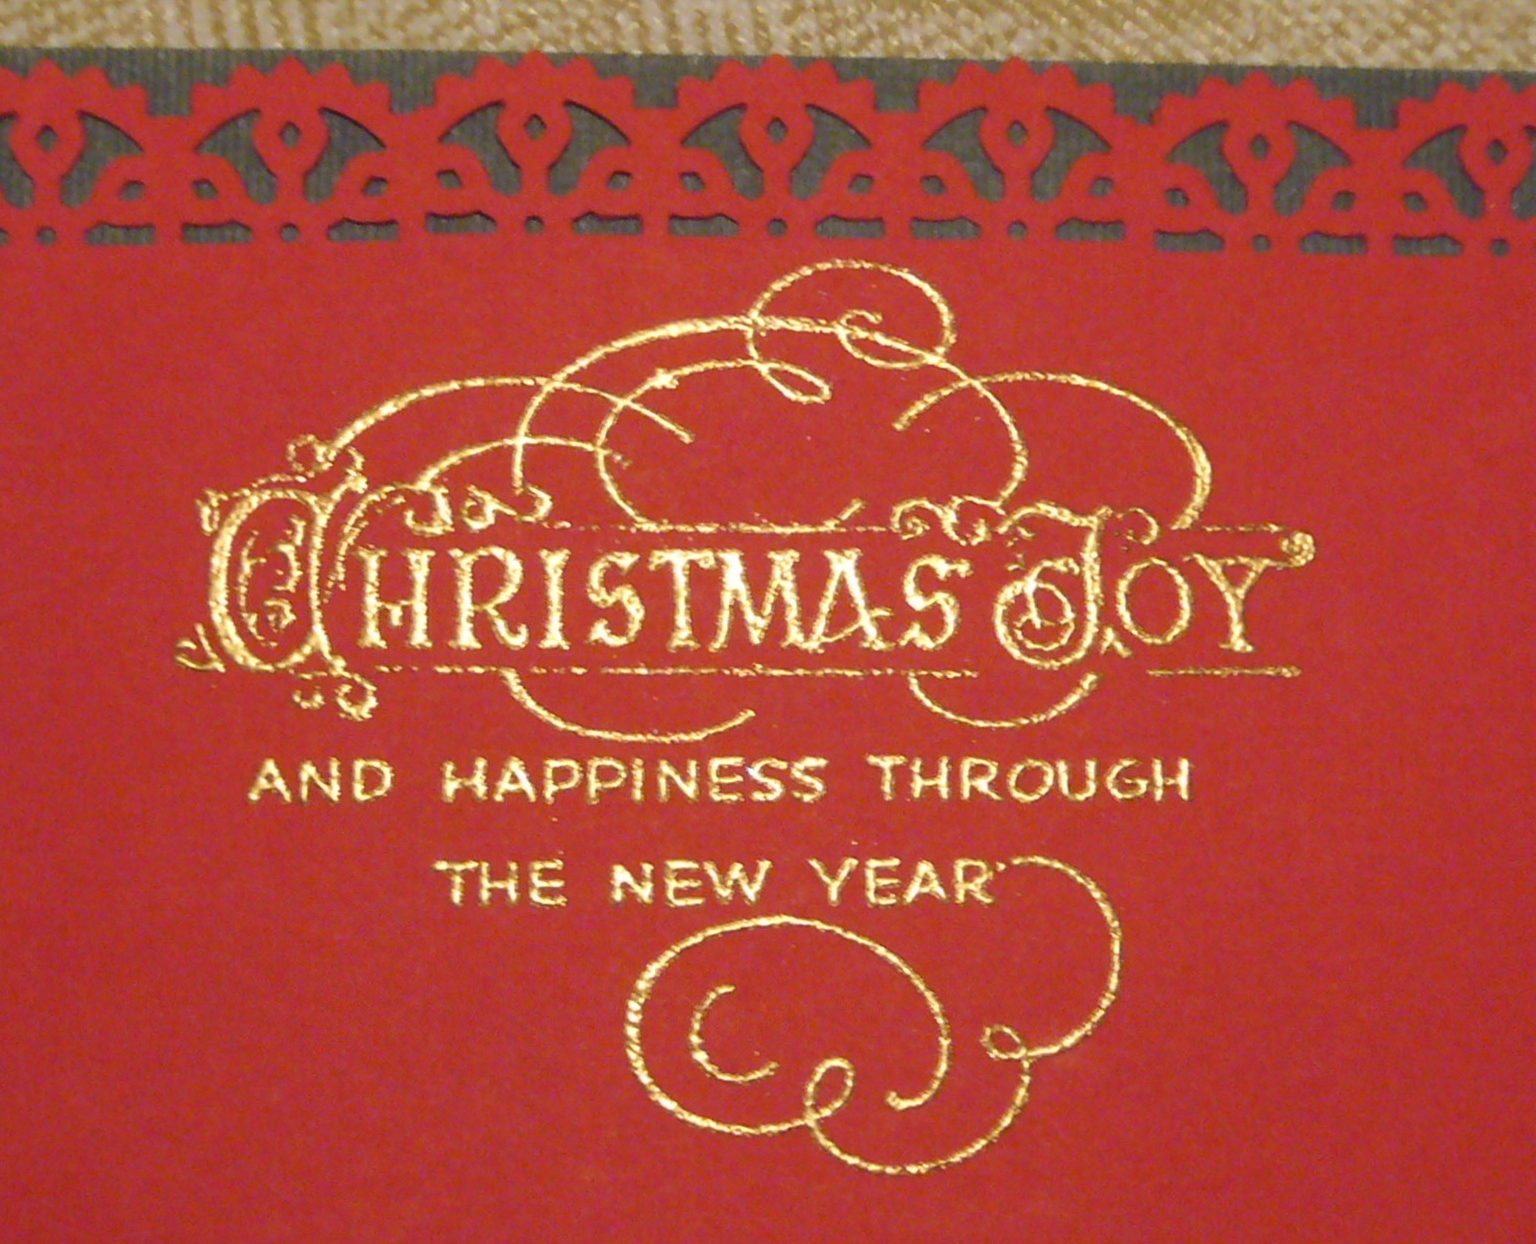
The next photo shows a gift card inserted in the cut outs. The photo below it gives you a nice look at the embossed greeting.
And then one more shot to give you a full view of the opened card:
I mentioned that this card has a coordinating envelope. I used the same punch on the envelope flap that I used on the top of the card insert. It was a combination of a border punch with it's matching corner punch. Here is a look at the card with its envelope:
That pretty much wraps it up for this one. The last photo shows most of the supplies I used in addition to the papers already mentioned. I used my ATG to affix the pieces except for the snowflake for which I used a Zig 2-Way Glue Pen.
I hope you've enjoyed your visit with me today. You might be able to use this card idea for some of your upcoming holiday gift-giving.
I'm still trying to get photos together of the Girl Scout projects I mentioned in an earlier post. I'll do that soon so you can see what we've been up to recently.
Wishing you a beautiful day,
CHRISTINE
Saturday, November 19, 2011
We Three Kings.....
It's another Card A Day Blog posting day for me. If you've never been there, or just haven't checked it out lately, CADB has been offering lots of Christmas cards, and will continue through the middle of December in hopes of offering some inspiration for your own holiday cards. Your visit here, today, brings you to your last stop on this week's Christmas Around the World Tour. I wanted to bring you a bit of one of the cultures of my grandparents, so I have chosen to represent one of the customs of Mexico and Spain - the celebration of Epiphany. You'll find some info on this holiday at the end of this post. But first, let me show you my card.
I knew I wanted to keep this card simple so all the focus would be on the stamped image which is, as you see, the three kings following the star to the stable. I stamped the image in Versamark, and used some dark blue embossing powder to be sure it would stand out as a nice sharp silhouette. Next, I used a clear glitter pen to highlight the main star and some of the smaller stars. Then, I stamped and embossed the sentiment with silver embossing powder.
I wanted to use some ribbon on this card, and chose one with a kind of holographic glitter. It's somewhat sheer, and allows the color of the card base to show through. I decided to use a very dark blue cardstock for the base to give the effect of a clear, dark night.
In figuring the placement on the card I had two considerations. First, I wanted the ribbon to give the effect of extending the light of the star, and so placed it in alignment with the star's rays. Also, I wanted the ribbon to make the card look like a wrapped gift, thus representing the gift of God to us, his only Son, Jesus, who is the Light of the World.
Here is the full front view of the card:
I wasn't sure they were really needed, but I added some little jewel stickers to two opposing corners.
As you can see in the next photo, I wrapped the ribbons around the front of the card base so that the ends are tucked under the front image, rather than having to add a layer to the inside. I did the inside sentiment and image on my computer, and colored the image with glitter pens and markers. The Pinata is another very important part of holiday celebrations in Mexico, which is why I decided to use that for my inside image.
And here is a slightly closer look:
Here is a final view of the card. (I hadn't finished the inside at the time of the first photos, so you can't see it peeking out in this angled picture.)
Now that you have seen all the details of my card, here is a brief description of Epiphany that comes from Why Christmas? , which is a site where you can read about lots of different Christmas customs from around the world. The following excerpt comes from the page on Spain, with information contributed by María Níñez.
I knew I wanted to keep this card simple so all the focus would be on the stamped image which is, as you see, the three kings following the star to the stable. I stamped the image in Versamark, and used some dark blue embossing powder to be sure it would stand out as a nice sharp silhouette. Next, I used a clear glitter pen to highlight the main star and some of the smaller stars. Then, I stamped and embossed the sentiment with silver embossing powder.
I wanted to use some ribbon on this card, and chose one with a kind of holographic glitter. It's somewhat sheer, and allows the color of the card base to show through. I decided to use a very dark blue cardstock for the base to give the effect of a clear, dark night.
In figuring the placement on the card I had two considerations. First, I wanted the ribbon to give the effect of extending the light of the star, and so placed it in alignment with the star's rays. Also, I wanted the ribbon to make the card look like a wrapped gift, thus representing the gift of God to us, his only Son, Jesus, who is the Light of the World.
Here is the full front view of the card:
I wasn't sure they were really needed, but I added some little jewel stickers to two opposing corners.
As you can see in the next photo, I wrapped the ribbons around the front of the card base so that the ends are tucked under the front image, rather than having to add a layer to the inside. I did the inside sentiment and image on my computer, and colored the image with glitter pens and markers. The Pinata is another very important part of holiday celebrations in Mexico, which is why I decided to use that for my inside image.
And here is a slightly closer look:
Here is a final view of the card. (I hadn't finished the inside at the time of the first photos, so you can't see it peeking out in this angled picture.)
Now that you have seen all the details of my card, here is a brief description of Epiphany that comes from Why Christmas? , which is a site where you can read about lots of different Christmas customs from around the world. The following excerpt comes from the page on Spain, with information contributed by María Níñez.
"There is another festival that is celebrated in Spain and Mexico that is about the Christmas Story. It is called Epiphany or Kings' Day and is celebrated on 6th January. This is the twelfth night after Christmas. In Spanish, Epiphany is called 'Fiesta de Los tres Reyes Mages': in English this means 'The festival of the three Magic Kings'. Epiphany celebrates when the Kings or Wise men brought gifts to the baby Jesus.
Children have some presents on Christmas Day, but most are opened at Epiphany. Some children believe that the Kings bring presents to them at Epiphany. They write letters to the Kings on Boxing Day, December 26th, asking for toys and presents. And on Epiphany Eve (January 5th) they leave shoes on windowsills or balconies or under the Christmas Tree to be filled with presents. Gifts are often left by children for the Kings, a class of Cognac for each King, a satsuma and some walnuts. Sometimes a bucket of water is left for the camels that bring the Kings! If the children have been bad, the Kings might leave pieces of coal made out of sugar in the presents!
Some big towns and cities have Epiphany Parades with each King having a big float that is shaped like a camel. Sometimes there are also real camels in the parade. The Three Kings in the the Spanish Epiphany are:
- Gaspar, who has brown hair and a brown beard (or no beard!) and wears a green cloak and a gold crown with green jewels on it. He is the King of Sheba. Gaspar represents the Frankincense brought to Jesus. Frankincense is sometimes used in worship in Churches and showed that people worship Jesus.
- Melchior, who has long white hair and a white beard and wears a gold cloak. He is the King of Arabia. Melchior represents the Gold brought to Jesus. Gold is associated with Kings and Christians believe that Jesus is the King of Kings.
- Balthazar, who has black skin and a black beard (or no beard!) and wears a purple cloak. He is the King of Tarse and Egypt. Balthazar represents the gift of Myrrh that was brought to Jesus. Myrrh is a perfume that is put on dead bodies to make them smell nice and showed that Jesus would suffer and die."
Not included in photo:
3 additional glitter pens, 2 Bic Mark-It pens, and a partridge in a pear tree. (Sorry, I simply could not resist that last bit. LOL)
Papers: A2 card base in 'In the Navy' from Gina K Designs, design papers from Busy Scrapper's Solution Christmas Papers by Hot of the Press
I had a great time making today's card, and writing this post. I hope you've had fun,too, on your visit here! Sending hugs --I'll see you again soon!!
Always keep your creative genius happy and well-fed! (Just thought it was time for a little change.)
CHRISTINE
Sunday, September 18, 2011
Cats and Bats and Spiders, OH MY! ! !
I think Halloween really might be my favorite holiday for making cards. It's just so much fun to pull out all the spooky and creepy and scary elements that we can use for this wild and crazy holiday. Today's card is another design for the Card A Day Blog theme week, 'Cats and Bats.' This post is somewhat photo packed so you can get up close and personal with all the details and angles.
The base for today's card is a leftover piece of a 12x12 Halloween-themed heavier-weight design paper I used last year. You can see the card, which used the reverse side of the paper, here . Unfortunately, I neglected to note down the source of the paper. As in that card, I decided to make this one a tri-fold shutter, it gives so many surfaces and hiding places for design elements. The 6x12 base is scored at 2", 4", 8" and 10" and cuts are made the length of the piece at 1 5/8" from each edge and between the 2" and 10" score lines. The spacing of the cuts can be changed as desired. Here is a photo of the back of the card which will give you a good idea of what your piece should look like when scored, cut and folded. The card finishes at 4"x6".
With the base prepared, I started planning all the elements. Of course, I knew the theme I was following, so that gave me my start. I decided to feature the 'stars' of the theme, the bats and cat, on the front. They needed a 'setting' so I added the gravestone. You're going to love this: the gravestone was cut from an old envelope. I thought the inside of the envelope was great for a look of granite.
The base for today's card is a leftover piece of a 12x12 Halloween-themed heavier-weight design paper I used last year. You can see the card, which used the reverse side of the paper, here . Unfortunately, I neglected to note down the source of the paper. As in that card, I decided to make this one a tri-fold shutter, it gives so many surfaces and hiding places for design elements. The 6x12 base is scored at 2", 4", 8" and 10" and cuts are made the length of the piece at 1 5/8" from each edge and between the 2" and 10" score lines. The spacing of the cuts can be changed as desired. Here is a photo of the back of the card which will give you a good idea of what your piece should look like when scored, cut and folded. The card finishes at 4"x6".
With the base prepared, I started planning all the elements. Of course, I knew the theme I was following, so that gave me my start. I decided to feature the 'stars' of the theme, the bats and cat, on the front. They needed a 'setting' so I added the gravestone. You're going to love this: the gravestone was cut from an old envelope. I thought the inside of the envelope was great for a look of granite.
I love the look of the 'blood-drip' letters in the warning sign. And, of course there must be a spider creeping along in the fallen branches.
The spider needs a sparkly web. And it just wouldn't be right to leave out the jack-o-lantern or the skull and crossbones. I also added a little extra sparkle here and there which doesn't show up well in the photos.
I hope you've enjoyed my bit of Halloween fun with cats and bats. Here's the main recipe, followed by a few last photos.
RECIPE:
Dies: CRICUT October 31 Cartridge; Cuttlebug 'Creepy', 'Beware', 'RIP'
Papers: Recollections
Stickers: Jolee's boutique, K&Company Layered Accents 'Spooktacular'
Rub-Ons: K&Company
Rhinestones: Studio 18
Ink: Stampin' Up Basic Gray
Glitter Pens: Copic Spica Black, Gelly Roll Clear Star
Dimensional: 3L Black 3D Foam Squares
I hope you have a moment to leave some love. See you again soon!!
Be sure to keep your creative genius flowing.........
CHRISTINE
Subscribe to:
Posts (Atom)