Followers

Saturday, November 19, 2011

We Three Kings.....

It's another Card A Day Blog posting day for me. If you've never been there, or just haven't checked it out lately, CADB has been offering lots of Christmas cards, and will continue through the middle of December in hopes of offering some inspiration for your own holiday cards.  Your visit here, today, brings you to your last stop on this week's Christmas Around the World Tour.  I wanted to bring you a bit of one of the cultures of my grandparents, so I have chosen to represent one of the customs of Mexico and Spain - the celebration of Epiphany.  You'll find some info on this holiday at the end of this post.  But first, let me show you my card.


I knew I wanted to keep this card simple so all the focus would be on the stamped image which is, as you see, the three kings following the star to the stable.  I stamped the image in Versamark, and used some dark blue embossing powder to be sure it would stand out as a nice sharp silhouette.  Next, I used a clear glitter pen to highlight the main star and some of the smaller stars.  Then, I stamped and embossed the sentiment with silver embossing powder.

I wanted to use some ribbon on this card, and chose one with a kind of holographic glitter.  It's somewhat sheer, and allows the color of the card base to show through.  I decided to use a very dark blue cardstock for the base to give the effect of a clear, dark night.

In figuring the placement on the card I had two considerations.  First, I wanted the ribbon to give the effect of extending the light of the star, and so placed it in alignment with the star's rays.  Also, I wanted the ribbon to make the card look like a wrapped gift, thus representing the gift of God to us, his only Son, Jesus, who is the Light of the World.

Here is the full front view of the card:


I wasn't sure they were really needed, but I added some little jewel stickers to two opposing corners.

As you can see in the next photo, I wrapped the ribbons around the front of the card base so that the ends are tucked under the front image, rather than having to add a layer to the inside.  I did the inside sentiment and image on my computer, and colored the image with glitter pens and markers.  The Pinata is another very important part of holiday celebrations in Mexico, which is why I decided to use that for my inside image.


And here is a slightly closer look:


Here is a final view of the card.  (I hadn't finished the inside at the time of the first photos, so you can't see it peeking out in this angled picture.)


Now that you have seen all the details of my card, here is a brief description of Epiphany that comes from Why Christmas? , which is a site where you can read about lots of different Christmas customs from around the world.  The following excerpt comes from the page on Spain, with information  contributed by María Níñez.
"There is another festival that is celebrated in Spain and Mexico that is about the Christmas Story. It is called Epiphany or Kings' Day and is celebrated on 6th January. This is the twelfth night after Christmas. In Spanish, Epiphany is called 'Fiesta de Los tres Reyes Mages': in English this means 'The festival of the three Magic Kings'. Epiphany celebrates when the Kings or Wise men brought gifts to the baby Jesus.
Children have some presents on Christmas Day, but most are opened at Epiphany. Some children believe that the Kings bring presents to them at Epiphany. They write letters to the Kings on Boxing Day, December 26th, asking for toys and presents. And on Epiphany Eve (January 5th) they leave shoes on windowsills or balconies or under the Christmas Tree to be filled with presents. Gifts are often left by children for the Kings, a class of Cognac for each King, a satsuma and some walnuts. Sometimes a bucket of water is left for the camels that bring the Kings! If the children have been bad, the Kings might leave pieces of coal made out of sugar in the presents!
Some big towns and cities have Epiphany Parades with each King having a big float that is shaped like a camel. Sometimes there are also real camels in the parade. The Three Kings in the the Spanish Epiphany are:
  • Gaspar, who has brown hair and a brown beard (or no beard!) and wears a green cloak and a gold crown with green jewels on it. He is the King of Sheba. Gaspar represents the Frankincense brought to Jesus. Frankincense is sometimes used in worship in Churches and showed that people worship Jesus.
  • Melchior, who has long white hair and a white beard and wears a gold cloak. He is the King of Arabia. Melchior represents the Gold brought to Jesus. Gold is associated with Kings and Christians believe that Jesus is the King of Kings.
  • Balthazar, who has black skin and a black beard (or no beard!) and wears a purple cloak. He is the King of Tarse and Egypt. Balthazar represents the gift of Myrrh that was brought to Jesus. Myrrh is a perfume that is put on dead bodies to make them smell nice and showed that Jesus would suffer and die."

Supplies used:
Not included in photo:
          3 additional glitter pens, 2 Bic Mark-It pens, and a partridge in a pear tree.        (Sorry, I simply could not resist that last bit.  LOL)
          Papers:  A2 card base in 'In the Navy' from Gina K Designs, design papers from Busy Scrapper's Solution Christmas Papers by Hot of the Press


I had a great time making today's card, and writing this post.  I hope you've had fun,too, on your visit here!  Sending hugs --I'll see you again soon!!


Always keep your creative genius happy and well-fed!     (Just thought it was time for a little change.)

CHRISTINE

Thursday, November 10, 2011

Hope, Joy and Love

Food, glorious food!!  It's such an important part of our holiday celebrations.  This week at Card A Day Blog our theme has been Christmas and Food.  I had visions of sugar plums dancing in my head, but I didn't have everything I needed to make them dance on my card.  Sooooo, I decided on candy canes instead.  Such an iconic image of the Christmas season, don't you think?


Of course, I couldn't just lay a couple of candy cane images on a card base, and call it a day.  I wanted to come up with an idea that would be a little more fun and inspiring for you.  I was reading something recently that referred to 'split negatives' using stamping.  I hadn't seen that in awhile, and thought it sounded promising for my card.  For anyone not familiar with that technique; an image is stamped twice, once on dark paper and once on light.  The image on dark paper is then heat embossed in white, while the image on light or white paper is heat embossed in black.  Both images are cut exactly in half, and then half of one is matched with the opposing half of the other.  It's a great effect!  And you can certainly use other sharply contrasting colors if you don't want the stark black and white.


Okay, well, I didn't have a candy cane stamp that I could use that way, but I do have a Cricut machine.  So I did a little search on my Gypsy, and here is what I came up with:

I first cut the main candy cane images and their shadows in the two traditional colors, red and white, and played around with different ways of layering them on various papers (read; scraps  lol).  During the process I came upon a white scrap that I had run through my crimper.  I really liked the texture, so I decided to leave out the shadow cuts, use the crimped piece as one background, and create a second textured background using an embossing folder and my Cuttlebug.  Once I was happy with that I was able to choose the mat and base card papers. 

As I was looking at the basic design and trying to decide on my sentiments, I determined that my candy canes were looking a little flat, so I added some glittered embossing powder.  It was just the effect I was looking for.

In getting ready to assemble my card, my first impulse was to set the candy canes back-to-back, as you see them in the above photo, which looked just fine.  But then the idea of turning them into a heart just jumped out at me.  Christmas is the season of love, after all!  Then, using the heart also gave me the idea for my sentiments which I created myself and printed.


I dressed up the inside of the card a bit with some of the same design paper as the front mat , and used the image shadows to bring the candy cane heart idea to the inside as well.


For the final touches, I applied the sentiments and candy canes to the front with foam tape for just a little more dimension, and added dashed lines on the mat and card base.  I think the white 'stitching' created a nice framed effect.  So, here is the finished card!


I hope I've given you some good ideas today.  Let me know if you have any questions, and I always appreciate your comments!

     Supply Deets:
          Papers:  Papertrey Ink Pure Poppy, Ripe Avocado card base (A2 size - 5 1/2 x 4 1/4) and Rustic Snowflakes design paper stack for mat; Wassau white
          Cricut Cartridge:  Very Merry Tags
          Embossing Folder:  Sizzix Peppermint Twists
          Embossing Powder:  Stampendous Red Tinsel, JudiKins Opaque White
          Glitter Glue:  Stickles Frosted Lace
          Other:  Versamark Watermark Stamp Pad, Cuttlebug, Inkssentials White Opaque Pen and Matte Accents, Fiskars Paper Crimper, tape runner


See you again soon, and always keep your creative genius flowing.........

CHRISTINE
Saturday, November 5, 2011

Home Sweet Home for Christmas

Happy Birthday to me.....Happy Birthday to me!!!!  Hi everyone!  Yes, today is my birthday so I thought I'd send myself some wishes.  LOL

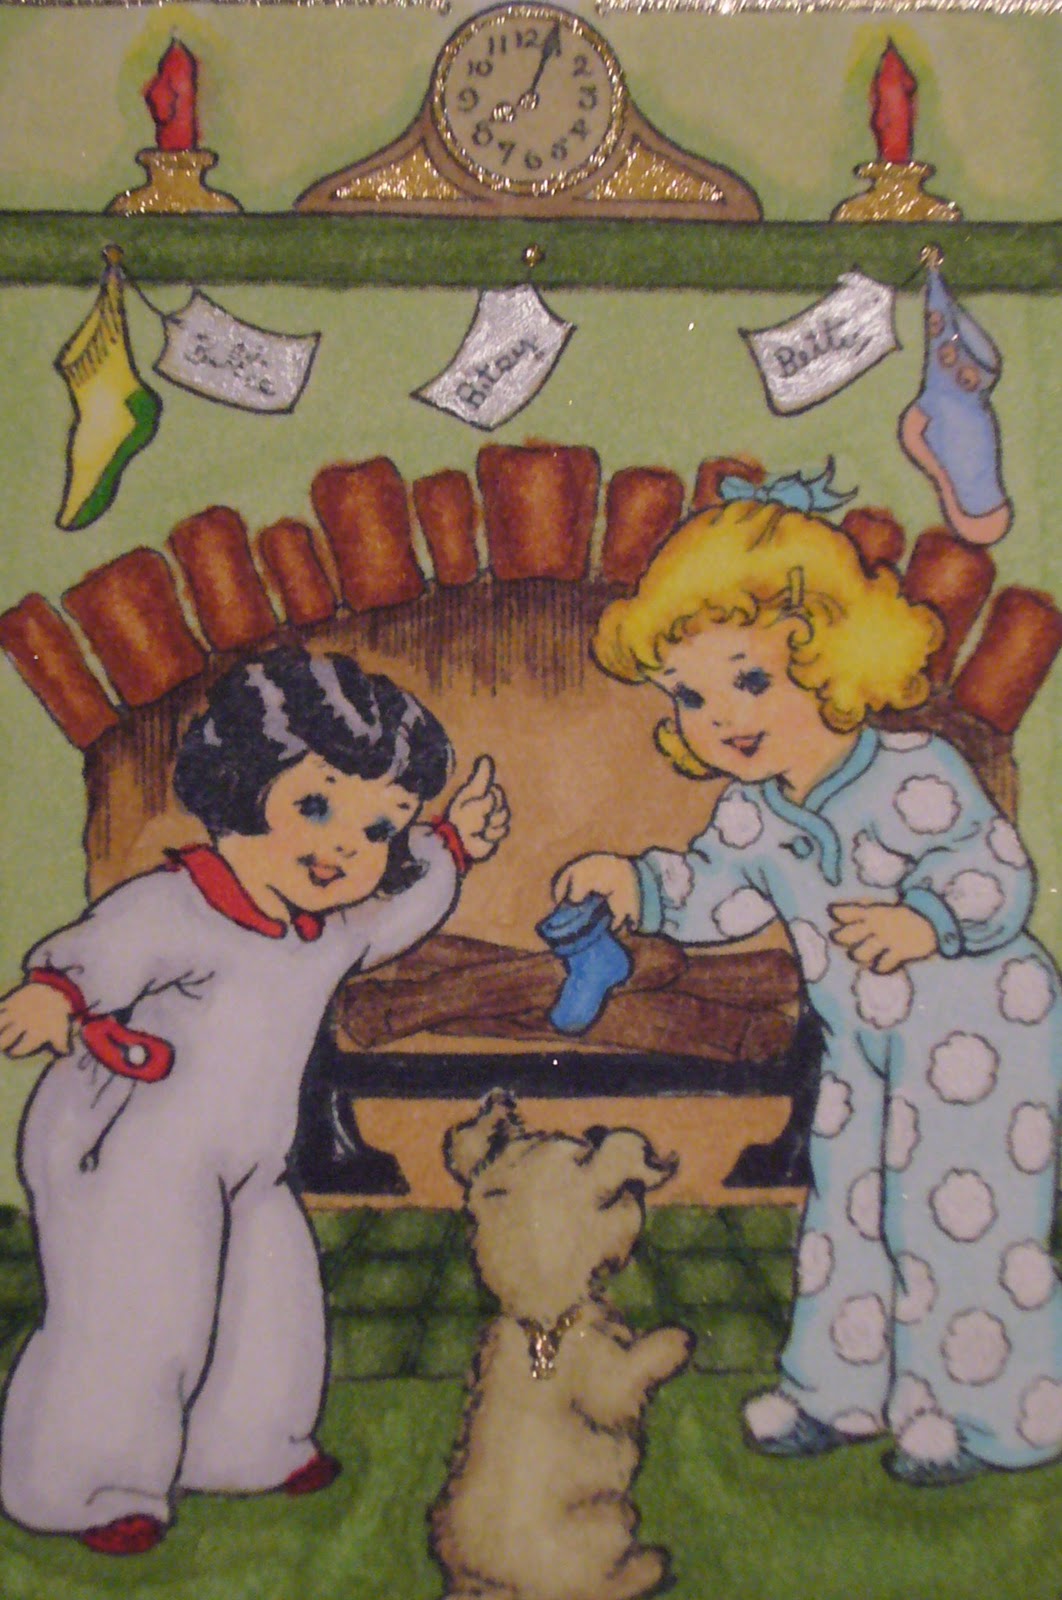
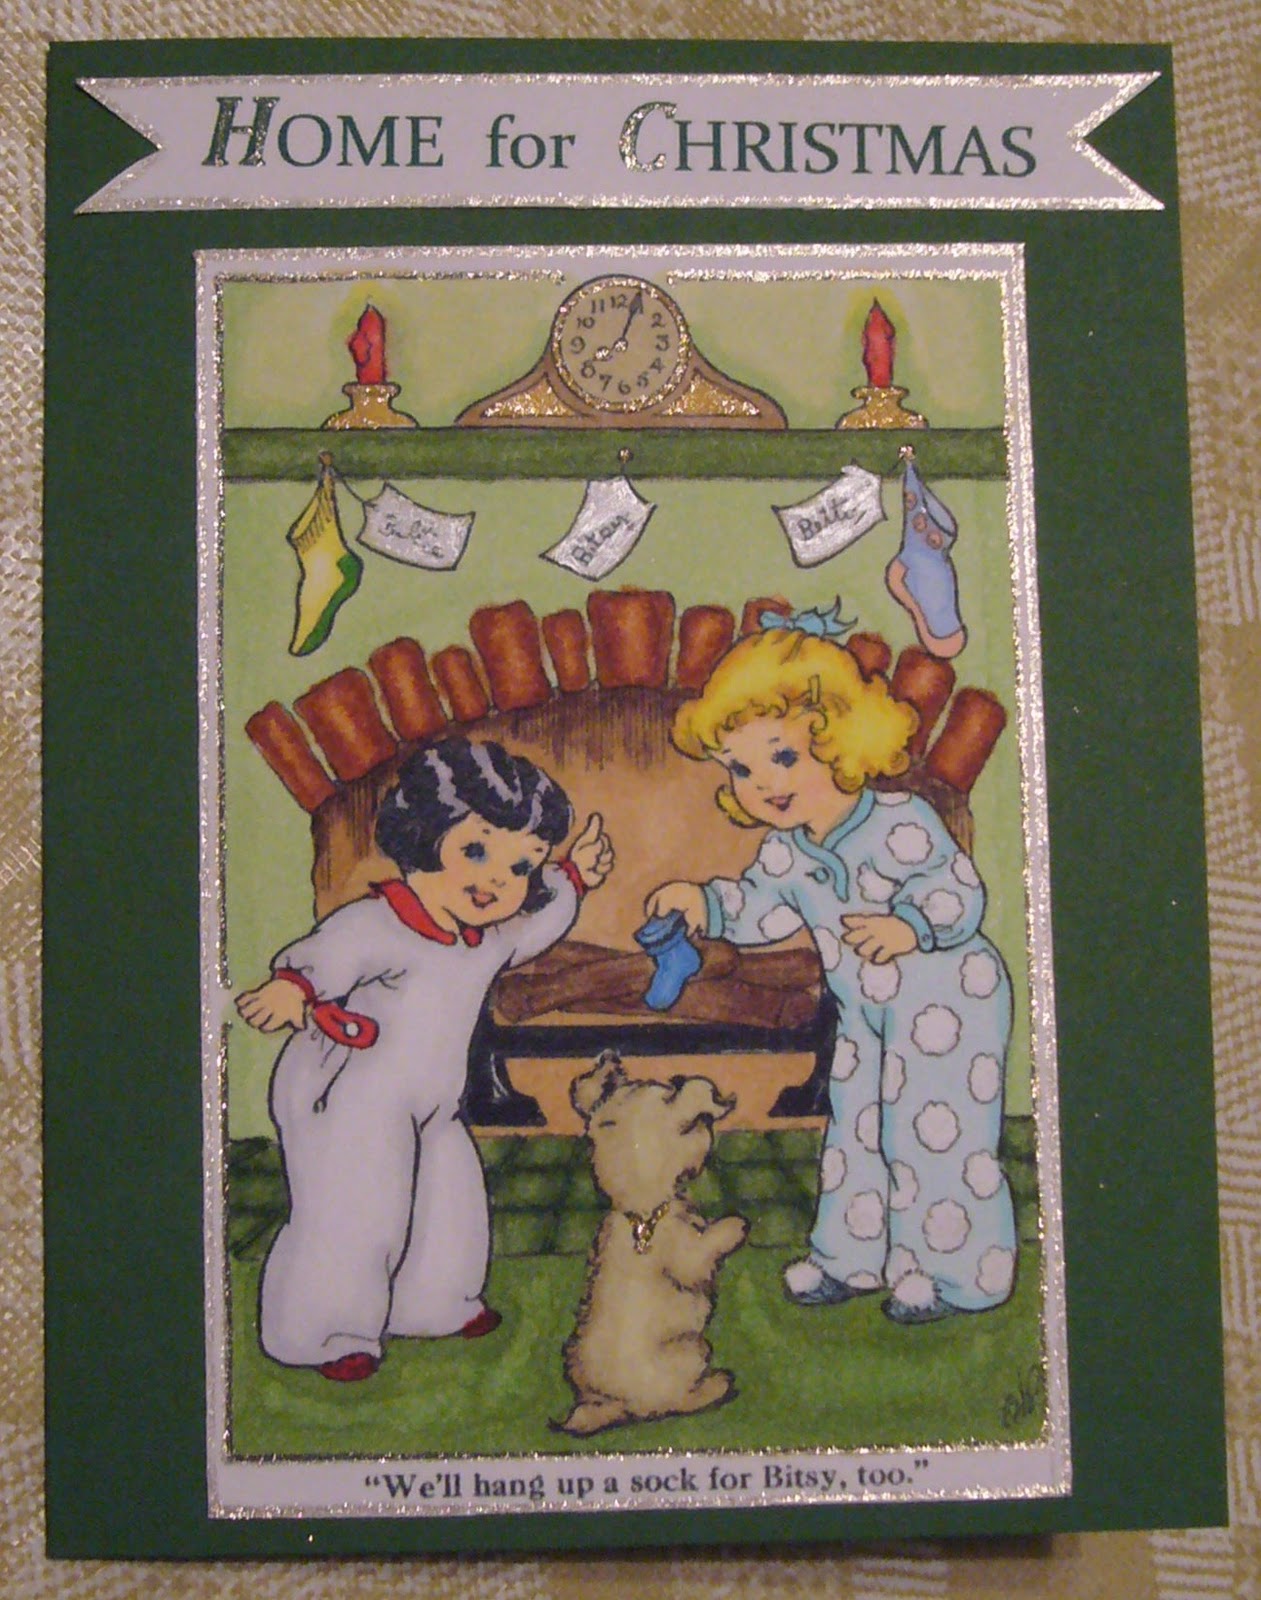
Welcome!!  As today's designer for the Card A Day Blog I have a very traditional card for you.  Our theme, this week, is 'Christmas at Home,' and all the designers have shared a little bit of their own memories of Christmas.  I chose an adorable image from Nicecrane Designs (no affiliation).  This design was so much fun to color.  I just love the vintage look, and the simplicity of the card itself.  Once the coloring is done, the card takes just a few minutes to complete.

I used mostly Copics to do the coloring, but there was also a Sharpie, a Sakura glitter, an Inkssentials Opaque White and an unidentified silver metallic pen.


I'm not totally certain, but this may be the first time I added no extra embellishments to a card.  It just seemed that the colored image was really all that was needed.  Here are two close-ups:


I'm glad you can see the glitter in the photos; sometimes it doesn't show up too well.  But I think it adds the right touch to this easy to make card.  I created the sentiment on my computer, printed it in a matching green color, cut it out and added the glitter with the Sakura pen.

The inside greeting comes from Waltzingmouse Stamps set, Complements of the Season.  I stamped it using Ancient Page Pine.  I thought it was a perfect match to the outside image.


The nice thing about using digital images is that you can make them any size.  In this case, I made the image 4 1/4" x 3" to fit an A2 card base (Stampin' Up Garden Green), leaving room for the sentiment.  You can use any coloring method that you like.  I used the markers, but you could use pencil, chalk, paint or even color it digitally.  Here is the full front view of my card.  I hope you like it!


Thanks for coming by to visit.  See you again soon!!


Keep your creative genius flowing.........

CHRISTINE

Monday, October 31, 2011

REALLY?? NO SCRAPS?

It's been awhile since I could say that, but, yes, I've made a card using NO scraps.

Hi everyone!  I have a card for you today made for the Crafters Digital Art Center Progressive Challenge 5.  This has been such a fun 'event,' and there is one more challenge before it ends.   Do click on the link to see what it's all about.

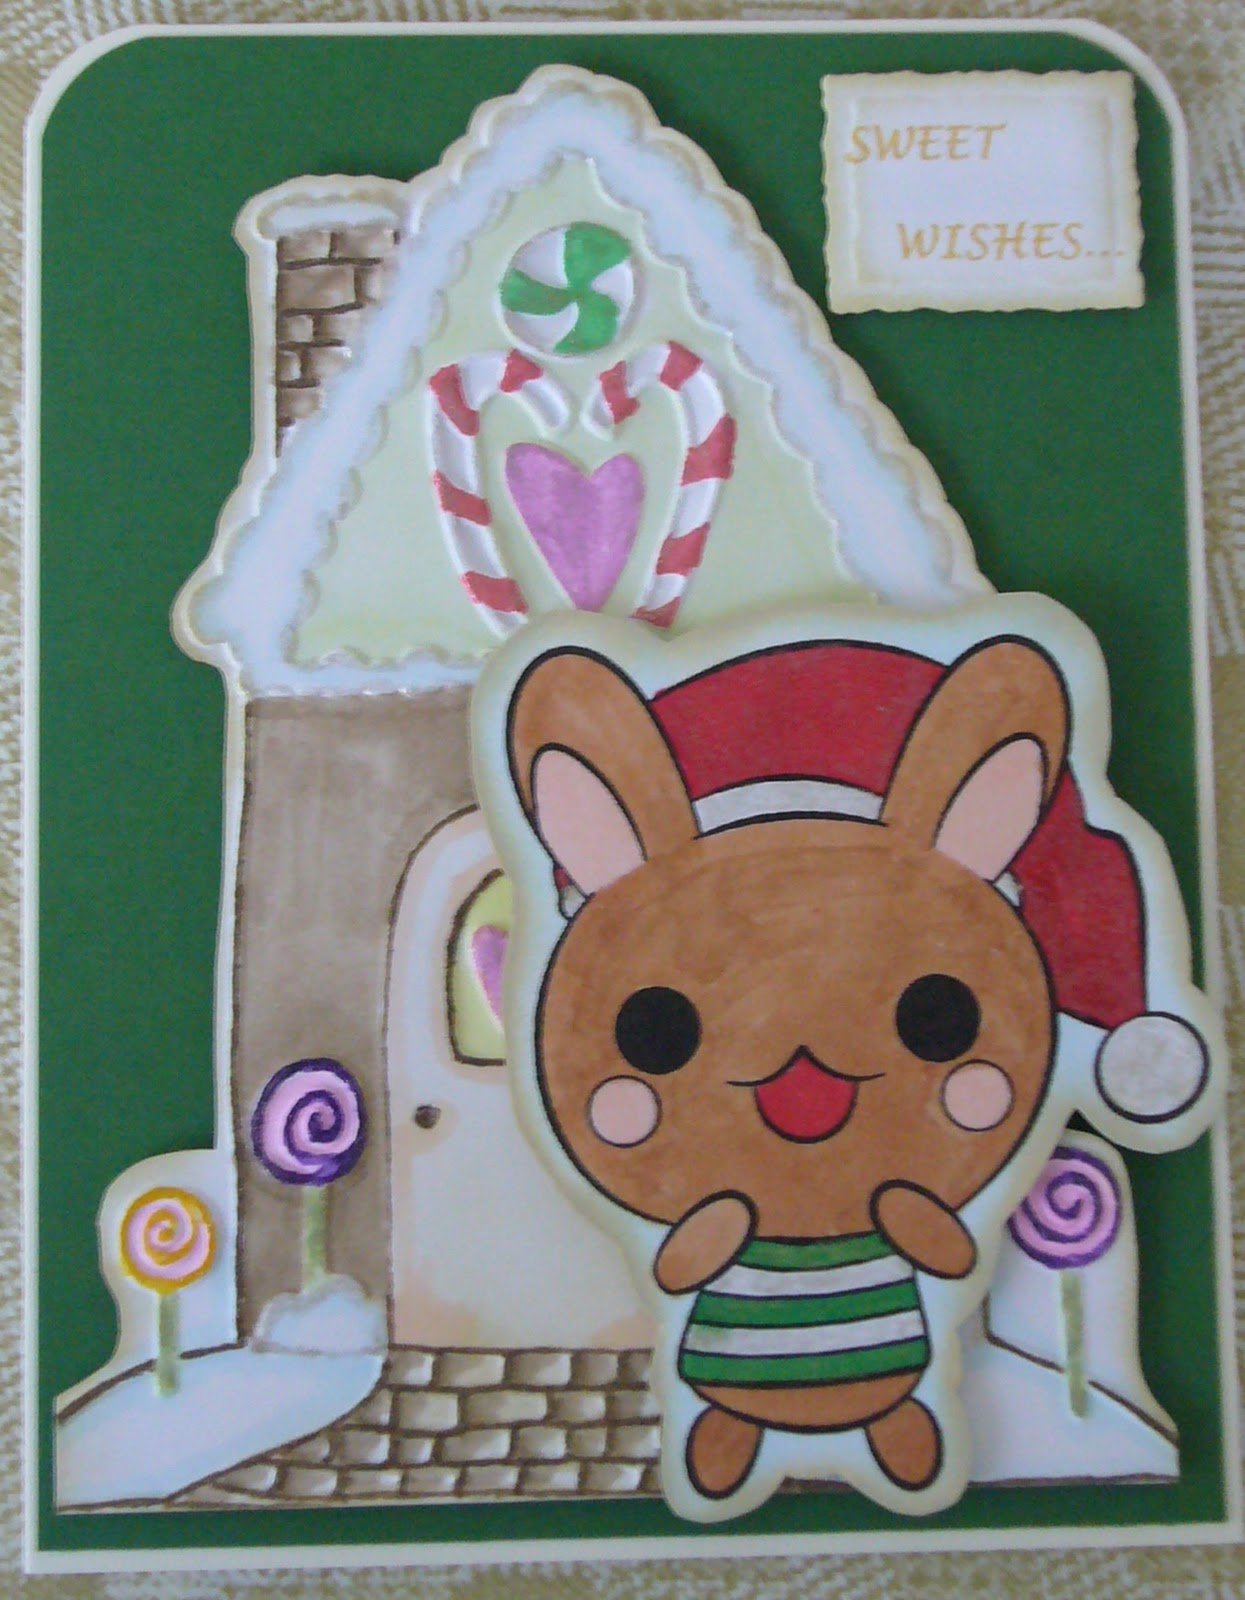
My card today uses an image from Digis by Phooka.  I used it for a Christmas card, but it could be used as a cute sleepytime image as well, or just use your imagination.  The card has been layered for interest, but it is still flat enough for ease in mailing.


I used Copic markers to color the image, and Copic Spica and Sakura pens for shimmer.  The candy house is from a Sizzix embossing folder.  I colored it, added the sparkle and cut it out.  I created my own sentiment for both outside and inside, printed and cut with Spellbinders Distressed Rectangles.


I used papers from Stampin' Up and Wausau, and rounded the corners at the top.  The card is standard A2 size, 5 1/2 x 4 1/4.


Thanks for stopping by today.  And thank you CDAC and Digis by Phooka!!


Always rembember keep your creative genius flowing.........

CHRISTINE

Tuesday, October 25, 2011

Ornamental Iris

Welcome followers and new friends from Card A Day Blog !  I have something today that I haven't seen as yet on the CADB.  Our theme this week is Christmas Ornaments, and, since I wanted to do something a little different, I decided to do a card with the technique of iris folding.  For those of you who might not be familiar with iris folding, it looks much more complicated than it really is.  It offers great impact for just a little extra time and preparation.

Almost any shape can be used for an iris fold design.  All you need is paper cut into strips and a piece of card with a shape (or shapes) cut into it.  There are many tutorials and free designs available on the internet, so just use your favorite search engine, and get ready to have some fun.

My card features a stamp from Stamp N Plus Scrap N.  They are worth checking out as they have quite a variety of stamps for iris folding.  (no affiliation)  Here is the stamp I used:

I started with an A2 card base (5 1/2 x 4 1/4) layered with a dark navy blue mat cut just a bit smaller.  The other papers I used were, as some of you may have guessed, scraps, of course.  (One of these days all my scraps will be gone; then what'll I do?)  I stamped the image with Versamark, embossed with a dark blue powder, and cut the oval.  Using the pattern provided with the stamp (Not all stamps come with a pattern, but it's an easy work-around.) I turned the design paper over on top of the pattern, and applied the paper strips according to the numbers.  Once you've done a few of these design you become familiar with how they're done, and you really won't need the pattern unless you're using different colors as I did here.

The pattern shows up pretty well, but I took a nice close-up for you

The center of the iris fold design is often a tiny picture, such as a flower, but I chose to use the embossing powder to bring out the blue color.  I used a glitter pen to add some sparkle, and then stamped and embossed the little greeting.  Since the folded paper bits make for some thickness, I decided to mount the dp (inked the edges first) onto an inked piece of white cardstock using foam tape to even out the card.  Before I completed the front I added some matching twine and a bow.  I thought about using ribbon, but the twine just seemed less fussy-looking to me.  Here is the completed front:

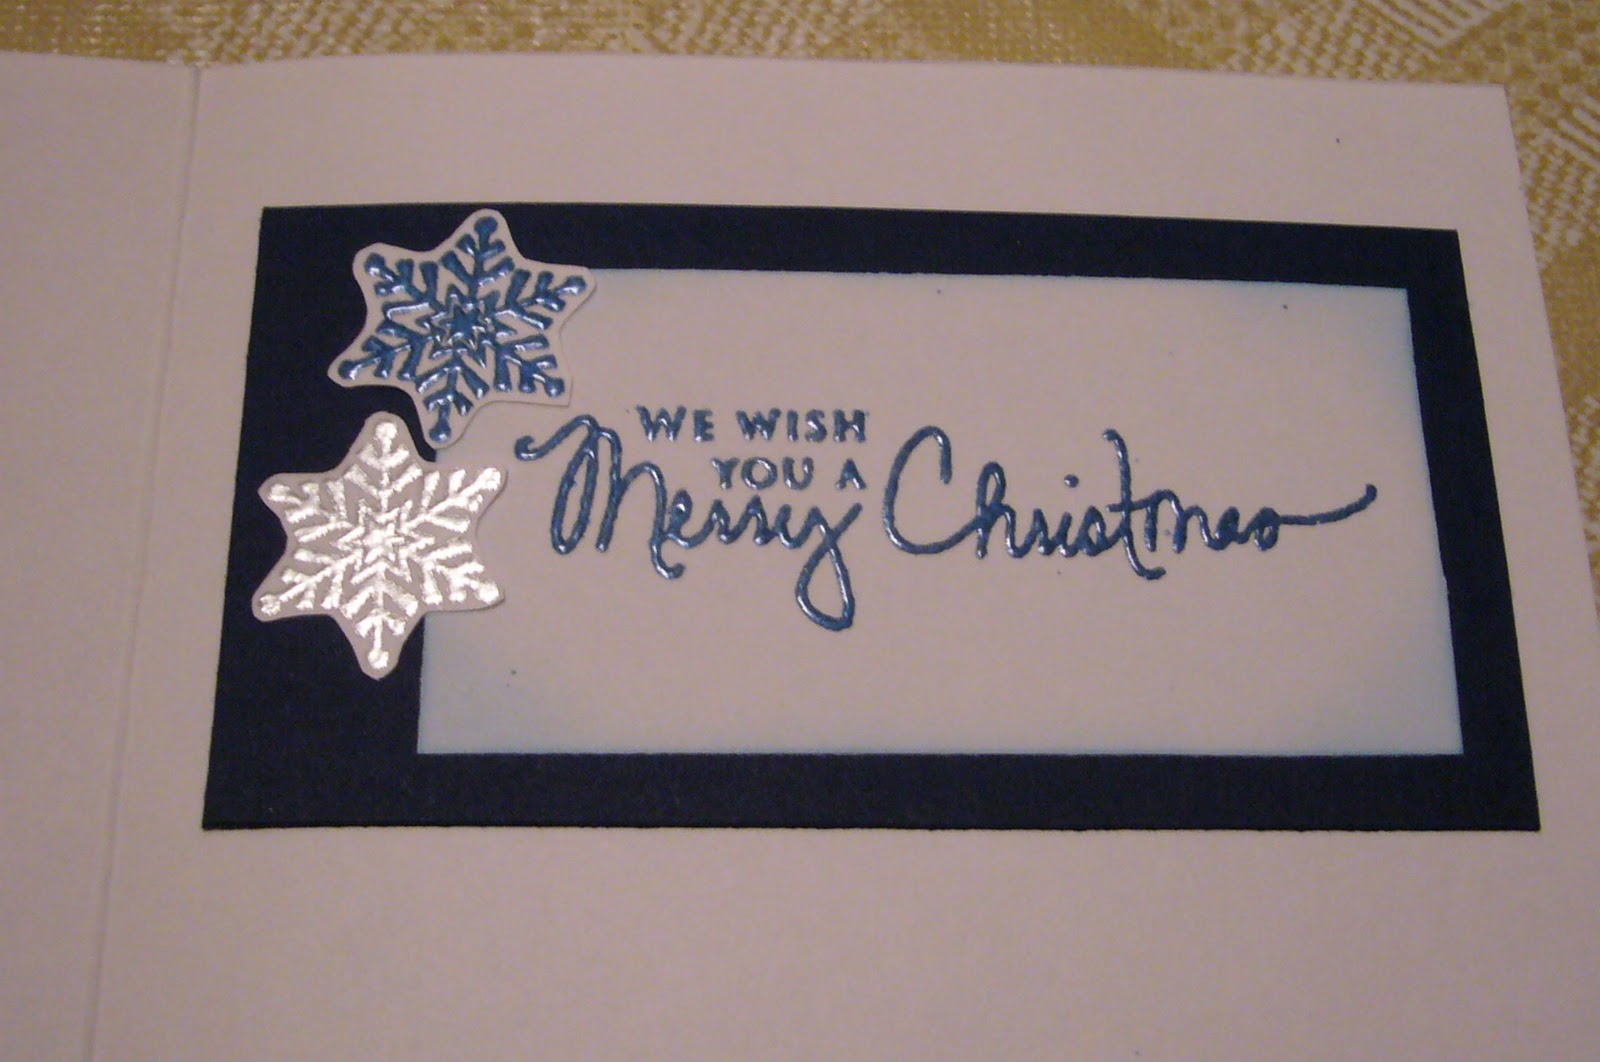
 When I was deciding which embossing powder to use I stamped snowflakes with my two choices.  I couldn't waste the two little samples, so I cut them out and used them with my inside sentiment which was also embossed.

 Here are the recipe details:
     Papers:  Wausau Bristol Vellum, Gina K Designs Pure Luxury Heavy Base Weight In the Navy
     Stamps:  Stamp N Plus Scrap N, Papertrey Ink Signature Christmas set
     Twine:  We R Memory Keepers Sew Easy Deep Ocean floss
     Inks:  Versamark, Memories Direct Blue, VersaMagic Ocean Depth Chalk Ink, Sakura Clear Star pen


Thanks so much for taking time out of your busy day to visit; hope you had some fun.  I know I did!


Always keep your creative genius flowing.........

 CHRISTINE

Friday, October 14, 2011

A Beary Cute Halloween

I just love being part of the CRAFTERS DIGITAL ARTS CENTER where so many digital artists come together to share their designs and ideas.  My card today is for the CDAC Progressive Challenge #4.  The theme for this challenge is Halloween or Mystical, and the digi art I chose to use comes from Sew Many Cards Digital Stamps.  I couldn't resist such a cute design.  Here it is after coloring:

I used Copics and Bic Mark-Its for the coloring---lots of them as you can see here:


The card base is white Wausau Vellum in standard A2 size.  I used black Recollections card stock for the mat, and ran it through my Cuttlebug in a Sizzix for Stampin' Up Spider Web Textured Impressions folder.  I gave the spider web a hint of color and glitter with studio g silver chalk ink.

I used the out-of-the-box technique (you'll find lots of tutorials if you do a quick search) to cut and frame the image, and used foam tape to mount it on a piece of Papertrey Ink Bitty Dot Basics paper with the corners cut using a Tonic corner punch.  The image and the card base were lightly inked with Martha Stewart by EK Success Curry ink.

For the finishing touches I used a dimensional sticker for the greeting (K&Company) and added a funny little spider (EK Success Jolee's Boutique).


On the inside I added another dimensional sticker mounted on the same dotted paper:


Well, I hope you enjoyed this cute little Halloween creation.  I loved working with adorable little Bailey Bear and his jack o'lantern candy bowl.


Have a wonderful day, and always keep your creative genius flowing!!

CHRISTINE

Wednesday, October 12, 2011

It's Snowing!!

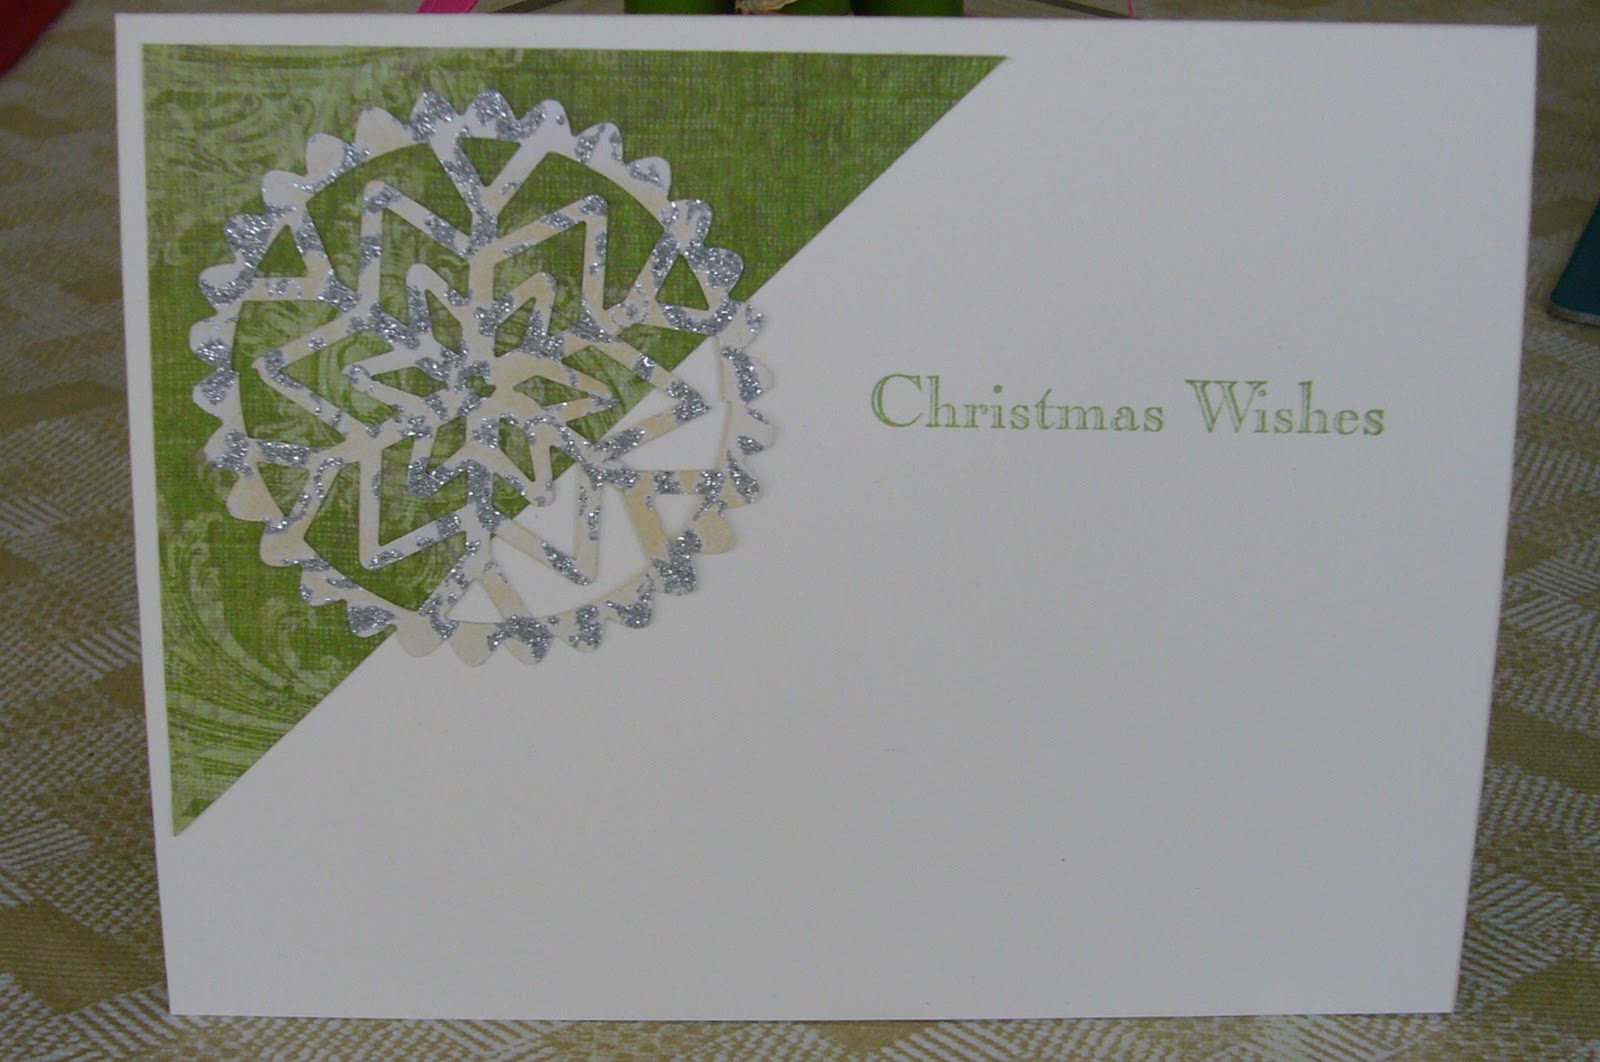
Well, actually I hope not since it's nearly 80 degrees outside. But I've got a pretty snowflake card for you today. I'm the designated designer for today's Card A Day Blog, and I've had some major fun with this creation.  There are some interesting materials I've been wanting to play with, and this card provided a great oppotunity to do just that. Let's start you off with a photo:


I started my card with a standard A2 base in off-white. I considered using white, but I really liked the off-white with the dp I was using.  Once again, I used a scrap, but this time I can tell you where it's from. I didn't really have a specific idea for my card. I just knew I wanted to use my Martha Stewart snowflake punches that have been sitting around for awhile. I also knew I wanted to try out some of my 'mystery' materials.

With my Martha Stewart punches in hand, I took a piece of silver-glittered white paper that may have come from the loose stock at Michael's.  I cut a 2 1/2" strip to use with the Scallop Snowflake Deep Edge punch. This punches only half a snowflake, so I punched the strip on both sides to create the full snowflake. I punched three of these, and used one full one and one cut in half with the scallop trimmed off on the front of the card.

Next I took a foil candy wrapper (high shine) and a top from a yogurt container (less shiny), and stabilized them with paper scraps secured to the back. I used the Snowflake All Over the Page punch for these, and cut the snowflakes from the center since I wanted loose snowflakes. I glued these and the larger scalloped snowflake to 1" circles, and affixed some foam tape for dimension. These are the wrappers I used:


I picked up a cast-off 4" paper doily that I hadn't used on another project, and cut out the center. The scalloped snowflake fits perfectly inside. I used some glitter pens and inking to tone down the stark white of the doily. I also inked the card base and the white glittered paper using the same ink.

The tag is the same paper as the card base. I rounded the end under the snowflake and gave the other end a ribbon cut with scissors, and then stamped the greeting and inked the edges in a color to match the dp.  Here's a photo that gives an idea of all the dimension on this card.


For the card's inside, I affixed a piece of the design paper along with the second full scalloped snowflaked, and added a simple greeting.


Here's the full recipe:
     Paper:  Stampin'UP Very Vanilla, K&Company Yultide stack
     Stamps:  Stampin'UP A Christmas Carol and Merry & Type sets
     Punches:  Martha Stewart Scallop Snowflake Deep Edge and Snowflake All Over the Page
     Inks:  Tim Holtz Distress by Ranger in Antique Linen, Stampin'UP Pear Pizzazz
     Glitter Pens:  Copic Spica, Sakura Clear Star
     Also used:  paper doily (possibly from a dollar store), Zig 2-Way Glue pen, tape runner

And finally, here's a full front view of the card; hope you like it:


I hope the real snow doesn't fall on us too soon, at least not where I live.  :))  :))


Always keep your creative genius flowing.........

CHRISTINE

Saturday, October 8, 2011

Hauntingly Spooktacular

I have another fun, I think, Halloween card for you.  In fact, each time I look at it I like it even more.  This card was made with ALL scraps, even the card base, as I made it for a scrap challenge at Paperthreads.  The challenge is to make a holiday-themed card using only scraps.  I had such fun making this one.


Here's the inside:

And close-ups:


All the circle stamps came from Just Rite 'Witch Way to the Treats' set, and the graveyard stamp is from an Inkadinkado mini borders set.  Everything was stamped with Ancient Page Coal Black and colored with Tombow and Stampin'UP markers.  I also used Spellbinders Circles and Petite Scallop Circles, a 1" EK Success circle punch, and the Crop-a-Dile Corner Chomper.  The embossed 'frame' around the card was done on my Score-Buddy.  Other inking was done with Stampin'UP inks, and a tiny bit of glitter was added to the spider web using my Sakura clear star pen.

Please don't ask what paper I used; after all, it's all scraps, and I just don't remember.  :)

This challenge runs until October 12.  Thanks Paperthreads!
I'd also like to enter this card in the Making Halloween Cards Challenge

Thanks for stopping by today, my friends!!

Always keep your creative genius flowing.........

CHRISTINE

Monday, October 3, 2011

Angel Watching Over You

I certainly had a great time blog hopping this weekend with all the World Cardmaking Day hops going on.  At Card A Day Blog we're continuing our 2 1/2 month-long Christmas card extravaganza that was started with our weekend hop.  If you haven't been there yet, check it out.  I am one of several designers who will be bringing you Christmas card inspirations through the next eleven weeks, so get your supplies ready and make some cards with us.

Today is one of my days at CADB, and the card I have for you was actually my daughter's idea.  I threw out the question, "What should I do for this card?"  She was already aware of many of the themes we have coming up, and since this is an 'anything' Christmas week she suggested an angel.  What an excellent suggestion; I love angels!  (I think she was looking in the mirror when she made the suggestion.  She is definitely MY angel!)

I went in search of my angel stamps -- yes, I have several -- and chose, with daughter's help, a lovely set from Stampin'UP.


I stamped my angel with Ancient Page Coal Black dye ink and colored her with Copic markers.  Her halo and wings were colored with an EK Success metallic gold pen.  She was then mounted with foam tape onto a die cut.

The sentiment is another die cut piece, and is adorned with dimensional stickers (not sure where these came from--don't have the packaging--maybe K&Company??).


I was using a red card base, so I thought it best to have a lighter paper matted on the inside for the sentiment and signature.  I used the same design paper inside as I used outside.


The same die-cut set is used for the inside sentiment (layered) as for the angel.  All the papers were inked before assembling.  As you can see, I also rounded all the corners.

Here's the full view:


And now for the details:

     Papers:  Papertrey Ink Pure Poppy, K&Company Yultide design paper pack, Stampin'UP Very Vanilla
     Inks:  Ancient Page Dye Inkpad in Coal Black, Tim Holtz Distress Ink in Antique Linen
     Stamps:  Stampin'UP Angelic Joy set
     Dies:  Spellbinders Nestabilities Labels Four and Shapeabilities Grommet Tags
     Misc:  Crop-A-Dile Corner Chomper, Scotch tape runner, Cuttlebug

See you again soon, my lovelies.....leave a comment if you can!  :)


Do remember to keep your creative genius flowing.........


CHRISTINE

CDAC Progressive Challenges and WINNER!!

Thanks so much to all those who participated in the Card A Day Blog Christmas Card Blog Hop, helping to celebrate our blast off to the holiday card-making season!!  Be sure to stop back there to see if you're a grand prize winner.  And a great big welcome to my new followers!!!  I am truly blessed to have you join me, and I will do my best to bring you new inspiration as often as possible while throwing in a bit of blog candy from time-to-time.

Now, before I get to the winner of my blog hop prize, I'd like to show you my entries from the past two CDAC (Crafter's Digital Art Center) Progressive Challenges.  Just click on the link for all the info.

I decided to make bookmarks for PC #2.  The theme was 'back to school,' and we had some really fun images to use.  I hadn't laminated my bookmarks yet so I wouldn't get the glare for the photos.  They'll also have some pretty ribbons attached.

The first image is an adorable bookworm from Jen's Digi Stamps.  I wanted my little curiosity seeker to have a little sass so I made her purple and added a little sparkle.  I also added my own slogan.

The second bookmark was made with an image from Stamp-n-doodle.  I just love this little cutie going off to school with her bookbag in hand.  Once again, I added my own take on a slogan.   I hope you like the play on words.....I couldn't resist, especially the way she's holding the apple next to her winking eye!
 
Both images were colored both digitally and using Copic markers and a Sakura glitter pen.

For PC #3, I decided to make a tag.  She may decide to become a bookmark, too (we're big readers in our house), but she really started out as a tag.  The image is Oak Fairy from Gurukitty Designs.  I thought it would be fun to give her the colors of an Autumn forest, and the sentiment is from the TCP Studio 'Autumn Harvest' stamp set.  She is colored with Prismacolor Pencils and the inking is done with variousTim Holtz Distress Inks, Memento Rich Cocoa and Versamark Onyx Black.


And now for the winner!!!  I was torn on whether or not to tell you what you've won, but I've decided to keep it a surprise.  I know I love getting surprise goodies in the mail, and I hope you do as well.  So, here we go, the winner is......................................


                                              TINA CAMPBELL


Congratulations, Tina!!  Please email me with you mailing address so I can get your surprise right out to you.

Thanks for visiting today, everyone!  I'll be back tomorrow with another card design for CADB.  Christmas is definitely in the air, so join us for lots of design inspiration and (yes, more prizes!) a new challenge!


ALWAYS keep your creative genius flowing.................

CHRISTINE

Saturday, October 1, 2011

A Gift for You

Can you believe it's that time of year already?  Have you started your Christmas shopping yet?  How about those Christmas cards you were going to start making right after last Christmas??

Welcome to the Card A Day Blog World CardMaking Day Christmas Card Blog Hop.  If you just happen to be visiting me today, and you want to start the hop at the beginning, just click on the link.  You'll get all the important info about the HOP, the CHALLENGE and the PRIZES!!!

Our hop is featuring Christmas Cards to help get you inspired in your own holiday card-making.  My card is designed to look a little bit like a wrapped gift.  It has a little shimmer and shine, and the very traditional colors of red, green and gold.


I started with an A2 base of generic white card stock.  The green mat was run through the Cuttlebug using a Christmas tree folder and inked to give it more dimension.  I used a tone-on-tone red striped pattern paper for the smaller mat and gave it a little shimmer around the edges using a glitter pen.

For the centerpiece "bow" I used a large medallion stamp, and cut out a section that looked like a snowflake and would fit the size I needed.  That piece was embossed using a snowflake folder, and also enhanced with glitter pens.  The ribbon under the bow is actually a scrap piece of patterned paper that just happened to have the look I wanted.

Every gift needs a tag, so I stamped a scrap of gold shimmer paper, hand cut and mounted it, and inked the edges in red just as I did the card base.  I attached it using a large pearly red brad and a bit of twine so that it's free-swinging.  Here's a close-up:


The 'gift' is the wish inside stamped in a dark olive with some lighter green 'snowflakes' scattered about.


Here's a nice close-up so you can read the sentiment a bit more easily:


This last photo has the most accurate depiction of the colors.


RECIPE:
     Papers:  PAPERTREYink, Wassau
     Inks:  Stampin'Up Real Red and Pear Pizzaz, Ranger Tim Holtz Distress Pine Needles
     Glitter Pens:  Copic Spica Green, Sakura Gelly Roll Clear Star
     Stamps:  Holly Berry House Medallion 1707-N, Waltzingmouse Complements of the Season
     Brad:  American Crafts Elements Pearl Brads

I hope you've enjoyed your visit today at Creative Genie-ous.  If you leave me a comment AND you're a follower of my blog, you'll be entered in a drawing for some blog candy from me.  This prize is separate from the main blog prize, so be sure to get entered in the challenge for that one.  It's a biggie!!

Your next stop is Cindy Foster's blog, Cindy's Creations.  Be sure hop on over and leave her some love!!  And check back Monday both here and at Card A Day Blog to see who won!


Thanks so much for coming by today and always keep your creative genius flowing!!!


CHRISTINE

Friday, September 30, 2011

World CardMaking Day Blog Hop

Hi everyone!  Just want to give you a little advance notice about a cool blog hop I'm in this weekend.  As a designer for the Card A Day Blog, I am participating in a hop celebrating World CardMaking Day which happens this year on October 1st.  The hop includes 13 designers, and will run the whole weekend through midnight ET on Sunday night so you'll have plenty of time to check out all their blogs.  There are lots of prizes involved both from the main blog as well as some of the designers' personal blogs.  And we are having a challenge!  You'll have to visit and play along to win!! 

Our special hop will be featuring Christmas cards to help inspire you in your own holiday cardmaking for the upcoming season.  Then the daily card inspirations will continue, starting Monday until just before Christmas, with various themes, including Christmas Around the World, Children and Christmas and much more.  Every month is a new challenge with more prizes!!  So visit often!

Hope you'll save some time to pop in for the hop!!

Hugs!!

CHRISTINE