Almost any shape can be used for an iris fold design. All you need is paper cut into strips and a piece of card with a shape (or shapes) cut into it. There are many tutorials and free designs available on the internet, so just use your favorite search engine, and get ready to have some fun.
My card features a stamp from Stamp N Plus Scrap N. They are worth checking out as they have quite a variety of stamps for iris folding. (no affiliation) Here is the stamp I used:

I started with an A2 card base (5 1/2 x 4 1/4) layered with a dark navy blue mat cut just a bit smaller. The other papers I used were, as some of you may have guessed, scraps, of course. (One of these days all my scraps will be gone; then what'll I do?) I stamped the image with Versamark, embossed with a dark blue powder, and cut the oval. Using the pattern provided with the stamp (Not all stamps come with a pattern, but it's an easy work-around.) I turned the design paper over on top of the pattern, and applied the paper strips according to the numbers. Once you've done a few of these design you become familiar with how they're done, and you really won't need the pattern unless you're using different colors as I did here.

The pattern shows up pretty well, but I took a nice close-up for you

The center of the iris fold design is often a tiny picture, such as a flower, but I chose to use the embossing powder to bring out the blue color. I used a glitter pen to add some sparkle, and then stamped and embossed the little greeting. Since the folded paper bits make for some thickness, I decided to mount the dp (inked the edges first) onto an inked piece of white cardstock using foam tape to even out the card. Before I completed the front I added some matching twine and a bow. I thought about using ribbon, but the twine just seemed less fussy-looking to me. Here is the completed front:

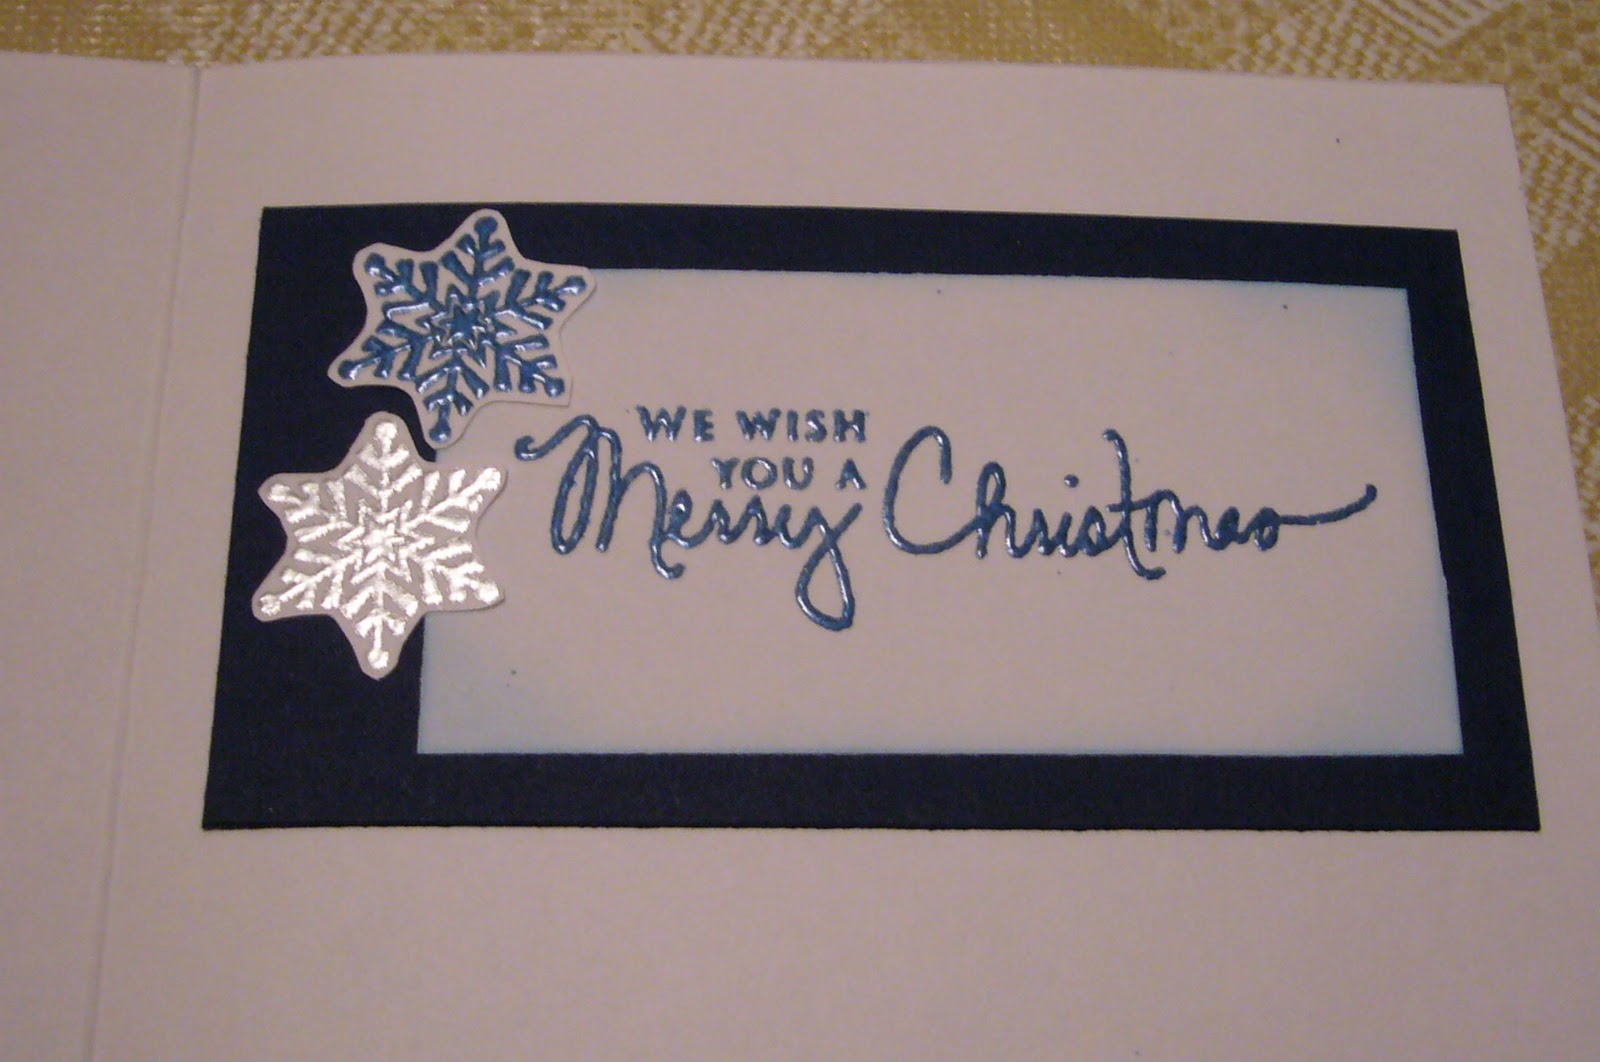
When I was deciding which embossing powder to use I stamped snowflakes with my two choices. I couldn't waste the two little samples, so I cut them out and used them with my inside sentiment which was also embossed.
Here are the recipe details:
Papers: Wausau Bristol Vellum, Gina K Designs Pure Luxury Heavy Base Weight In the Navy
Stamps: Stamp N Plus Scrap N, Papertrey Ink Signature Christmas set
Twine: We R Memory Keepers Sew Easy Deep Ocean floss
Inks: Versamark, Memories Direct Blue, VersaMagic Ocean Depth Chalk Ink, Sakura Clear Star pen
Thanks so much for taking time out of your busy day to visit; hope you had some fun. I know I did!
Always keep your creative genius flowing.........
CHRISTINE
Fantastic card, I guess I'm gonna have to learn this technique! I'll be back to tackle this new technique. TFS
ReplyDeleteLove that iris folding technique!! Such a cool way to add dimension.
ReplyDeleteAmazing Iris folding design,,,,,,,love this art,,,,,I am very found of origami,,,so let me know if you need some book...wow,wowww,,
ReplyDelete