Followers

Monday, July 29, 2013

Many Thanks

Good day to you, and I hope it's a beautiful one wherever you are!  Over at the Card A Day Blog we're having a week full of 'Designer's Choice' inspiration.  I was at a Stampin' Up card party recently, so I decided to feature one of the cards we made there.  The supplies are all current items from Stampin' Up.  I'm afraid I didn't get the names of everything, but the items shouldn't be difficult to find in their catalog (print or online).

One of the things I really like about this card, aside from the sweet colors, is the fact that it's great for using scraps.  Of course, you can use any color combinations that please you, or even keep it somewhat monotone.  Almost anything would work.


This card uses a standard A2 base which, in this case is a gray cardstock.  The coral-colored mat is cut at 3 1/4", with the white embossed piece cut at 3".  The colored scalloped circles are about  1/4", and the white stamped circles are 1".  The assembled circle pieces are affixed with foam tape.


I used a 'thank you' sentiment, but you can add any small sentiment to the small circle.  You could also put the sentiment piece in a different position on the front.  That would be a fun idea if you're making a set of these, with different sentiments, as a gift.


The final touch is that single rhinestone just below the sentiment.  Nothing splashy, just sweet.


I think this is a great design for using some of those smaller stamps you weren't quite sure how you would use.  So pull out those small stamps and punches, and have some fun!!

Thanks for stopping by today!  'Til next time.....

Big HUGS!
CHRISTINE

Sunday, July 21, 2013

Where in the World?

Hi everyone!  I was doing a little organizing the last few days, and it was a good thing I did because I came across a few die sets I haven't used yet.  Any of them would have worked perfectly for today's card which is for the Card A Day Blog.  I'm starting the new theme there for this week, 'TRAVEL.'  So, I chose two of the die sets and went to work creating. 

I started looking for some paper, and pulled out some matching mat stacks.  By a lovely coincidence there happened to be some map paper in one of the stacks.  It was the paper that determined which die set I used.  The paper was printed with a map of Asia, and one of the die sets was Japanese designs.  Sweet serendipity.  Here is a look at the card:


Not wanting to load the card front with too many images, I chose just three.  I used my Xyron Sticker Maker to add adhesive to the pagoda and the gate.  Then I inked the tiny bamboo pieces and used my Zig fine point glue pen to get those pieces on the card.


I created the sentiment on the computer, cut one end in a banner cut and then inked the piece.  Once I had the card front assembled, I used foam tape to affix it to the base.  I didn't want to add too much thickness to this card, so I used the inking to give the card some dimension.  As a last touch for the front, I added some rhinestones to the gate.

The inside sentiment was also done on the computer.  I changed the font to go with the change in language.  I also added some strips of the map paper to give the inside some design interest, and I inked the inside piece as well.


 Here's a full view of the inside:


 Just in case I have any viewers out there who speak Japanese, I had my dd look up the translation of 'Bon Voyage' in Japanese.  I hope the online translator gave us the correct words and spelling.

I had lots of fun pulling this card together (well, except for those tiny bamboo pieces-haha), and I hope you've enjoyed your visit with me today.

These are the supplies I used:
          Paper:  DCWV "The Tradewinds" design matstack and cardstock matstack; Georgia Pacific white
          Dies:  QuicKutz "Japan Collection"
          Ink:  Tim Holtz Distress "Antique Linen"
          Miscellaneous:  Zig fine tip glue pen, Scotch ATG, Xyron 2 1/2" sticker maker, foam tape

See you again soon!!

Big HUGS!
CHRISTINE

Saturday, July 20, 2013

In the Navy

Greetings!  Today I have a special request card to show you.  My dd has some friends in the military, and she wanted to send some goodies to one of them who is overseas in a war zone.  But she needed a card.  DD told me some ideas she had, and I showed her supplies that were on hand for her use, and together we came up with a design that she was quite happy to send to her friend.

I started with a (you guessed it) Navy Blue card base.  It's a very dark blue, which comes across nearly black in the photos:


I used a Cuttlebug folder to emboss the stars in the background layer, but I added a frame layer to provide a blank space for the featured sticker.  I considered brushing on some color to highlight the stars, but elected not to do that because the embossing shows up beautifully in person.  The eagle and flag image was stamped with Versamark and heat embossed with a powder color which picked up color from the sticker below.


 I cut out the stamped/embossed eagle and used foam tape to affix it to the background.  The sticker itself is three layers which provided enough dimension on its own, so I affixed it directly onto the background.  I have several sentiment stamp sets which can be used for patriotic-type cards such as this one.  Here is the sentiment my daughter chose:


DD wanted to keep the clean look of the card, so instead of handwriting a message directly inside, she chose to compose a letter to insert on a separate page.


 I hope you've enjoyed this simple and elegant card for my dd's Navy buddy.  It certainly was a pleasure and an honor to make it for him.

The details:
          Stamps:  Pink by Design "Our Troops" and Inkadinkadoo "Patriotic Eagle"
          Embossing folder:  Cuttlebug "Stars"
          Dimensional Sticker:  K & Company "Navy"
          Ink:  Versamark
          Paper:  Gina K Designs heavy base weight "In the Navy," and Georgia Pacific white
          Embossing Powder:  Sweet Stamps "Fine Detail Copper"
          Miscellaneous:  Stamp On It "Frame-Its Kit," foam tape, Scotch ATG

'Til next time.....

Big HUGS!
CHRISTINE

Thursday, July 18, 2013

smooth sailing

"How happy is the sailor's life..."   Isaac Bickerstaffe   Over at the Card A Day Blog we are inspiring/challenging you with the theme of "NEW," new home, new job, new school, new anything you can think of.  For my inspiration, I have created a card that might apply to many things 'new' as there are often "rough seas" in any new endeavor.  There may not be too many of us looking forward to a new sailboat, but that is the image I used for my creation.  I liked the idea of clear skies and smooth seas, so that is how I created my sentiment.  Here is your first look at my card:


As you can see, this is my sentiment.  I created it in a document, choosing the font style and color, and printed it on white cardstock.  I cut it with a Spellbinder's die, did a little inking while still in the die, added some matching rhinestones and mounted it with foam tape.  You can see the layering in the next pic.


The sailboat I used is from Stampin' Up.  I stamped directly on the card layer; I wanted my card to be very CAS.  Here is the finished card:


This was a very fast card to create, and, happily, I had the perfect scrap pieces at hand.  So, all I needed to do was locate my stamp and create the sentiment!  Not too many details for you, but here they are:

          Stamp:  Stampin' Up 'Sail Away' single stamp
          Inks:  Tim Holtz by Ranger Distress Ink 'Chipped Saphire' and VersaMagic Chalk Ink 'Sea Breeze'
          Die:  Spellbinder's 'Labels 4"
          Bling:  The Paper Studio birthstone gems

I'm really starting to love this CAS style, but, while I love the color blue, I think it's time to bring in some other colors for my next few posts.  What d'you think?

Sea you again soon!!

Big HUGS!
CHRISTINE

Thursday, July 11, 2013

CAS, Color and Sketch!

Well, here I am back again with another blue card.  But, then again, who doesn't love BLUE?  This time it's for a particular challenge I'm entering.  Actually, I've combined two challenges; one that is clean and simple with a color combo, and the other with a sketch.   The CAS/Color is from the new challenge blog, House of Cards, while the Sketch is from the Repeat Impressions Blog.  Here are photos of the two challenges:

http://design-seeds.com/palettes/FreshCherry.png 20130709-203918.jpg

In the color part of the challenge, at least three of the colors must be used.  And here is my card:


Using the sketch, I took the three blues, a silhouette stamp and a sentiment to keep the card very simple.  The sentiment is very light, so I have a close-up for you.  It's much more readable in person.


Both stamps that I used came from the Raisin Boat "Stunning Silhouettes" set.  I used Versamark ink and Ranger clear embossing powder to get the light, but slightly raised and shiny silhouette effect.


Lastly, I cut the sentiment in a banner cut, layered it, and affixed it with foam tape for just a little bit of dimension on the card:


Most of the paper is from Recollections, and Surprise, Surprise, I used NO SCRAPS!!  I know, shocking, isn't it?

Thanks so very much for spending some time with me today!  Before you go, tell me in a comment what you're reading these days.  I love books and am always looking for suggestions!

'Til next time.....
Big HUGS!
CHRISTINE

Sunday, July 7, 2013

True Blue

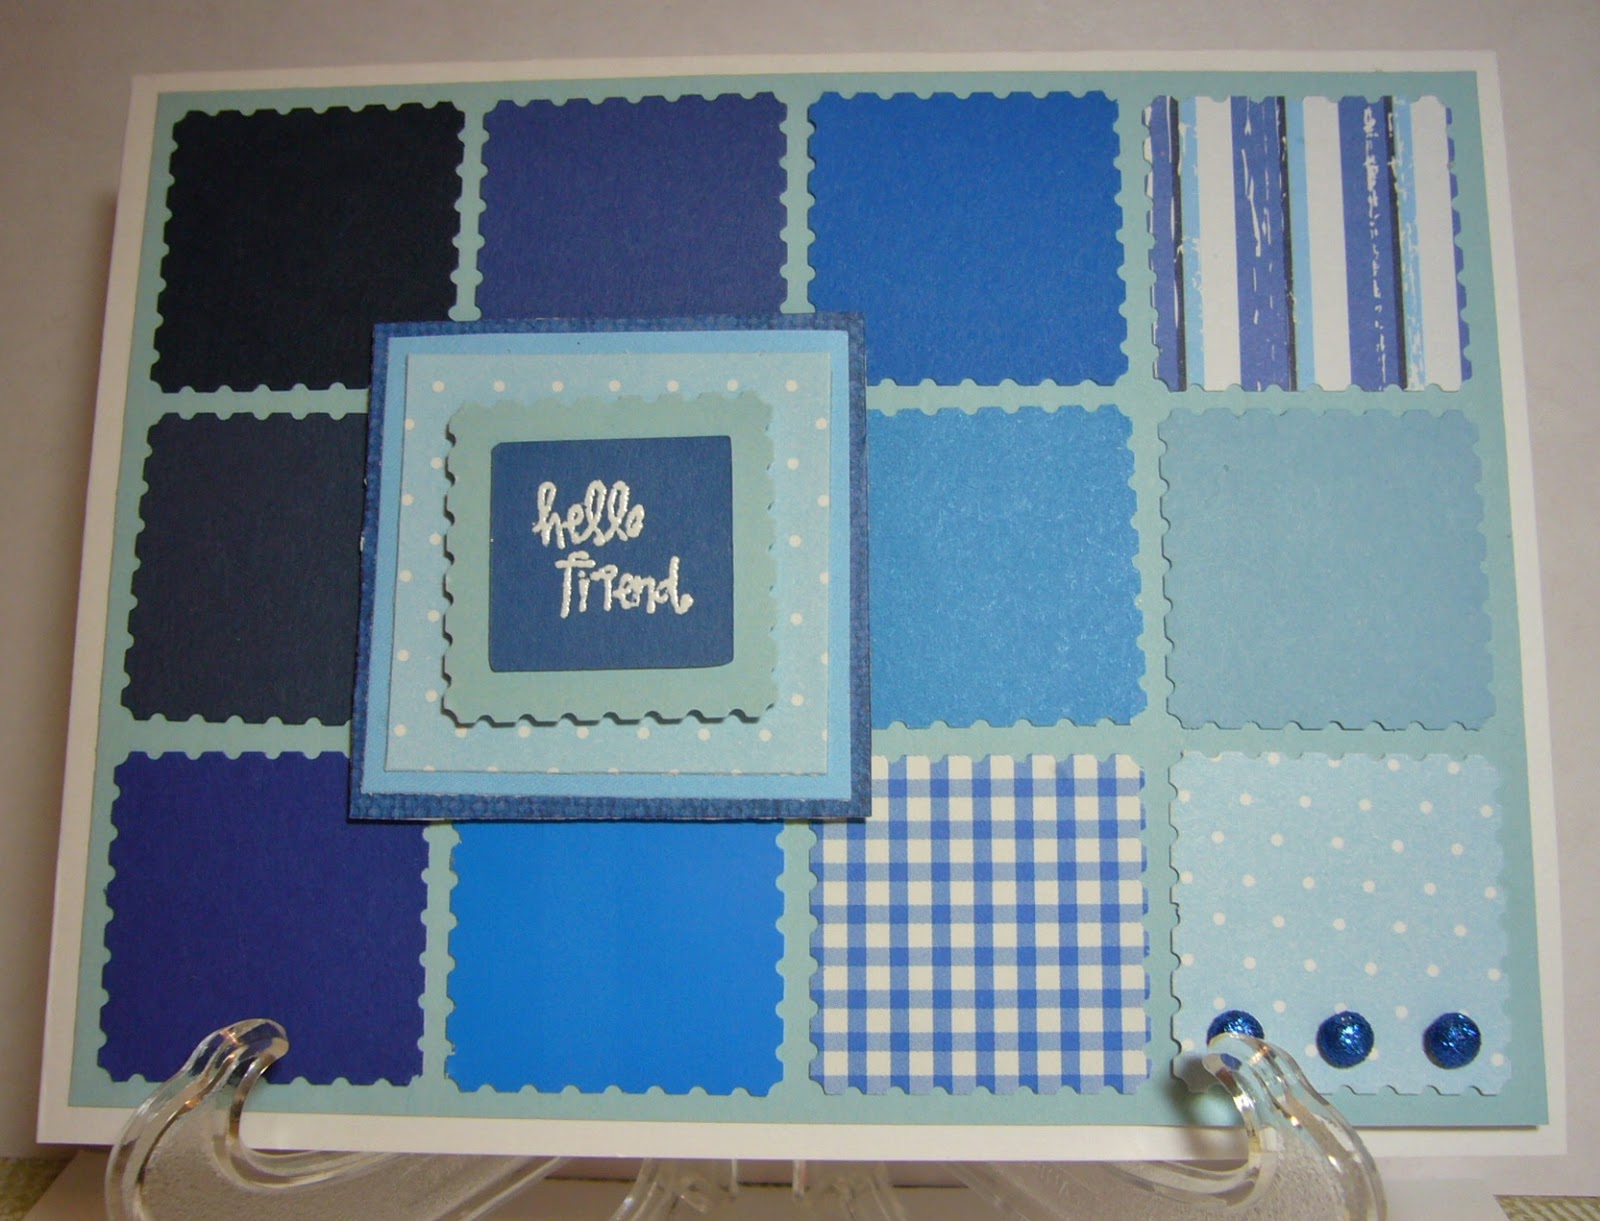
It's a good thing my hubby was looking at the calendar yesterday because I totally forgot it was my turn for a design at the Card A Day Blog!  And, being on Sunday means I get to start the new theme.  This week we're presenting "Monochromatic" cards for your viewing pleasure and inspiration.  I have another of my 'scrap specials' for you, all in blues because that's what my daughter requested.  The design of my card was actually 'borrowed' from a recent Stampin' Up stamp camp held by a neighbor.  And here it is:


As you can see, this card uses lots of small bits of paper, so it's an absolute natural for using up those scraps.  I did my best to get a sort of ombre effect with my papers; darkest in upper left corner to lightest in lower right corner.  I used a postage stamp punch for most of the pieces, but several of the focal piece bits were simply cut square.


The card base is standard A2 size at 4 1/4 x 5 1/2.  The layered piece is 4 x 5 1/4.  The focal piece starts at 2" square with the rest of the pieces each just a bit smaller.


As I hope you can see,  the focal piece has been affixed in two separate layers with foam tape.  The sweet little brads offer just a bit of glitter to the card.


This little card really is a blast to make.  You can have lots of fun choosing colors and a theme because, of course, this card can be adapted to many occasions.  I can just imagine it done in colors for Christmas or Halloween with just the right central image.  And it would look gorgeous in shades of brown and tans for fall.  I do hope you'll enjoy designing your own!

Also linking to:  Repeat Impressions DCC73 ~ Monochrome

Here are the specs:
          Brads:  American Crafts Mini Glitter Brads
          Paper:  Card base Georgia Pacific
          Ink:  Versamark
          Embossing Powder:  JudiKins Opaque White
          Punch:  Stampin' Up "Postage stamp"
          Stamp:  Pink By Design

'Til we meet again.....

Big HUGS!!
CHRISTINE

Friday, July 5, 2013

Whale, what d'ya know!!

Hello friends!  I hope all my USA buddies had a wonderful Independence Day celebration.  We had a nice quiet day at home, so I used the time to make a cute little card.  It just happens to be red, white and blue, although it's not the patriotic colors.  This time I made a fun card for a new challenge site.  It's called House of Cards, and it just started on the first of this month.  They have four different themes each month, and their first theme is 'cute and fun.'  They have a color inspiration for this first week, and at least three of the colors must be used.

                              http://design-seeds.com/palettes/FreshCherry.png

I've been wanting to use a new stamp and die set that I've had for a little while, so I decided this would be the perfect opportunity.  Here is the card (made all from scraps):

 
I really like the fun Lifestyles Crafts border die for the water.


And here is a pic of the supplies I used:


I really enjoyed making this card; it was one of my quickest cards ever!  ;)  I hope you enjoyed it, too.

 
Thanks for stopping by today.  See you again soon!

Big HUGS!!
CHRISTINE

Friday, June 28, 2013

GIRLY

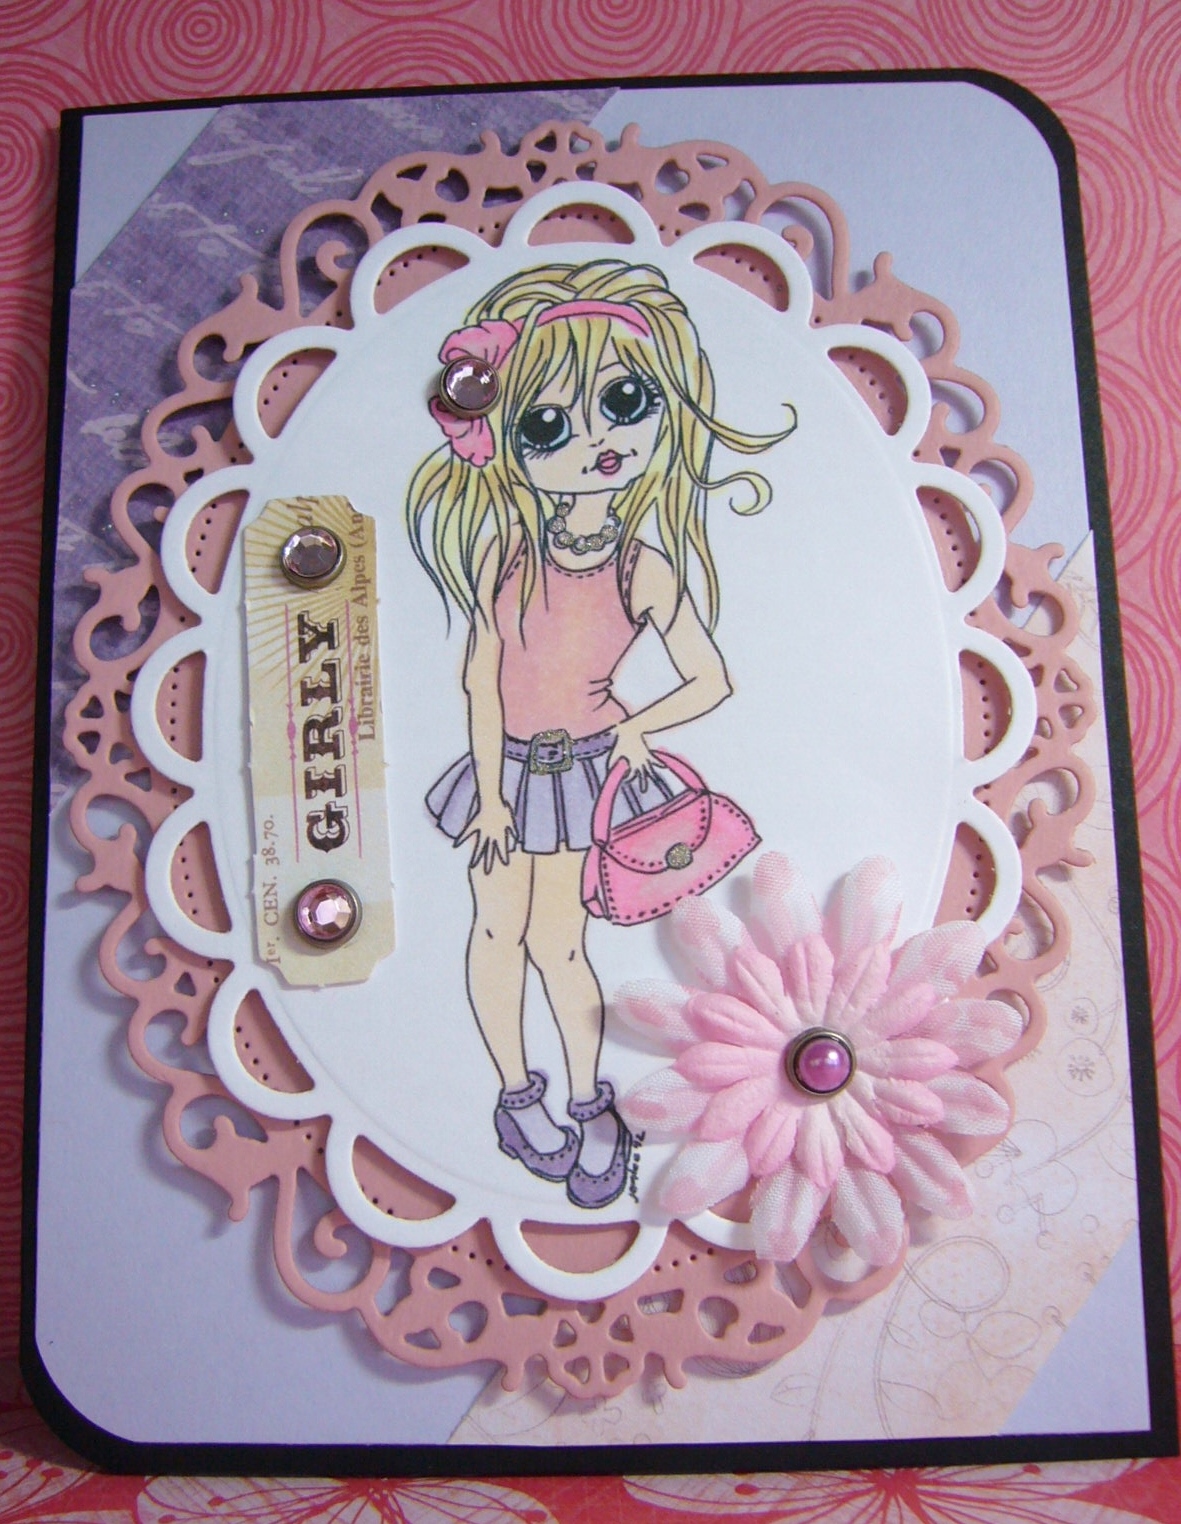
Welcome!!  I'm so happy you came to visit today. I am designer of the day on the Card A Day Blog where our theme of the week is "TEEN."  My card was such fun to make, but a challenge as well because I was not only making a card for an age group I'm not that familiar with any more, but I was also making this card for one of our challenges at the Crafter's Digital Art Club, Easy As 1-2-3.  In addition to a digital image, the challenge required the use of one sentiment, two design papers and three embellishments.  Here is your first look:


I first chose the two dps to give me a color basis.  These two pieces, as well as the cut ovals, were from my scraps.  I must confess, however, that my card base and the mat were both cut new.  I just didn't have the right colors in the scrap stack.

Once I had the papers chosen I selected the embellishments.  Then I went about finding the right colors from my collection of Copics to color my image.  I just love this image.  She is called "Uptown Cutie" and she comes from Jen Leeflang at DigiStamps4Joy.


I colored the image, and then used a die to cut it out.  I also die cut a fancy frame for her.  I added a bit of glam to her outfit with a glitter pen, and used sparkly brads for some extra glitz.


The brads were used to attach my little sentiment tag as well as sparkle up my cutie's bow.  The last addition was the flower which I attached using a pearly brad as the center.


I used foam tape to affix the two oval layers so that my card would have lots of dimension, but still remain flat enough to fit easily into an envelope.


Here are some of the details:
          Papers:  Recollections (black and lilac)
          Flower:  Petaloo and The Paper Studio
          Brads and Sentiment Tag:  My Mind's Eye "Lost & Found" collection
          Glitter Pen:  Sakura Gelly Roll "Clear Star"
          Copics:  V20, V25, RV11, RV13, R00, BG01, Y00, E000, E31
          Dies:  Spellbinders Nestabilities Lacey Ovals and Floral Ovals

See you again soon!!!


Big HUGS,
CHRISTINE

Tuesday, June 18, 2013

It's an Inspiration!

Well, hello again!  I'm trying to get caught up with our challenges over at the Crafter's Digital Arts Center.  We have just under two weeks left on our current challenges; they are all ending on June 30.  If you love working with digital art you should come on over and check us out.  The challenge I have designed my current card for is the "Inspiration" Challenge.  Thus, the title of my post.  I used a pretty image from Tiffany Doodles to design my card around.  Here is the inspiration from the challenge:


I used my usual A2 sized base for the card.  I chose three coordinating dps, and created my own sentiment for both outside and inside.
 
 
Once I determined where I wanted to position each dp, I did all the cutting.  This included cutting a backing piece to frame the image.
 
 
I lightly colored the image with Copics, and mounted it to its backing.  I diecut the outside sentiment, and colored the outer portion of the tag as well.  Two matching brads attached the tag to the background.  I used foam tape to affix the image piece.
 
 
To finish my card I simply printed the inside sentiment onto white card to give a light space for a handwritten message and signature.
 
 
This card would have been fairly quick to put together, but I tend to get picky sometimes which causes many of my projects to take much longer to make than they should.  (hehe)  Anyway, I'm pleased with how my card turned out; I think I did a pretty good job using the inspiration colors. What do YOU think?
 
See you again as soon as I can!!!
 
Big HUGS!
CHRISTINE

Monday, June 17, 2013

Just Because You're You

Greetings to all you lovely ladies and gents out there!  My challenge this week at the Card A Day Blog was to make a card for the theme "Just Because."  I don't know about you, but I think a card for no particular reason at all is just about the most fun to make.  It doesn't need a holiday or a special occasion or a celebration of any kind.  You make it and send it, well, just because you want to.

My particular card started with a little 'art' piece I made quite some time ago as a 'try-it' at one of our local art supply shops.  We were sampling Transfer Artist Paper, otherwise known as "TAP."  For those of you not familiar with it, TAP is a specially designed polymer coated paper which can accept inkjet printer inks (not laser) and almost any art materials you can think of.  Once the artwork is finished, it can be heat fused into most absorbent surfaces or transferred onto non-absorbent surfaces.  It's really a very cool medium that you can learn much more about at C&T Publishing.  Lesley Riley is one of the inventors of TAP, and she has a book available with all the instructions and loads of ideas.

Best get back to my card.  I laid down a background with several art markers.  It's been awhile so I don't remember all of them, but I know some were Copics.  I then stamped the cute little image.  I think we were using Memento ink, but don't quote me on that.  The design was then heat fused into a piece of watercolor art paper, a nice thick weight.


When I decided to use the piece for this card, I trimmed it down to fit an A2 sized base.  Then all I needed was a sentiment and a few pearls to coordinate with the marker colors I used.  I created the sentiment myself, and printed it on a coordinating piece of card.  I cut the pieces banner-style and affixed them with foam tape.


Since I had decided to use a black card base, I needed a light-colored insert for the message and signature.  So when I created the inside sentiment, I printed it on the same card as the outside bits.


It's really a rather CAS style, don't you think?  I'm quite please with the way it turned out.


There aren't too many additional details.  The card base and the pearls are from Recollections.  Sorry I can't tell you more about that cute stamp, but it belonged to the shop and I didn't get the name.  I actually do remember asking at the time, but I left the shop and promptly forgot.  (What can I say?  It was at least two years ago!!)  I hope you'll forgive my forgetfulness, and come back to visit again soon.  Until then, Happy Crafting!!


Big HUGS,
CHRISTINE

Sunday, June 9, 2013

Stars and Stripes

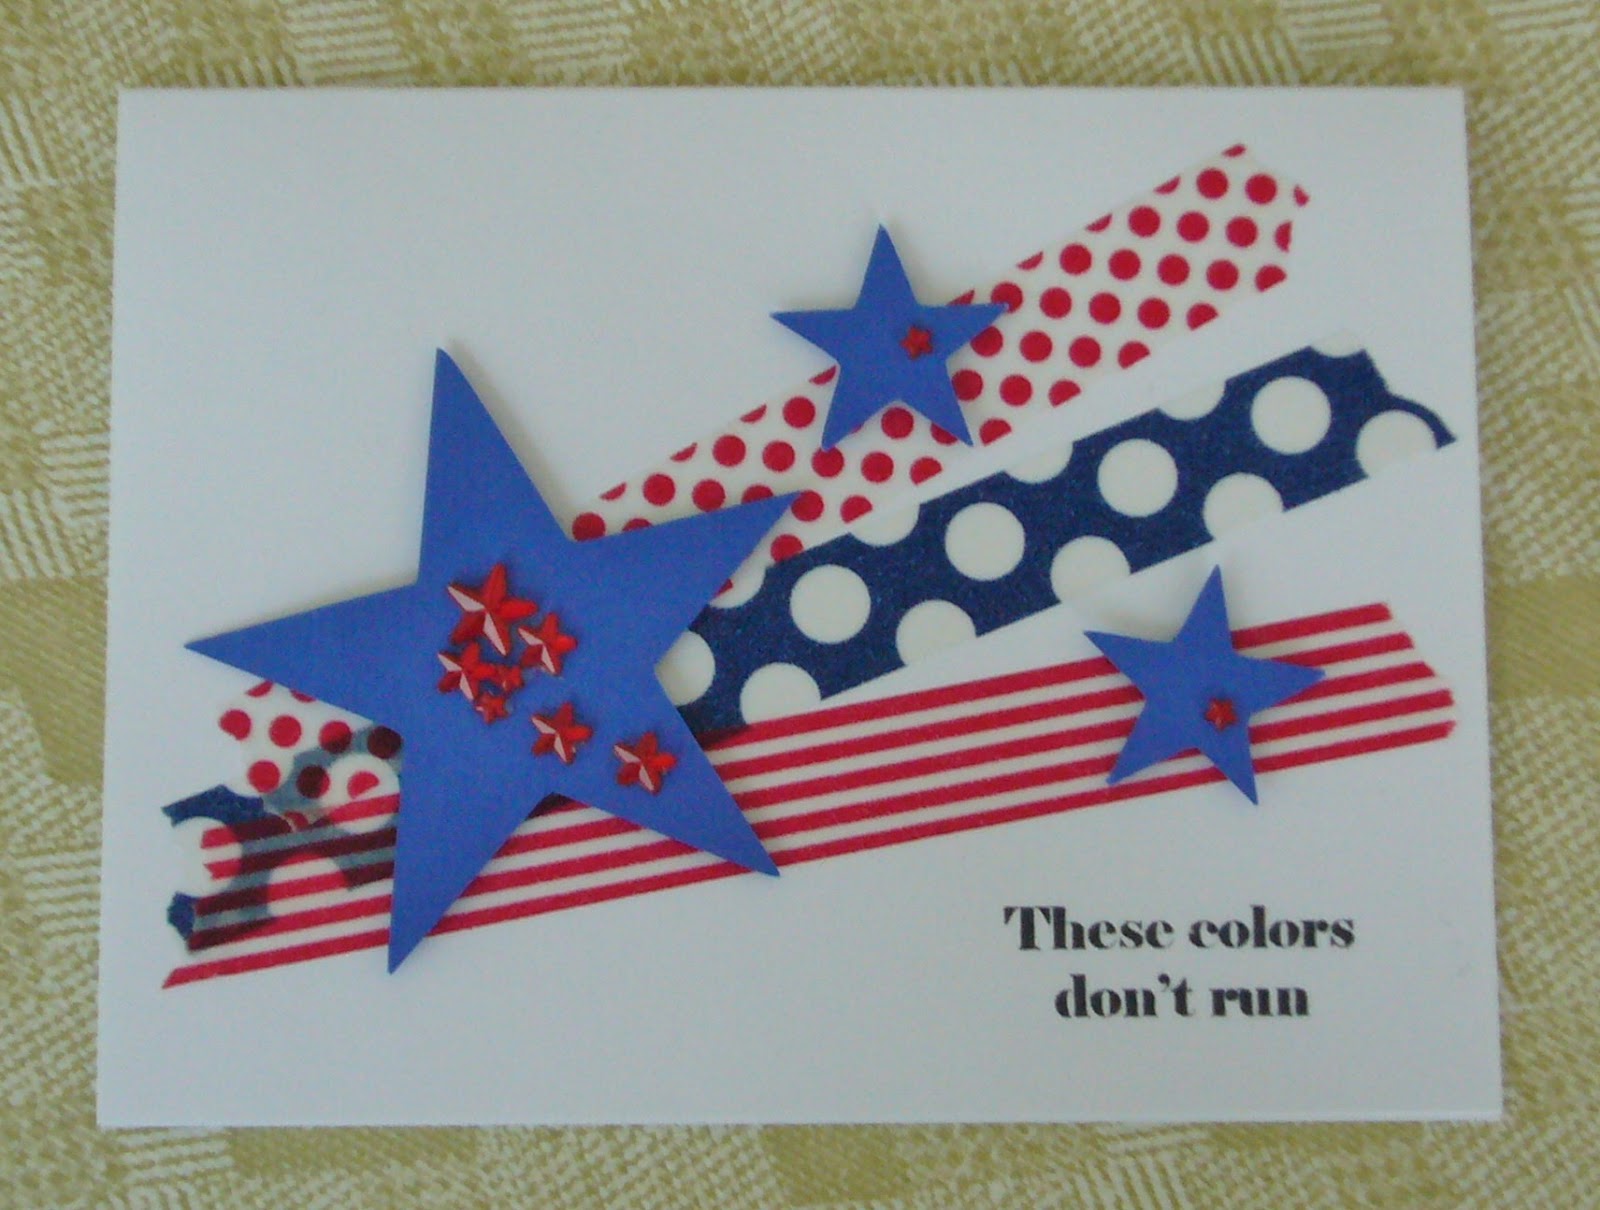
Yes, it is crazy, isn't it?  Two days in a row!  Just don't get used to it; I'm really not that prolific.  But I do have a card for you to bring in the new theme at the Card A Day Blog.  With Independence Day in the USA right around the corner, we are beginning our inspiration for 'Country's Birthday.'  My card does, indeed, celebrate the birth of the United States, and was a snap to put together.  A scrap of blue, a few strips of Washi Tape and a stamp with some ink, all added to a base, that's it.  Simple, Fun, Striking and Patriotic!


Oops, I forgot to mention the bling, which looks a little dull in the pics (sorry), but really does look nice in person.  The card started with a bright white A2 sized base.  The flared stripes are just three torn pieces of washi, and the stars were cut on my Cricut from a scrap of blue card.


I think you can see in this photo that the blue stars were affixed with foam tape.  Doing that and using the red blingy stars (Mark Richards Crystal Stickers) give a little dimension to the card.  The sentiment, from Pink By Design, was stamped with Versamark Black Onyx ink.


Didn't I tell you it was a quick one!?!  And just because it was so quick, I have another really fast card to show you.  This one harkens back to a card I made just about a year ago which you can see here.  I had saved the cut-out pieces to use them 'some day.'  Well, this was the day.  The leftover cuts simply needed a base, a couple of stars and a sentiment.  Here are the pics:


These two cards are great for Flag Day (June 14), Independence Day July 4) and Operation Write Home.   I hope I've given you a little inspiration for your country's birthday, whenever it is.

That's it for me today.  See you again very soon, I hope!!

Big HUGS!
CHRISTINE