
I started my card with a standard A2 base in off-white. I considered using white, but I really liked the off-white with the dp I was using. Once again, I used a scrap, but this time I can tell you where it's from. I didn't really have a specific idea for my card. I just knew I wanted to use my Martha Stewart snowflake punches that have been sitting around for awhile. I also knew I wanted to try out some of my 'mystery' materials.
With my Martha Stewart punches in hand, I took a piece of silver-glittered white paper that may have come from the loose stock at Michael's. I cut a 2 1/2" strip to use with the Scallop Snowflake Deep Edge punch. This punches only half a snowflake, so I punched the strip on both sides to create the full snowflake. I punched three of these, and used one full one and one cut in half with the scallop trimmed off on the front of the card.
Next I took a foil candy wrapper (high shine) and a top from a yogurt container (less shiny), and stabilized them with paper scraps secured to the back. I used the Snowflake All Over the Page punch for these, and cut the snowflakes from the center since I wanted loose snowflakes. I glued these and the larger scalloped snowflake to 1" circles, and affixed some foam tape for dimension. These are the wrappers I used:

I picked up a cast-off 4" paper doily that I hadn't used on another project, and cut out the center. The scalloped snowflake fits perfectly inside. I used some glitter pens and inking to tone down the stark white of the doily. I also inked the card base and the white glittered paper using the same ink.
The tag is the same paper as the card base. I rounded the end under the snowflake and gave the other end a ribbon cut with scissors, and then stamped the greeting and inked the edges in a color to match the dp. Here's a photo that gives an idea of all the dimension on this card.

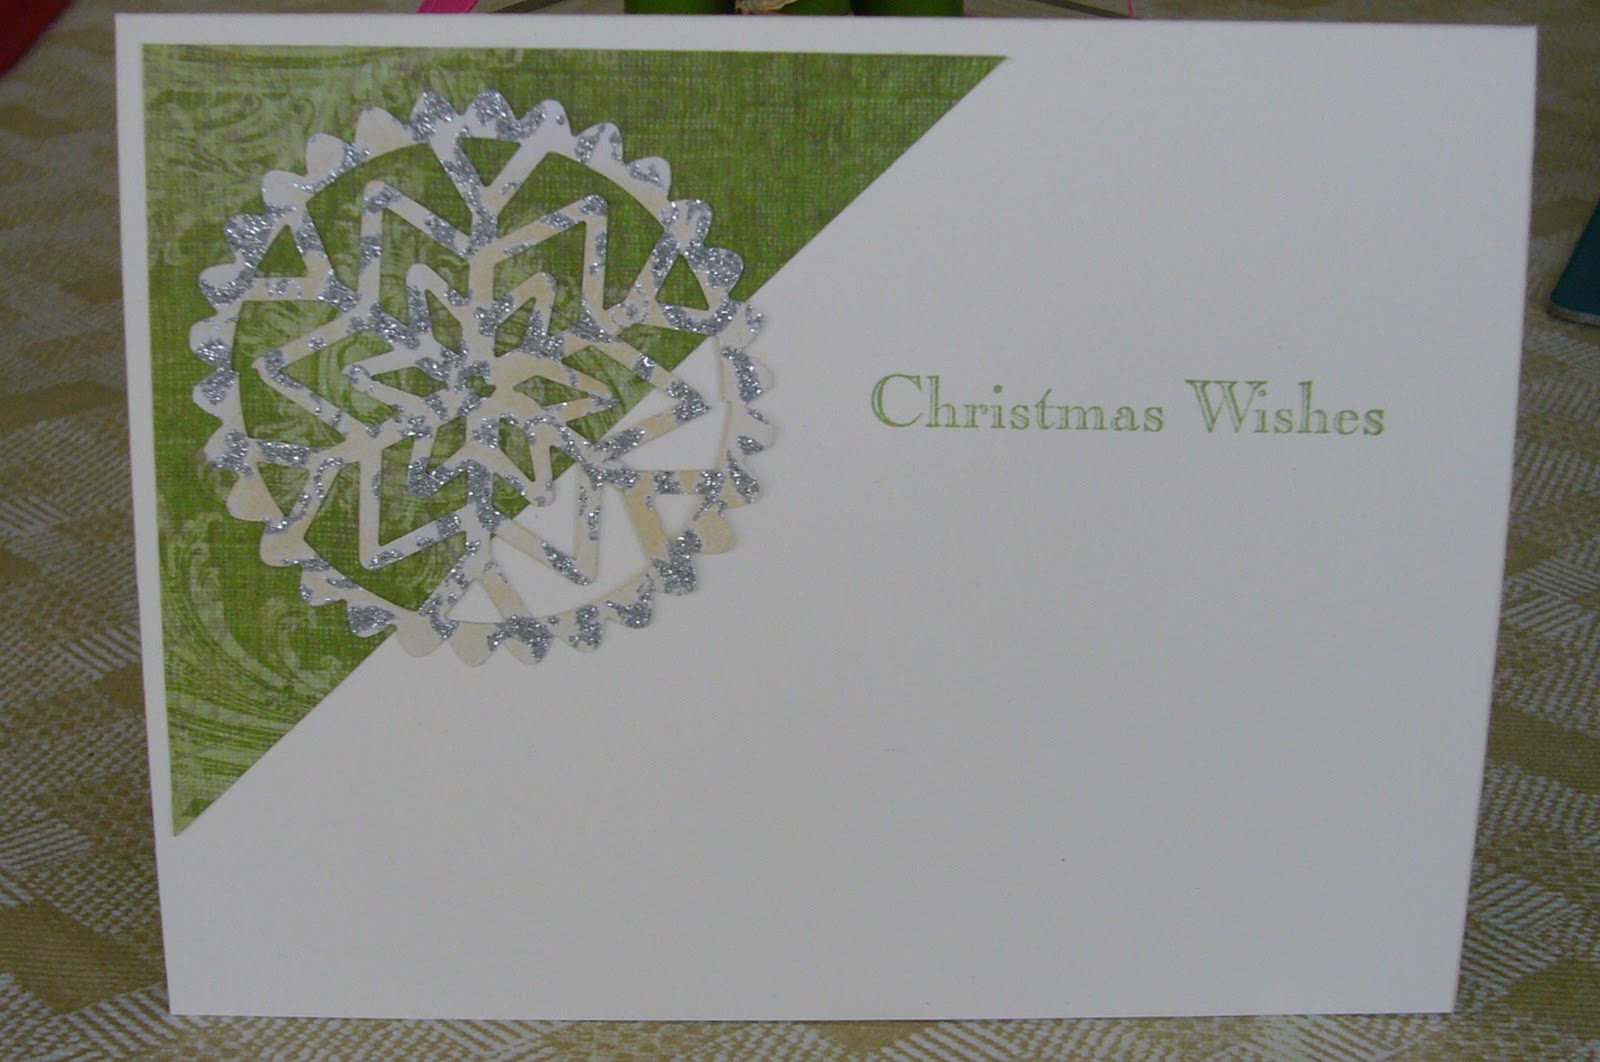
For the card's inside, I affixed a piece of the design paper along with the second full scalloped snowflaked, and added a simple greeting.
Here's the full recipe:
Paper: Stampin'UP Very Vanilla, K&Company Yultide stack
Stamps: Stampin'UP A Christmas Carol and Merry & Type sets
Punches: Martha Stewart Scallop Snowflake Deep Edge and Snowflake All Over the Page
Inks: Tim Holtz Distress by Ranger in Antique Linen, Stampin'UP Pear Pizzazz
Glitter Pens: Copic Spica, Sakura Clear Star
Also used: paper doily (possibly from a dollar store), Zig 2-Way Glue pen, tape runner
And finally, here's a full front view of the card; hope you like it:

I hope the real snow doesn't fall on us too soon, at least not where I live. :)) :))
Always keep your creative genius flowing.........
CHRISTINE
Oh, cool! Love the card and your handy recycling tip. There's always chocolate wrappers scattered on my scrap desk;)
ReplyDeleteGreat recycling, Christine! I'm going to have to start saving yogurt lids now (boy is the stash getting big!). I also got a chuckle out of the photo of chocolate and fat free yogurt...yin and yang! :-)
ReplyDeleteWow what a creative idea, cool card too.
ReplyDeleteI'll never look at yogurt the same way again! Love the recycling! There is so much we can do with what we have around the house! Thanks for more inspiration!
ReplyDelete