Happy Friday everyone and WELCOME!! Well, my ds's visit ended Wednesday, but before she left she started playing with an idea for my card for this weeks' "Autumn" theme on the CARD A DAY BLOG. So today's card is another bit of sisterly collaboration.
My sister's idea began with leaves and burlap. She used a set of my dies to cut leaves from various scraps, and then cut some pieces of burlap to play with. That's as far as she was able to get before she had to depart for home. When I picked things up to work on the card I found a scrap of handmade paper that I thought would add nicely to the overall look.
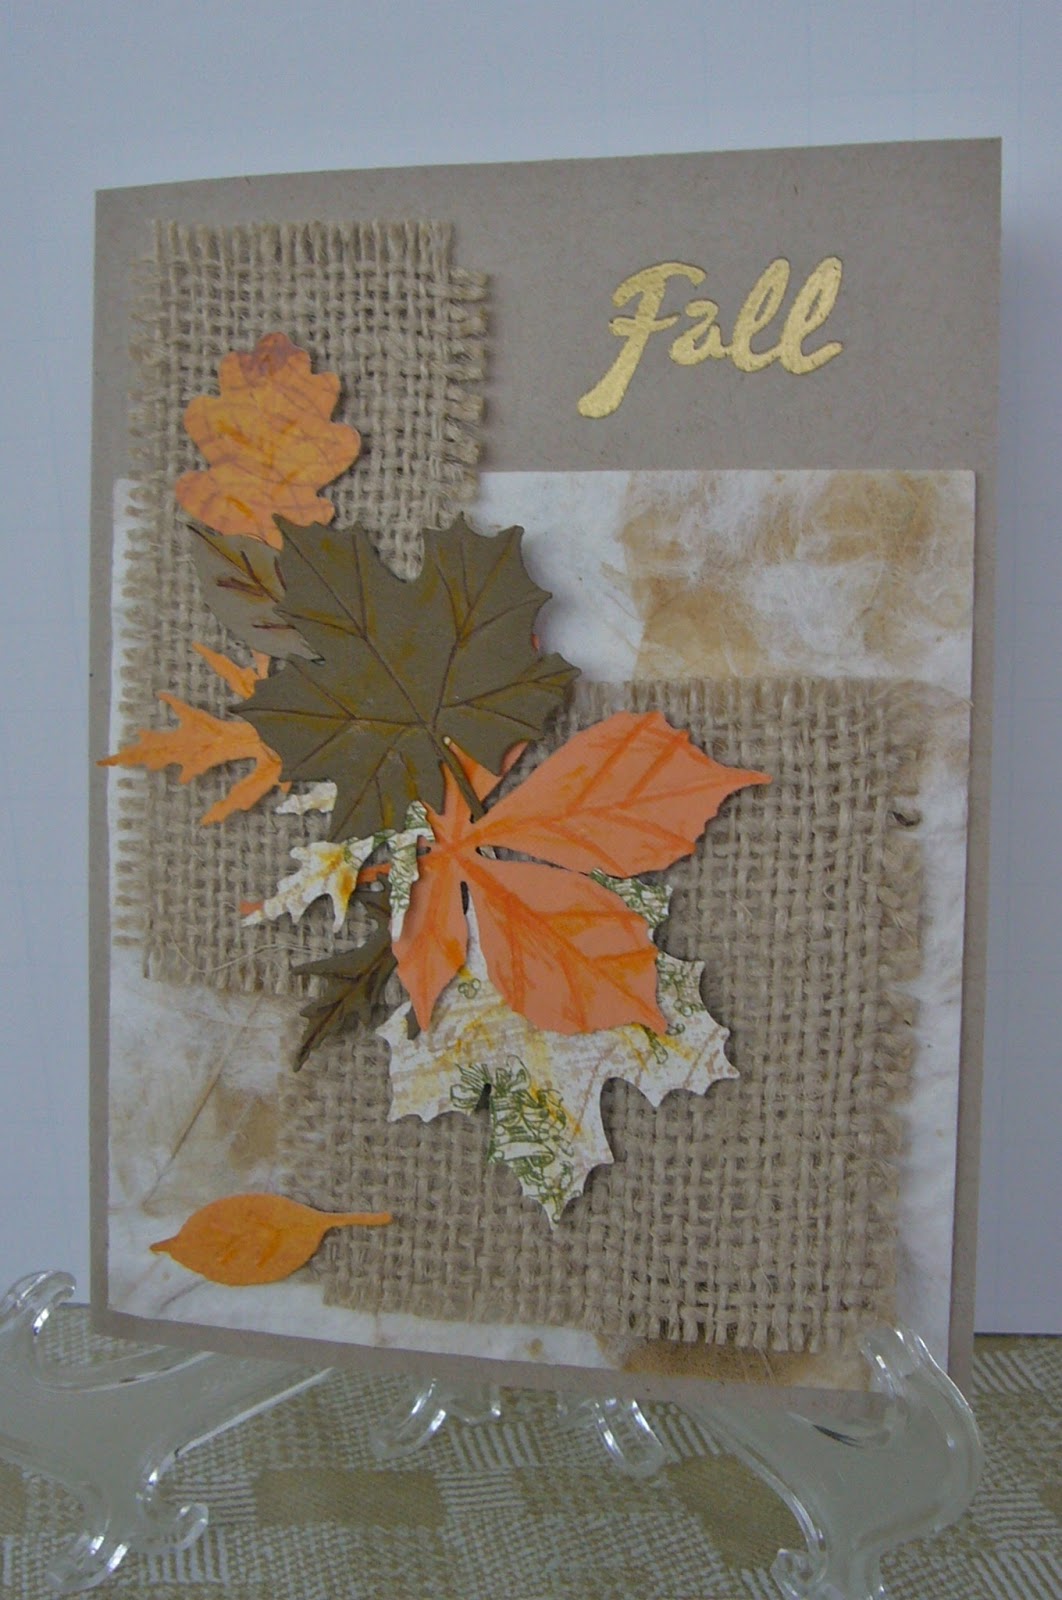
I made a rough arrangement of the elements before I started to affix anything. When I was happy with it I started adding drops of glue to begin setting everything in place. The word 'Fall' was stamped with Versamark ink and embossed.
I hope you can see in these two pictures just how much dimension there is with the hand made paper, the burlap and all the leaves.
I used foam tape in just a few spots to keep things from flattening down.
For the inside I chose a nice sentiment and added a pair of acorns to a bottom corner. All were stamped with the Versamark and embossed.
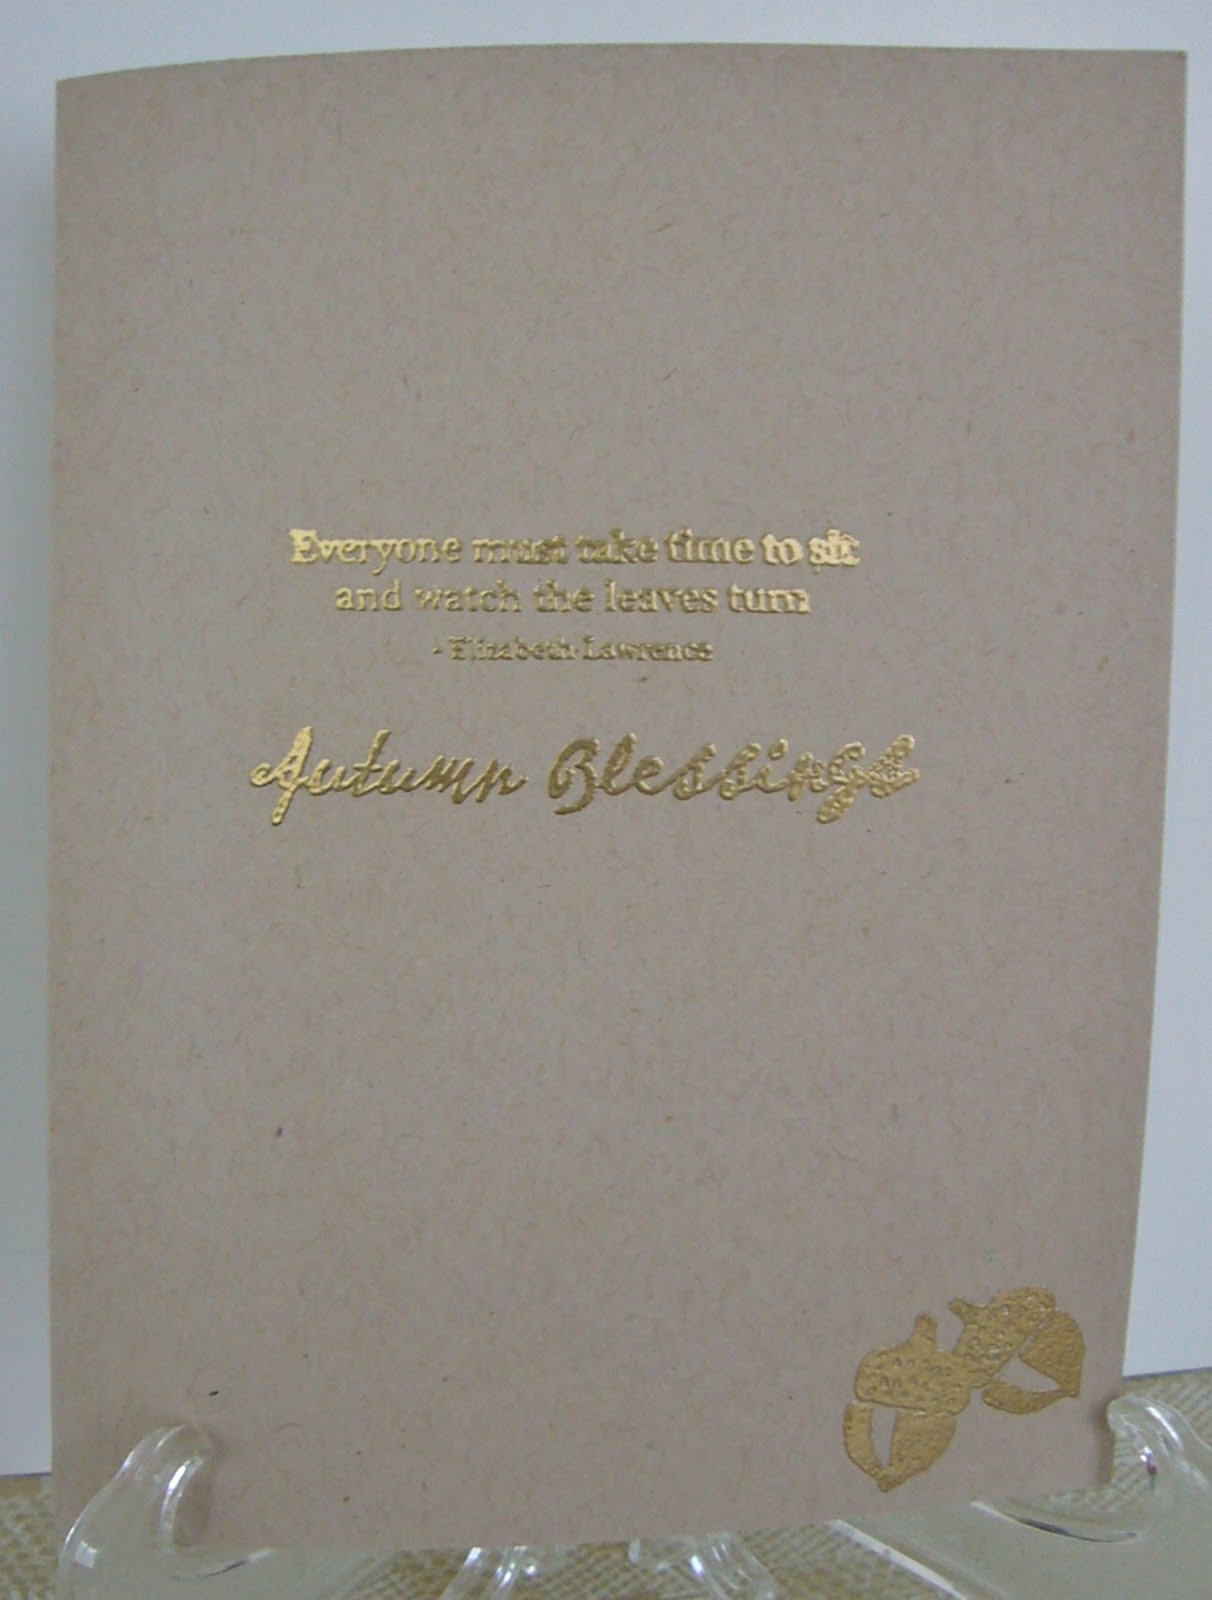
Hopefully you can read the sentiment in the close-up shot.
This was a nice and easy card to put together, especially after my sis did all the cutting. ;) I did add some veining to the leaves. If I had thought it through I would have distressed the leaves as well before trying to affix everything. Oh, well, I did it a bit after taking all the photos!!
I'm going to leave you with a little tease today. I am adding a new dimension to my crafting and hope to have some samples up for you soon. Wish me luck!!
Thanks so much for stopping by today. Here are your little details:
Dies: Impression Obsession 'Leaves Die Set'
Stamps: TCP Studio 'Autumn Harvest'
Paper: miscellaneous scraps, Kraft CS cut at 5 1/2 x 4 1/4
Embossing Powder: Stampendous! 'Detail Gold'
'Til next time.....
Big HUGS!!!
CHRISTINE
This blog was created for the display and exchange of craft ideas and information, especially on cardmaking, but also including such lovely activities as scrapbooking, knitting, crocheting and sewing.
Followers
Showing posts with label Autumn. Show all posts
Friday, September 6, 2013
Friday, September 14, 2012
It's Harvest Time
Hi!! Yes, I know I promised you a wedding card, and I'll post it for you in a few days. But, for now, it's Canadian Thanksgiving time over at the Card A Day Blog. It seems our lovely northern neighbors celebrate Thanksgiving in much the same way and for pretty much the same reasons we do in the States. They just celebrate a little earlier, in October. So, for all your Canadian friends, here's a nice design for you. I've used the pretty colors of harvest time, but know that you can easily adapt the design for any use. Here is your first look:
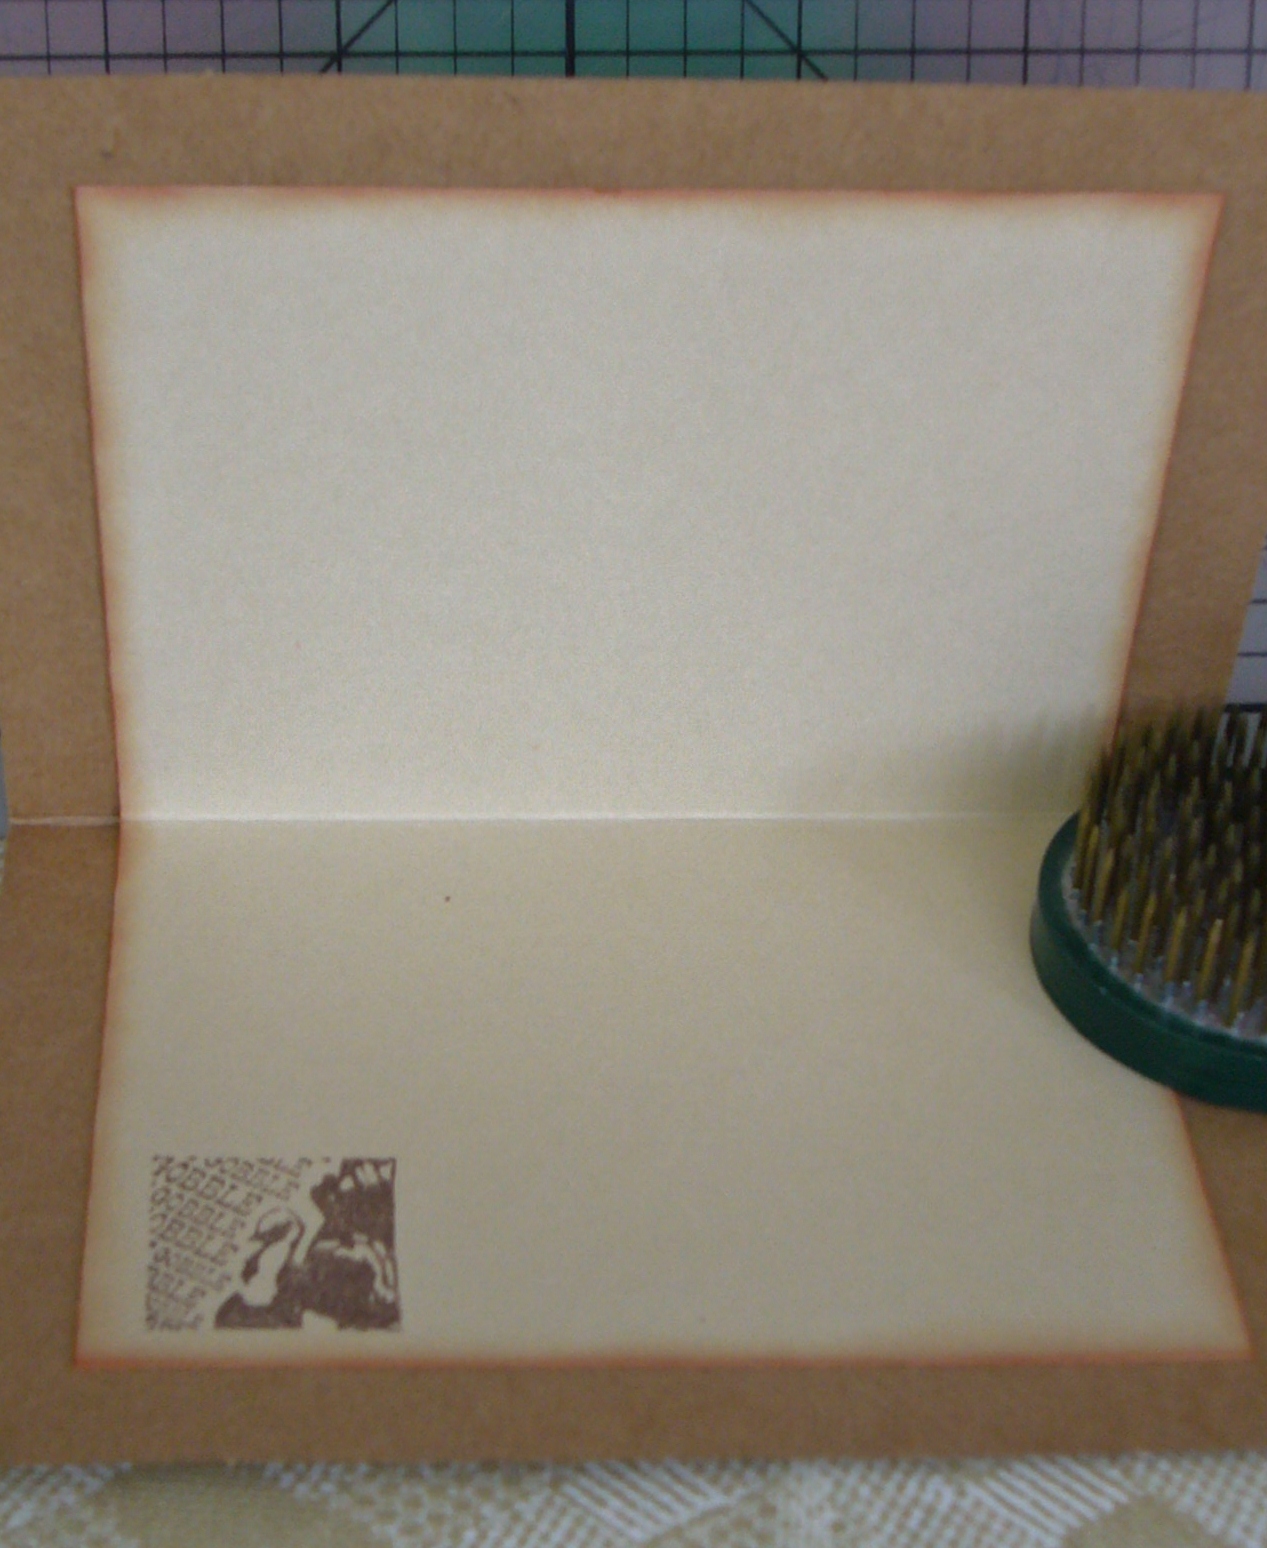
Surprise!!! I'm starting with the inside. (I know, how backward of me. heehee) First off, I want to say that this card was made TOTALLY of scraps -- even the card base is a refashioned kraft card, just turned to the reverse side. Being a little dark to write on - and to cover what had been stamped previously, it needed a liner for a message and signature. I inked the edges of the liner to bring in some color from the card front, and gave it a little turkey stamp in the corner for fun.
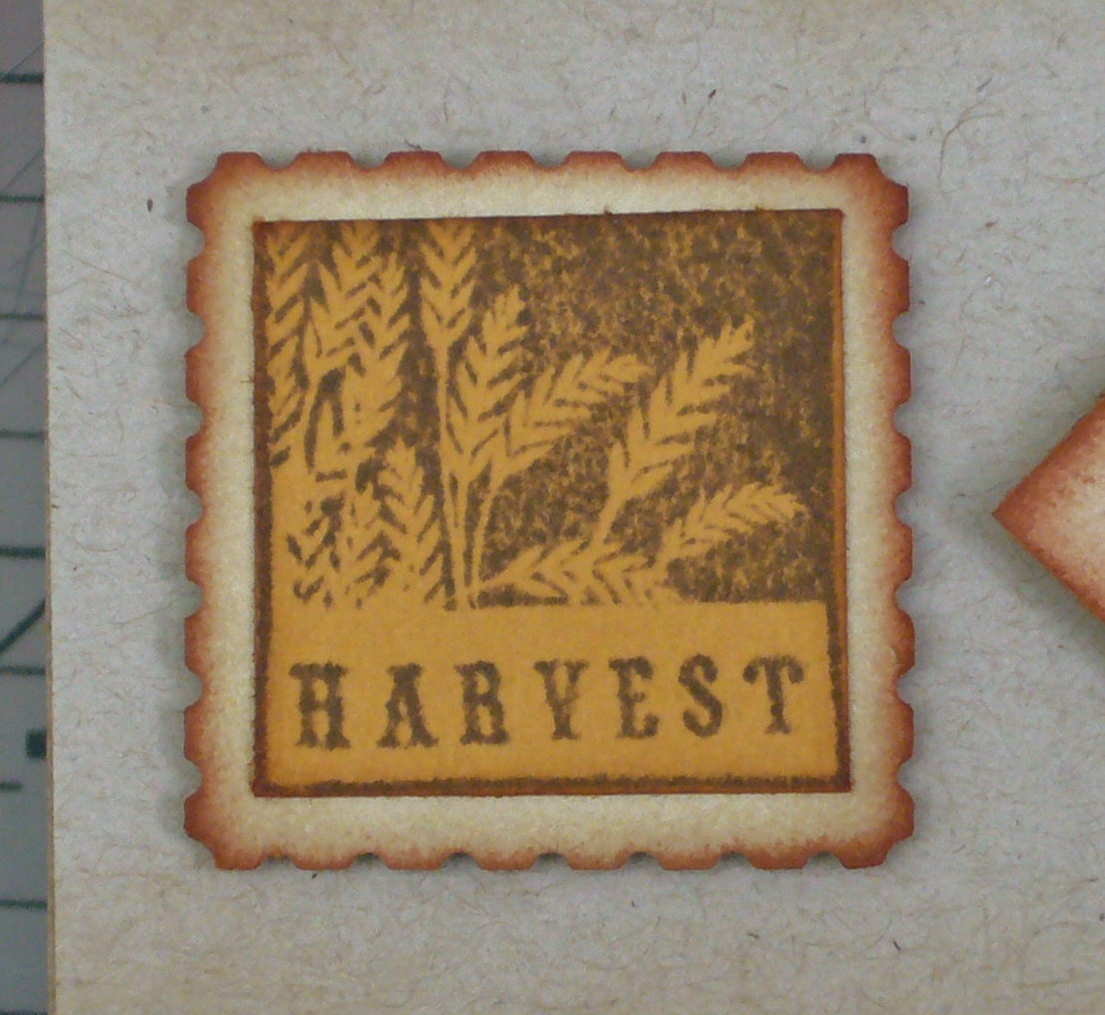
The next three photos are close-ups of the central images on the front of the card, shown left, right and center.
I used different colors on which to stamp each image, but I used the same ink as well as the same color to frame each one. The two side images were mounted with thin foam tape, and the center image was mounted using slightly thicker foam squares to bring it up just a little higher. These pieces were affixed to another layer of kraft card which was punched top and bottom with a lacy design.
The final piece of the puzzle is the design paper used for the front of the card. Here is an angled shot which shows the layering.
All that's left to show you is the straight-on photo of my card. You will see that the design paper was cut to leave just a tiny margin of the card base, and the lacy layer fits to the side edges of the base.
I had thought to use the brighter yellow paper for the centerpiece; unfortunately, the scrap was just a bit smaller than I needed. Cest la vie! I'm making the best use of what I have -- it's all part of the fun. Why don't you challenge yourself to make a card only of scraps, using one of our themes at the CADB, and enter our monthly challenge for prizes?
Thanks for taking the time to visit today. Here are the little details:
Stamps: Inkadinkado 'Harvest Inchie Bundle'
Inks: Memento 'Rich Cocoa,' 'Potter's Clay' and 'Desert Sand'
Punches: Stampin' Up 'Stamp' and Martha Stewart 'Lacy Edge'
Design Paper: K and Company
Here's to keeping your creative genius happy and well-fed! (Don't forget the chocolate!)
CHRISTINE
Surprise!!! I'm starting with the inside. (I know, how backward of me. heehee) First off, I want to say that this card was made TOTALLY of scraps -- even the card base is a refashioned kraft card, just turned to the reverse side. Being a little dark to write on - and to cover what had been stamped previously, it needed a liner for a message and signature. I inked the edges of the liner to bring in some color from the card front, and gave it a little turkey stamp in the corner for fun.
The next three photos are close-ups of the central images on the front of the card, shown left, right and center.
I used different colors on which to stamp each image, but I used the same ink as well as the same color to frame each one. The two side images were mounted with thin foam tape, and the center image was mounted using slightly thicker foam squares to bring it up just a little higher. These pieces were affixed to another layer of kraft card which was punched top and bottom with a lacy design.
The final piece of the puzzle is the design paper used for the front of the card. Here is an angled shot which shows the layering.
All that's left to show you is the straight-on photo of my card. You will see that the design paper was cut to leave just a tiny margin of the card base, and the lacy layer fits to the side edges of the base.
I had thought to use the brighter yellow paper for the centerpiece; unfortunately, the scrap was just a bit smaller than I needed. Cest la vie! I'm making the best use of what I have -- it's all part of the fun. Why don't you challenge yourself to make a card only of scraps, using one of our themes at the CADB, and enter our monthly challenge for prizes?
Thanks for taking the time to visit today. Here are the little details:
Stamps: Inkadinkado 'Harvest Inchie Bundle'
Inks: Memento 'Rich Cocoa,' 'Potter's Clay' and 'Desert Sand'
Punches: Stampin' Up 'Stamp' and Martha Stewart 'Lacy Edge'
Design Paper: K and Company
Here's to keeping your creative genius happy and well-fed! (Don't forget the chocolate!)
CHRISTINE
Thursday, September 6, 2012
A Golden Autumn
HOW CAN IT BE SEPTEMBER ALREADY???????
Sorry for yelling. I just can't believe how quickly this year is going. Even the long, hot summer is over, and all-too-soon we will be seeing the colors of Autumn. I have another Card A Day Blog design for you today. As you might already have guessed, our weekly theme is 'Autumn.' I had several ideas percolating in my brain for this theme, but I love tone-on-tone treatments, so that is the idea that won over all the others.
I started with a base of kraft card stock cut at 4 1/4" x 11" or half an 8 1/2 x 11 sheet cut the long way to make a tall A2 standard sized card. That piece then needed to be scored and cut to make a step card with one step and a higher centerpiece. Here is your first view:
Sorry for yelling. I just can't believe how quickly this year is going. Even the long, hot summer is over, and all-too-soon we will be seeing the colors of Autumn. I have another Card A Day Blog design for you today. As you might already have guessed, our weekly theme is 'Autumn.' I had several ideas percolating in my brain for this theme, but I love tone-on-tone treatments, so that is the idea that won over all the others.
I started with a base of kraft card stock cut at 4 1/4" x 11" or half an 8 1/2 x 11 sheet cut the long way to make a tall A2 standard sized card. That piece then needed to be scored and cut to make a step card with one step and a higher centerpiece. Here is your first view:
The cuts were made 1" from each long side and cut from 1" to 6 1/2". The center score was done at 5 1/2" and the side scores were made at 1", 2" and 6 1/2". I really like how the center lifts from the borders.
The side border pieces as well as the sentiment piece were cut from a golden paper which has a pretty sheen that, unfortunately, does not show up well in the photos. The centerpiece was cut from a sandy colored paper, and the mat from a darker mustard paper. By the way, these pieces were all scraps and I no longer remember where they came from.
I used Versamark to stamp the center image as well as the borders and greeting, and used a lovely golden embossing powder to highlight them.
Overall, this was a fairly quick and easy card to make and would be great when multiples are needed. It's a super design for any occasion.
Not too many extra details for you on this one. The stamps all came from TPC Studio: Autumn Harvest set and Patterned Borders. The embossing powder I used (and I really love this one) is Medieval Metals from Sweet Stamps.
Now I'm off to make a wedding card. I'll show it to you soon after the wedding which is this coming Saturday -- eek! only a couple of days away. I'd better get creating......................
Do remember to always keep your creative genius happy and well-fed!
Big HUGS to all!!
CHRISTINE
Subscribe to:
Posts (Atom)