Followers

Sunday, November 18, 2012

Festival of Lights

As designer of the day for the Card A Day Blog I had the pleasure of creating, for the first time ever, a card for Hanukkah.  This is the first time we've had a week featuring this well-known Jewish holiday at the CADB, and it's been a true learning experience for most of our participating designers.  I know that Hanukkah, or the Festival of Lights, celebrates the miracle of one days' worth of the special olive oil (that remained after the rest had been destroyed) keeping the candles lit in the Temple for a full eight days until a fresh supply could be made.  Not traditionally a religious holiday Hanukkah, falling during the same season as the Christmas holiday, has come to be celebrated in a similar fashion with celebrations, special foods and gift-giving.

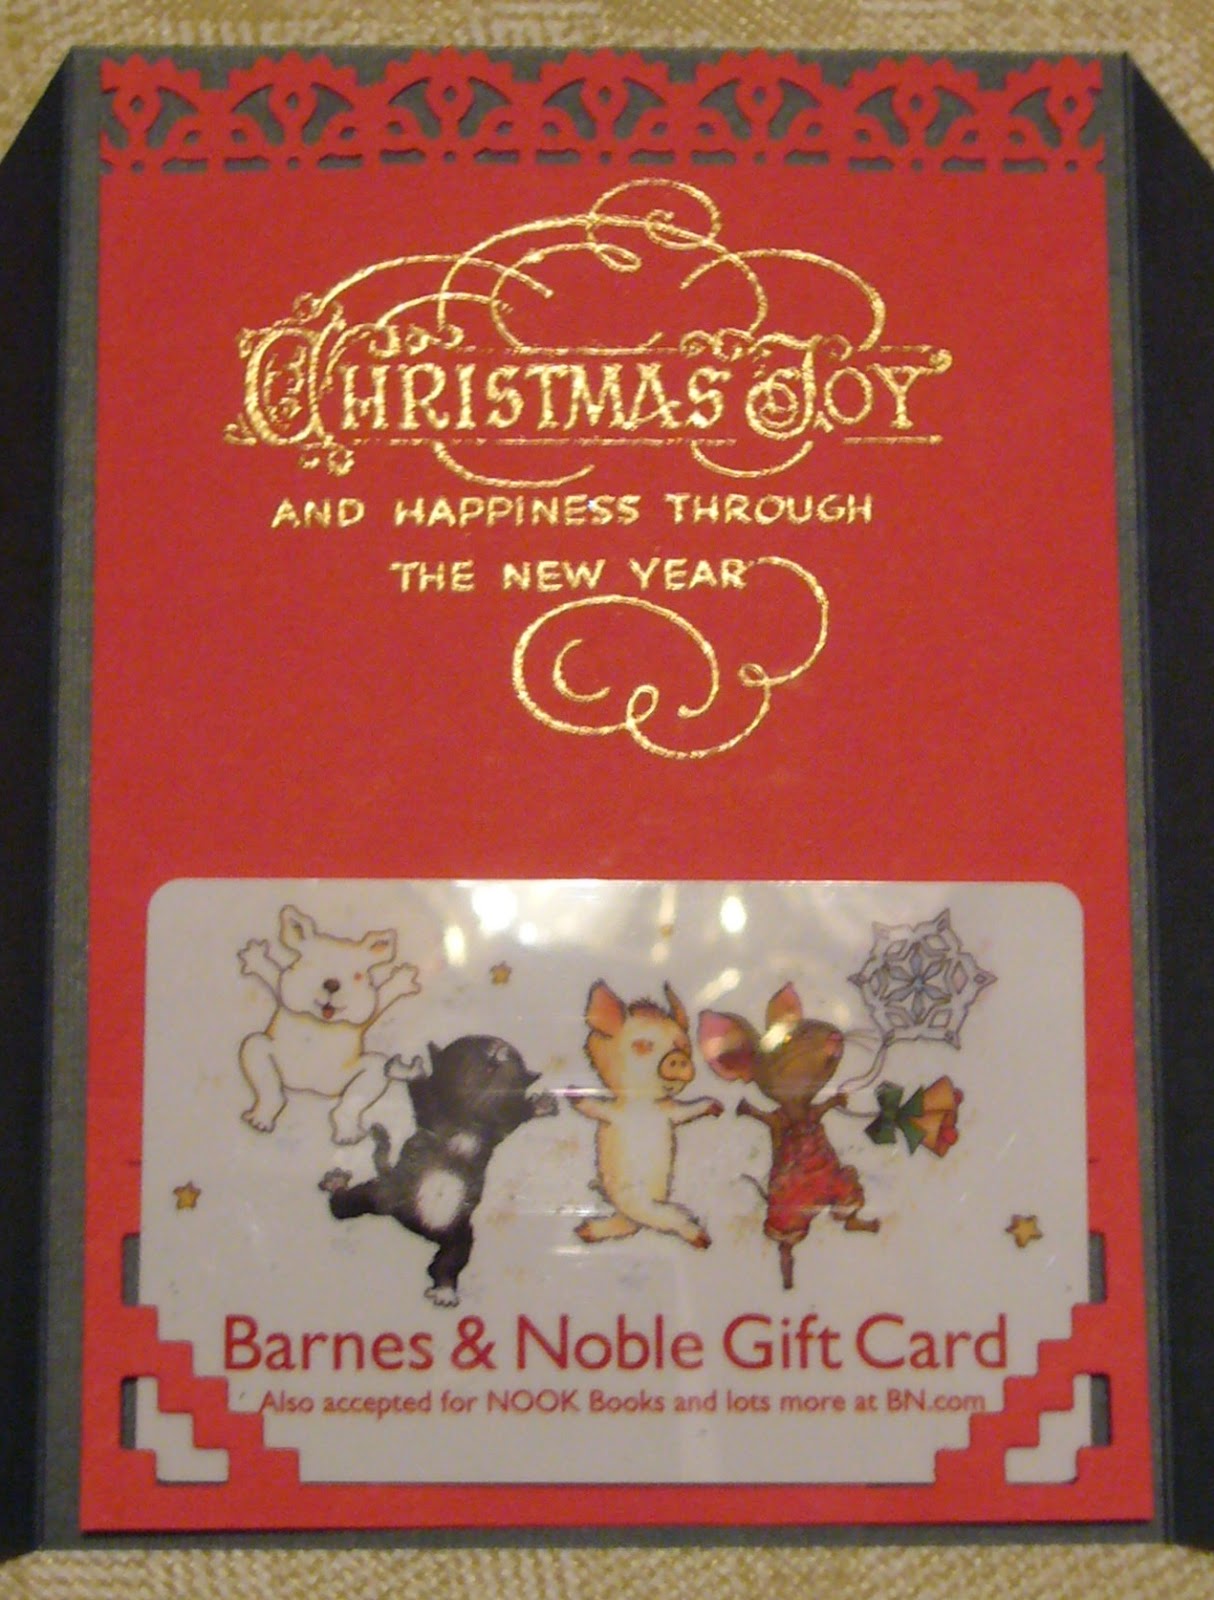
My card features the Star of David and the menorah, or candelabrum, on which one candle is lit for each of the 8 days of the holiday.  The center, or highest, candle is the one used for lighting all the others.  Please remember I am speaking as a Christian who is not too well-versed on the traditions, and giving a much condensed explanation.  So, if you need to set me straight in any way, feel free to do so in a comment.  Here is your first look at my card:

 
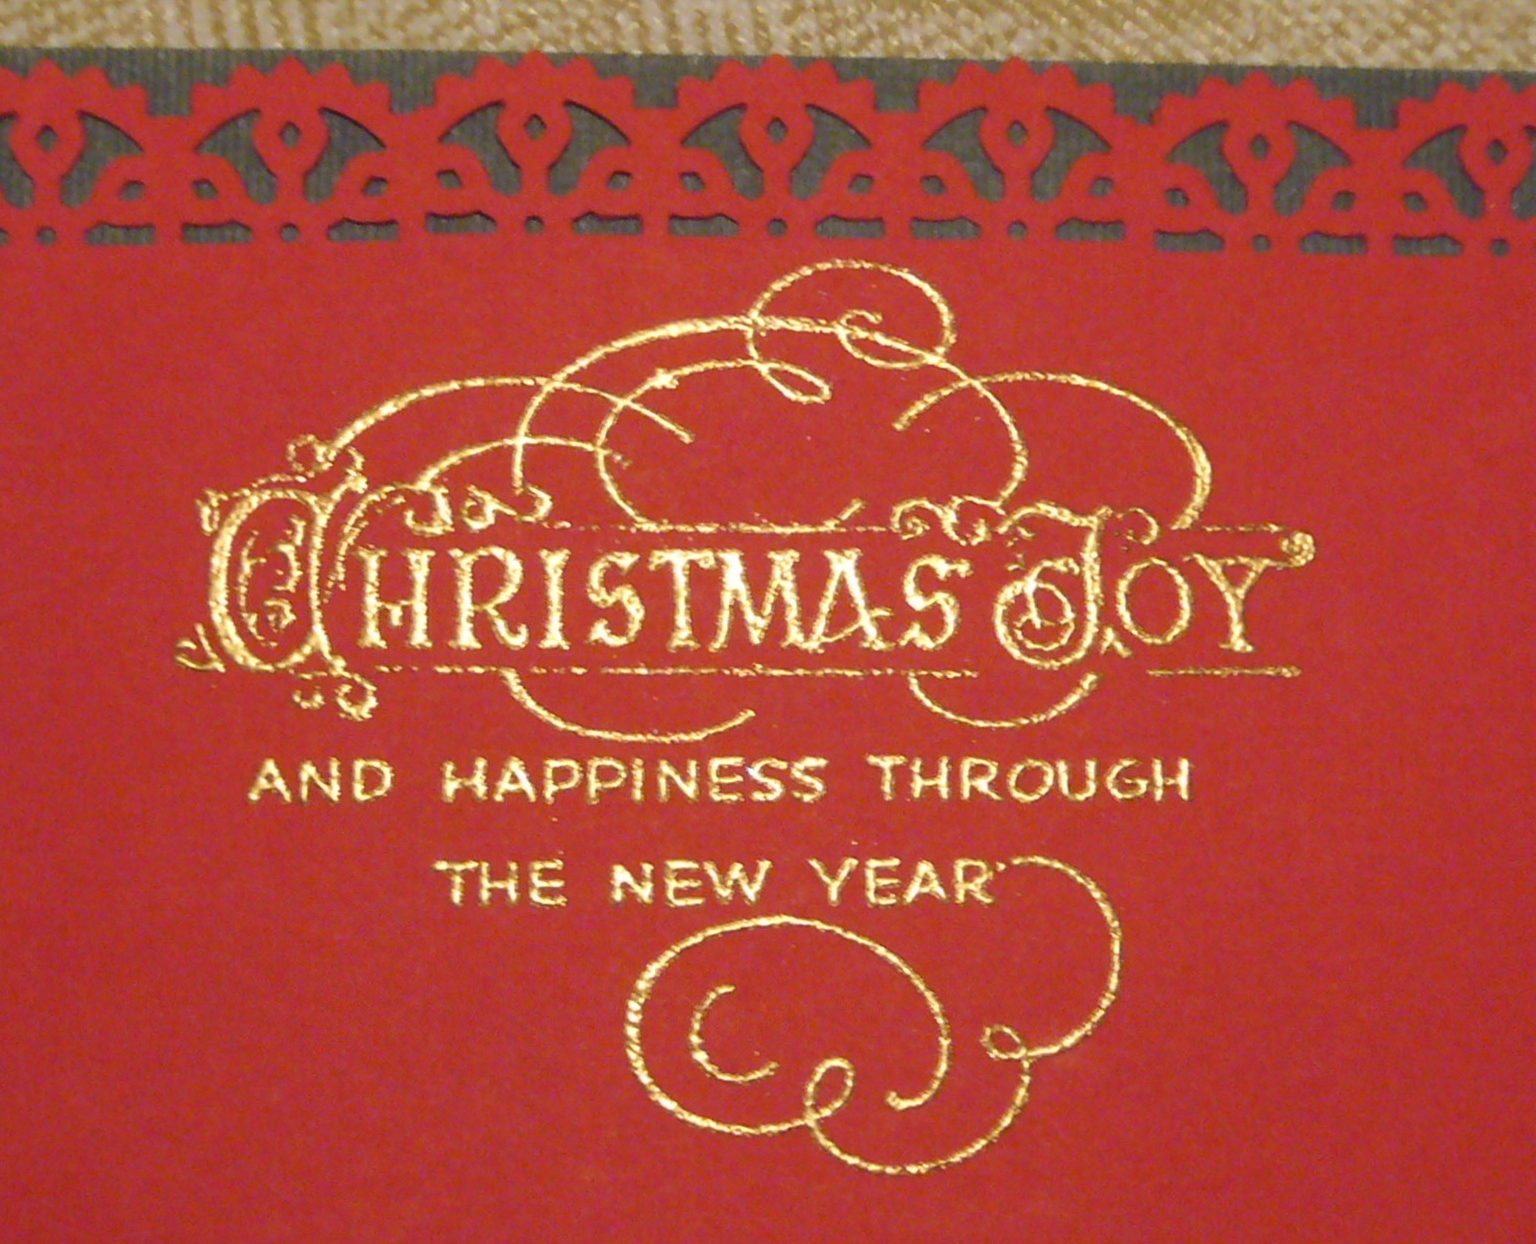
 I started with a card base cut at 8 1/2" x 5 1/2" in a dark navy and folded in half to form an A2 sized card..  I added a lighter blue mat measuring 4" x 5 1/4" and then the card face, in white, cut at 3 3/4" x 5".  I used two stamps for the greeting, one a background frame stamped in blue and the second stamped with Versamark and embossed in silver.  I couldn't find a stamp of just the word 'Blessings' in my excessive collection (How crazy is that, right?!), so I used 'Autumn Blessing' and taped over the word autumn.  The menorah is a sticker, and the stars are die cuts, the larger one being affixed with foam dots for dimension. 
 
Before the layers were affixed I rounded opposing corners of each layer for a little interest.  I used my tape runner for the blue layer and more foam dots for the white layer.  The rhinestones were added for a bit of sparkle.  Here is another photo where you might be able to see some of the dimension:

 
 I added a white liner to the inside, and created my own sentiment using MS Word.  I thought the bright white pieces were a little too stark, so I inked all their edges letting some of the ink stray toward the center.  Finally, I added two more candle stickers to dress it up.


 I'll end with one more slightly closer shot of the card front, and I'll be looking forward to your comments.


Here are the details:
     Stamps:  Clear Stamps "Faithful Friend" set, TCP Studio "Autumn Harvest" set
     Inks:  Versamark, Stampin' Up "Bashful Blue"
     Papers:  Gina K. Designs "In the Navy", Recollections medium blue, and Georgia Pacific white
     Hanukkah images:  Creative Memories "Judaic Combination Pack"
     Embossing Powder:  Stampendous Metallic Detail Silver


So happy you decided to stop by!  Sending lots of hugs!!!
CHRISTINE

Sunday, November 4, 2012

A Bit of Christmas Joy

Yes, I know, it's only the beginning of November, but Christmas will be here before we know it.  I have the Card A Day Blog spot today, and I am beginning the new theme of 'Christmas Gift Card.'  I think my card has a very traditional look to it with the red and green colors and the holly design paper, and I gave it just a little touch of sparkle to spice it up, as well as a coordinating envelope.

The base is 12" x 5 1/2" and, when folded, creates a card that fits a standard A2 envelope.  It's best to used a two-sided paper for the base to give a more finished look once it's put together.  The base is folded in thirds with the two side sections being cut to form triangles that cross over.  Here's a first look for you:


As you can see, I started with a dark green base (DCWV Textured Naturals), and added triangles of the holly design paper (Recollections Jolly Jamboree).  The insert, as well as the snowflake embellishment, are also from Recollections paper (Bright Christmas pack).  I used a glitter pen to outline the snowflake and draw the faux stitching around the dp.
 
I used coordinating Martha Stewart punches for the insert trim and the snowflake.  Then I used a die to cut notches at the bottom of the insert.  You can see that here:
 
 
The next photo shows a gift card inserted in the cut outs.  The photo below it gives you a nice look at the embossed greeting.


And then one more shot to give you a full view of the opened card:

 
I mentioned that this card has a coordinating envelope.  I used the same punch on the envelope flap that I used on the top of the card insert. It was a combination of a border punch with it's matching corner punch.  Here is a look at the card with its envelope:
 
 
That pretty much wraps it up for this one.  The last photo shows most of the supplies I used in addition to the papers already mentioned.  I used  my ATG to affix the pieces except for the snowflake for which I used a Zig 2-Way Glue Pen.


I hope you've enjoyed your visit with me today.  You might be able to use this card idea for some of your upcoming holiday gift-giving.

I'm still trying to get photos together of the Girl Scout projects I mentioned in an earlier post.  I'll do that soon so you can see what we've been up to recently.

Wishing you a beautiful day,
CHRISTINE